


8
Basic Setup
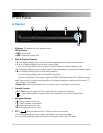
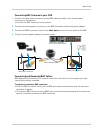
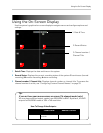
Step 4: Connect the Monitor
• Connect a HDMI cable (included with 8/16-channel models only) from the HDMI port to the
TV or monitor (recommended) OR;
• Connect a VGA cable (not included) from the VGA
port to the monitor.
NOTE: If
you have a monitor with a DVI input, you must use an HDMI to DVI adapter (not included).
You cannot use an DVI to VGA adapter.
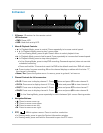
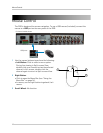
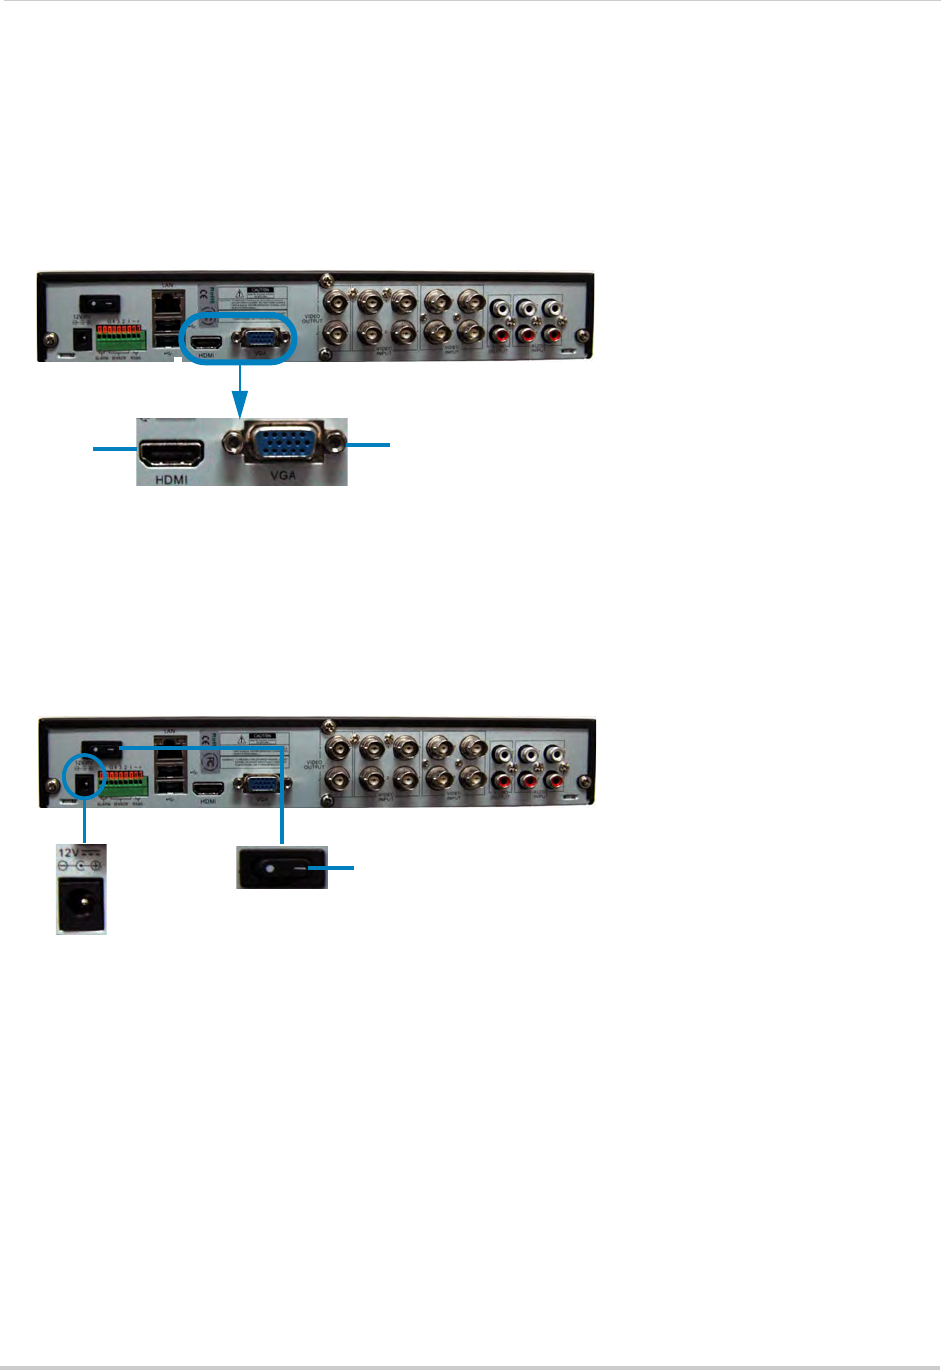
Step 5: Connect the Power Adapter and Power on the DVR
• Connect the included power adapter to the DC 12V port. Connect the end of the power adapter
to a wall socket or a surge protector.
• Turn the power switch to I t
o turn on the DVR. At startup, the system performs a basic system
check and runs an initial loading sequence. After a few moments, the system loads a live
display view.
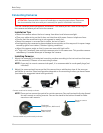
Step 6: Verify Camera Image
• Power on the cameras, and then verify the camera video quality before mounting the cameras
to a permanent location.
• Mount the cameras under a sheltered location. Always verify the outdoor rating of your camera
bef
ore installing it in a permanent location.
Step 7: Set the Time
• Set the system time and date for accurate video time stamps. Videos with inaccurate times
may not be valid as surveillance evidence.
• For details on setting the system time, see “Setting the Date and Time” on page 20.
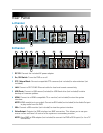
HDMI
VGA
8-channel model shown
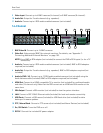
8-channel model shown
DC 12V port
ON