


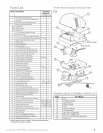
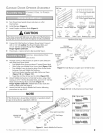
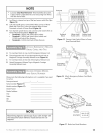
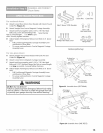
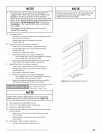
I:o_ _'sectio_al doo_'s:
A Attach Curved Door Arm to Door Bracket with Clevis Pin and
Cotter Pin (Figure 23).
B Attach Straight Door Arm to Magnetic Carriage Assembly.
C Attach both Arms together with 2 (3/8" x 7/8") Hex Head
Bolts and 2 (3/8") Serrated Flange Hex Serial Number
Nuts so overall length isas short as pos-
sible. Securely tighten fasteners.
D Adjust height of Emergency Release Cord Knob to 6' above
floor:
• Pull Cord through Magnetic Carriage Assembly Lever
until Knob is 6' from floor.
• Tie a new overhand knot in Cord at Magnetic Carriage
Assembly Lever.
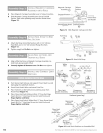
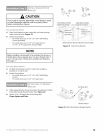
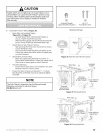
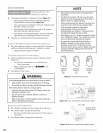
I:o_ _'o_'_e-piece doo_'s
A Attach Straight Arm to Door Bracket with Clevis Pin and
Cotter Pin (Figure 24).
B Attach Curved Arm to Magnetic Carriage Assembly.
C Attach both Arms together with 2 (3/8" x 7/8") Hex Head
Bolts and 2 (3/8") Serrated Flange Hex Nuts so overall length
is as long as possible. Securely tighten fasteners.
D Adjust height of Emergency Release Cord Knob to 6' above
floor:
• Pull Cord through Magnetic Carriage Assembly Lever
until Knob is 6' from floor.
• Tie a new overhand knot in Cord at Magnetic Carriage
Assembly Lever.
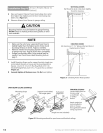
WARNING
Do Not skip Step D above!
Failure to comply may leave Emergency Release Knob within
reach of children. If the Knob is pulled with garage door fully
or partially open, garage door may close without warning!
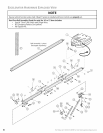
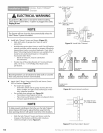
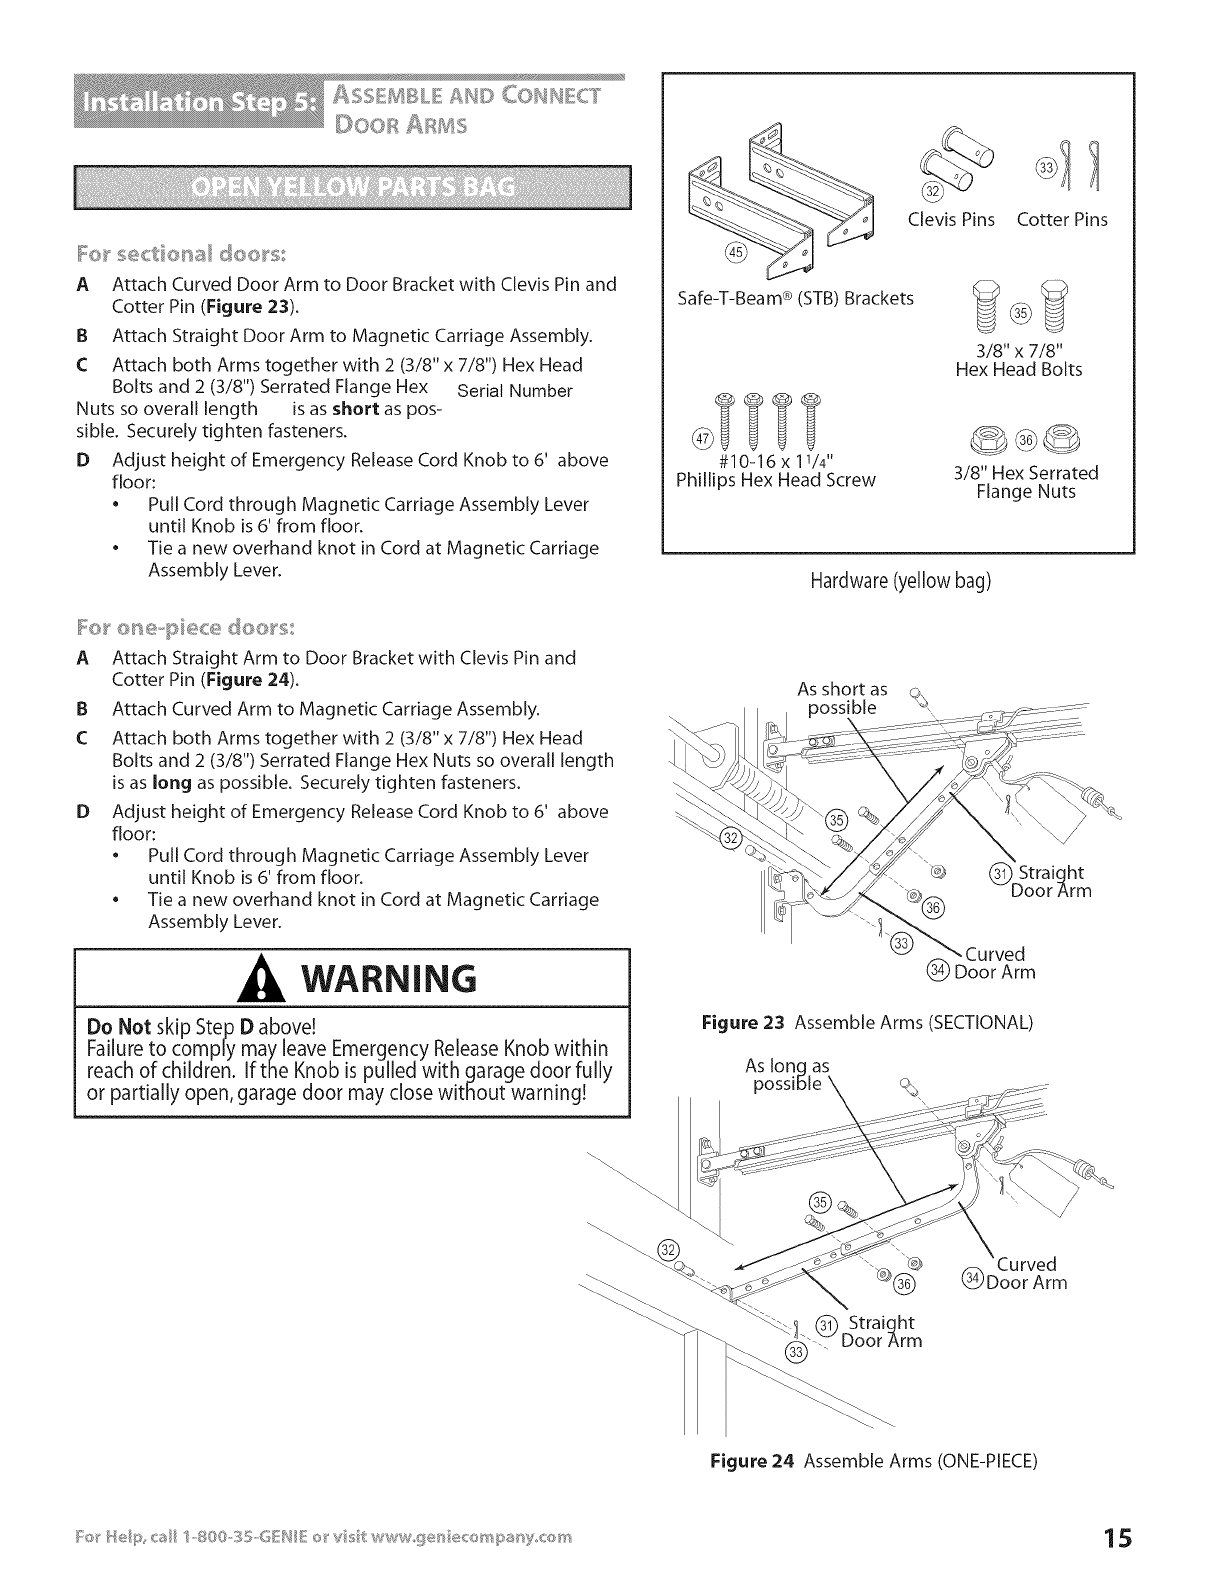
Safe-T-Beam ® (STB) Brackets
#10-16 x 11/4'.
Phillips Hex Head Screw
Clevis Pins Cotter Pins
3/8" x 7/8"
Hex Head Bolts
3/8" Hex Serrated
Flange Nuts
Hardware (yellow bag)
As short as
Figure 23 Assemble Arms (SECTIONAL)
As long as
possible
_!.(_ Straight
.... Door Arm
(_ Doo'r'Arm
Figure 24 Assemble Arms (ONE-PIECE)