


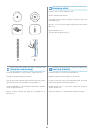
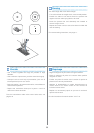
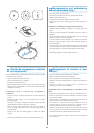
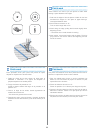
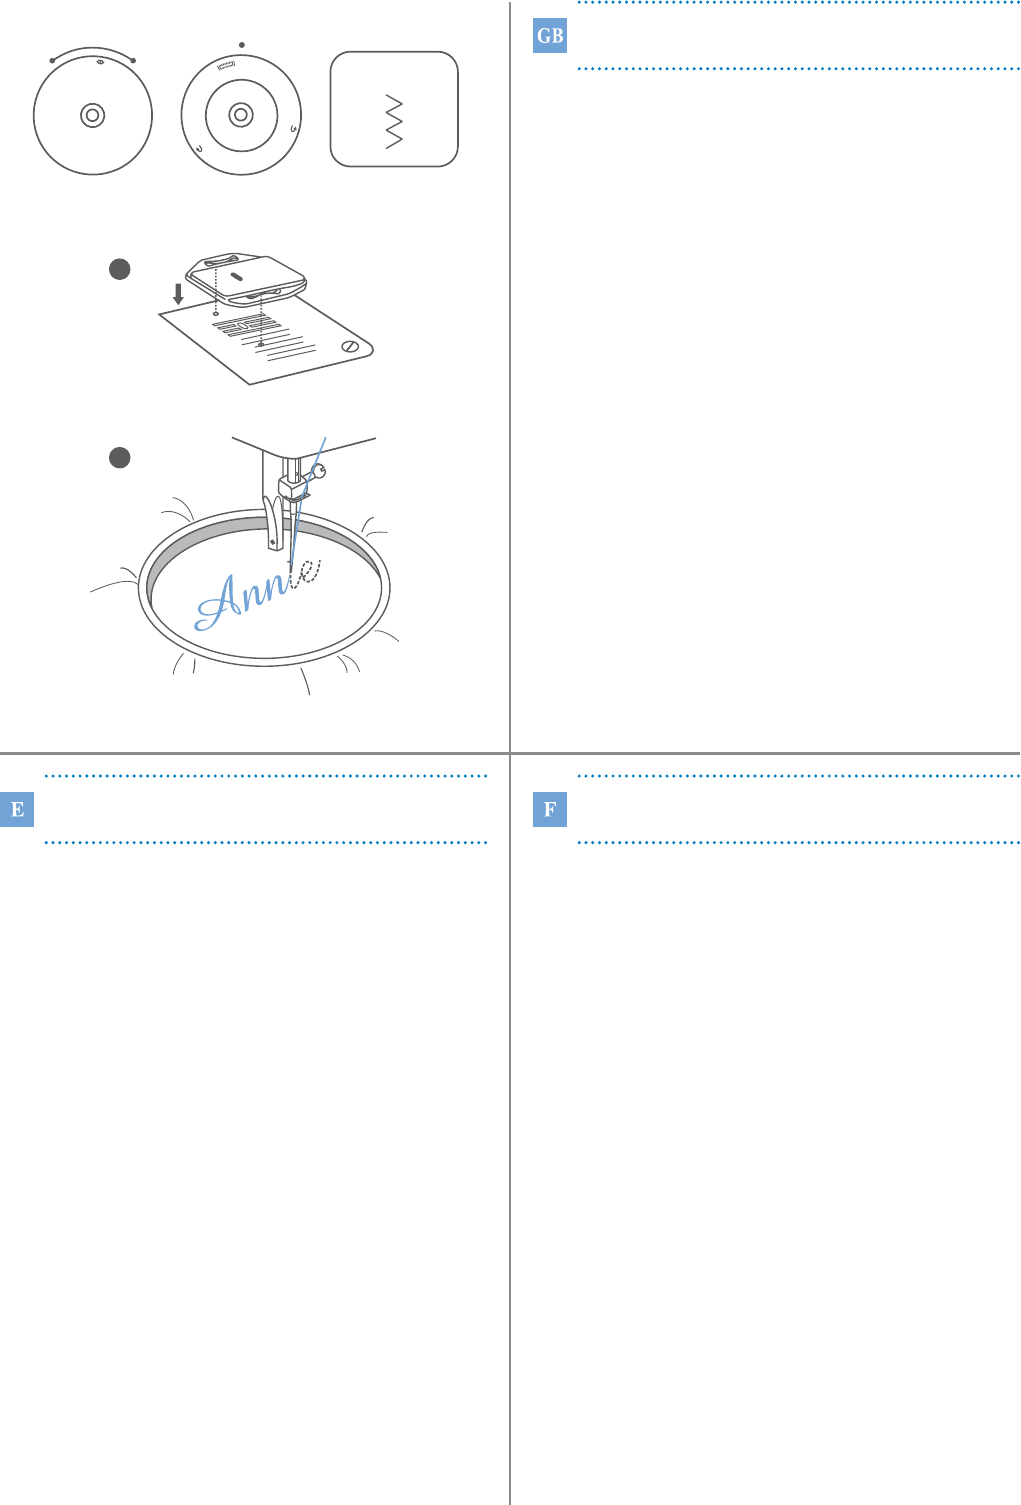
- Set the machine as illustrated.
- Remove the presser foot and the presser foot holder.
- Attach the darning plate. (1)
- Lower presser foot lever before starting to sew.
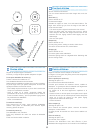
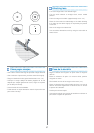
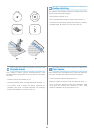
- Adjust the stitch width according to the size of lettering or
design.
- Draw the desired lettering or design on the right side of the
fabric.
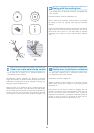
- Stretch the fabric between embroidery hoop as firmly as
possible.
- Place the fabric under the needle. Make sure the presser
foot bar is down in its lowest position.
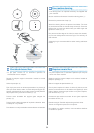
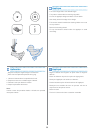
- Turn the balance wheel towards you to bring up the lower
thread through the fabric. Sew a few securing stitches at
the starting point.
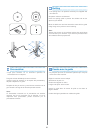
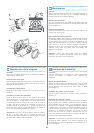
- Hold the hoop with thumb and forefingers of both hands
while pressing the material with the middle and third fingers
and supporting the outside of hoop withe smaller finger.
* Embroidery hoop not included with machine.
Preparation for Monogramming and Embroidering*
Monogramme et broderie à main
libre*
- Régler la machine tel que démontré ci-dessus.
- Enlever le pied-de-biche et le portepied.
-
- Abaisser le levier du pied presseur avant de commencer à
coudre.
- Ajuster la largeur du zigzag selon la grandeur du
monogramme ou du motif à broder.
- Dessiner le monogramme ou le motif sur l'endroit du tissu.
- Placer le tissu dans un cerceau à broder et le tendre le plus
fermement possible.
- Placer le tissu sous l'aiguille. Assurez-vous que la barre du
pied presseur est à sa position la plus basse.
- En tournant le volant vers vous, faire passer le fil de la
canette à travers le tissu et ressortir sur l'endroit du tissu.
Coudre quelques points d'arrêt au point de départ.
- Retenir le cerceau avec le pouce et l'index des deux mains,
tout en pressant le tissu avec les doigts du milieu alors que
l'auriculaire soutient le bord extérieur du cerceau.
* Le cerceau à broder n'est pas inclus avec les accessoires
de la machine.
Placer la plaque de reprisage selon l'illustration (1).
Préparation pour le monogramme et la broderie à main
libre*
Creación de monogramas y recamado
con aro de bordar*
Baje los dientes del transportador (NOTA: El largo no puede
controlarse con el disco).
- Ajuste la máquina según se ilustra.
- Retire el prensatelas y su soporte.
-
- Baje la palanca del prensatelas antes de comenzar a coser.
- Ajuste el ancho de acuerdo con el tamaño de las letras del
monograma o dibujo.
- Traza las letras o el dibujo deseado en el lado derecho de
la tela.
- Extiende la tela dentro el aro de bordar con la mayor
firmeza posible.
- Coloque la tela bajo la aguja. Cerciórese de qué la barra
del prensatelas está en la posición más baja.
- Gire el volante hacia usted para elevar el hilo inferior a
través de la tela. Proceda a coser unas pocas puntadas en
el punto inicial.
- Sujete el aro con los dedos pulgar e índice de ambas
manos.
* Coordine la velocidad de cosido y el movimiento del aro.
Instalar la zurcida plancha (1).
Preparación para la creación del monograma y
recamado*
Monogramming and embroidering
with embroidery hoop*
2
1
5
0
1
2
3
4
B
0
1
2
3
4
S
1
40