


www.desatech.com
118531-01A 33
HI
LO
O
F
F
P
I
L
O
T
O
N
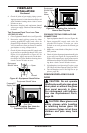
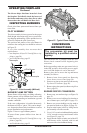
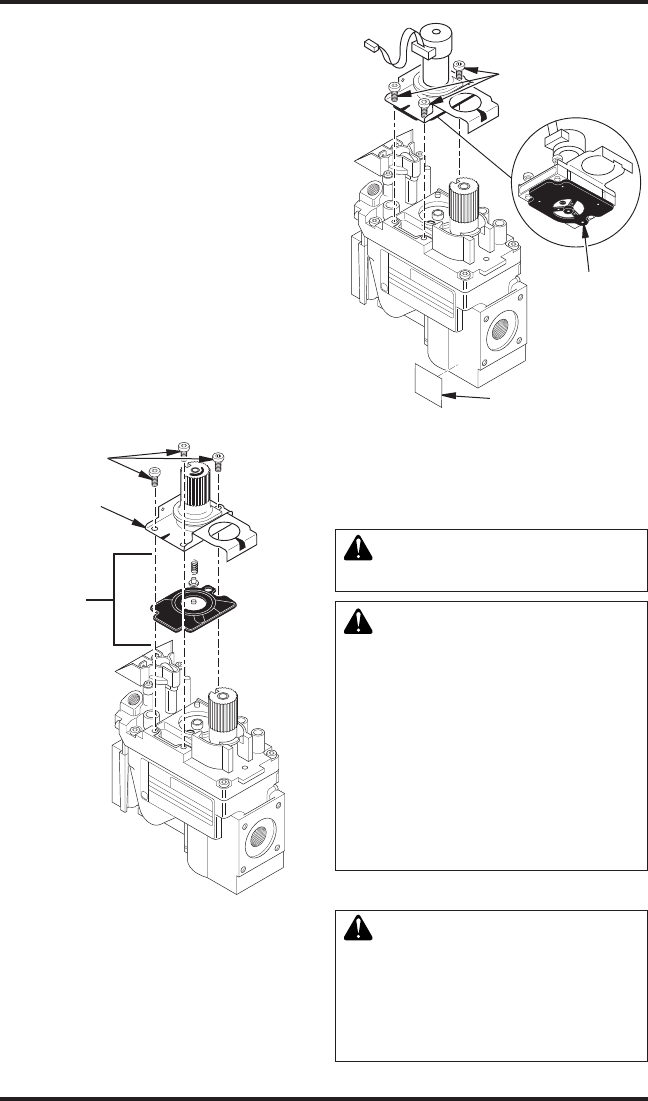
Figure 58 - Removing Mounting Screws,
Regulator, Tower, and Diaphragm/Spring
Components
Mounting
Screws
Pressure
Regulator
Tower
Diaphragm/
Spring
Components
GAS CONTROL CONVERSION
Convert the gas control by swapping out the valve
regulator portion of the gas valve.
1. Using a Torx T20 or slotted screwdriver, re-
move and discard the three mounting screws,
pressure regulator tower, and diaphragm/
spring components (see Figure 58).
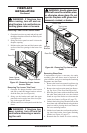
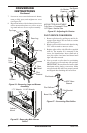
2. Insure that the rubber gasket is properly posi-
tioned on the new pressure regulator assembly.
Install LP pressure regulator assembly to valve
using the new mounting screws supplied with
the kit. Tighten screws securely (approxi-
mately 25 in-lbs.) (see Figure 59).
3. Install the identication label enclosed with
the gas valve regulator to the valve body,
where it can easily be seen (see Figure 59).
CONVERSION
INSTRUCTIONS
Continued
O
F
F
P
I
L
O
T
O
N
Figure 59 - Installing Pressure Regulator
Assembly
Mounting
Screws
Rubber
Gasket
Identication
Label
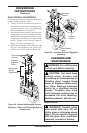
CLEANING AND
MAINTENANCE
GLASS DOOR