


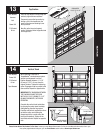

24
Please Do Not Return This Product To The Store. Contact your local Wayne-Dalton dealer. To find your local Wayne-Dalton dealer, refer to your
local yellow pages/business listings or go to the Find a Dealer section online at www.wayne-dalton.com
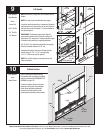
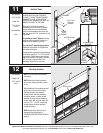
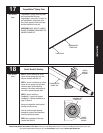
Tools Needed:
Tools Needed:
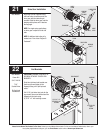
21
22
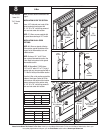
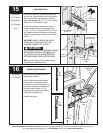
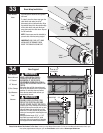
Drive Gear Installation
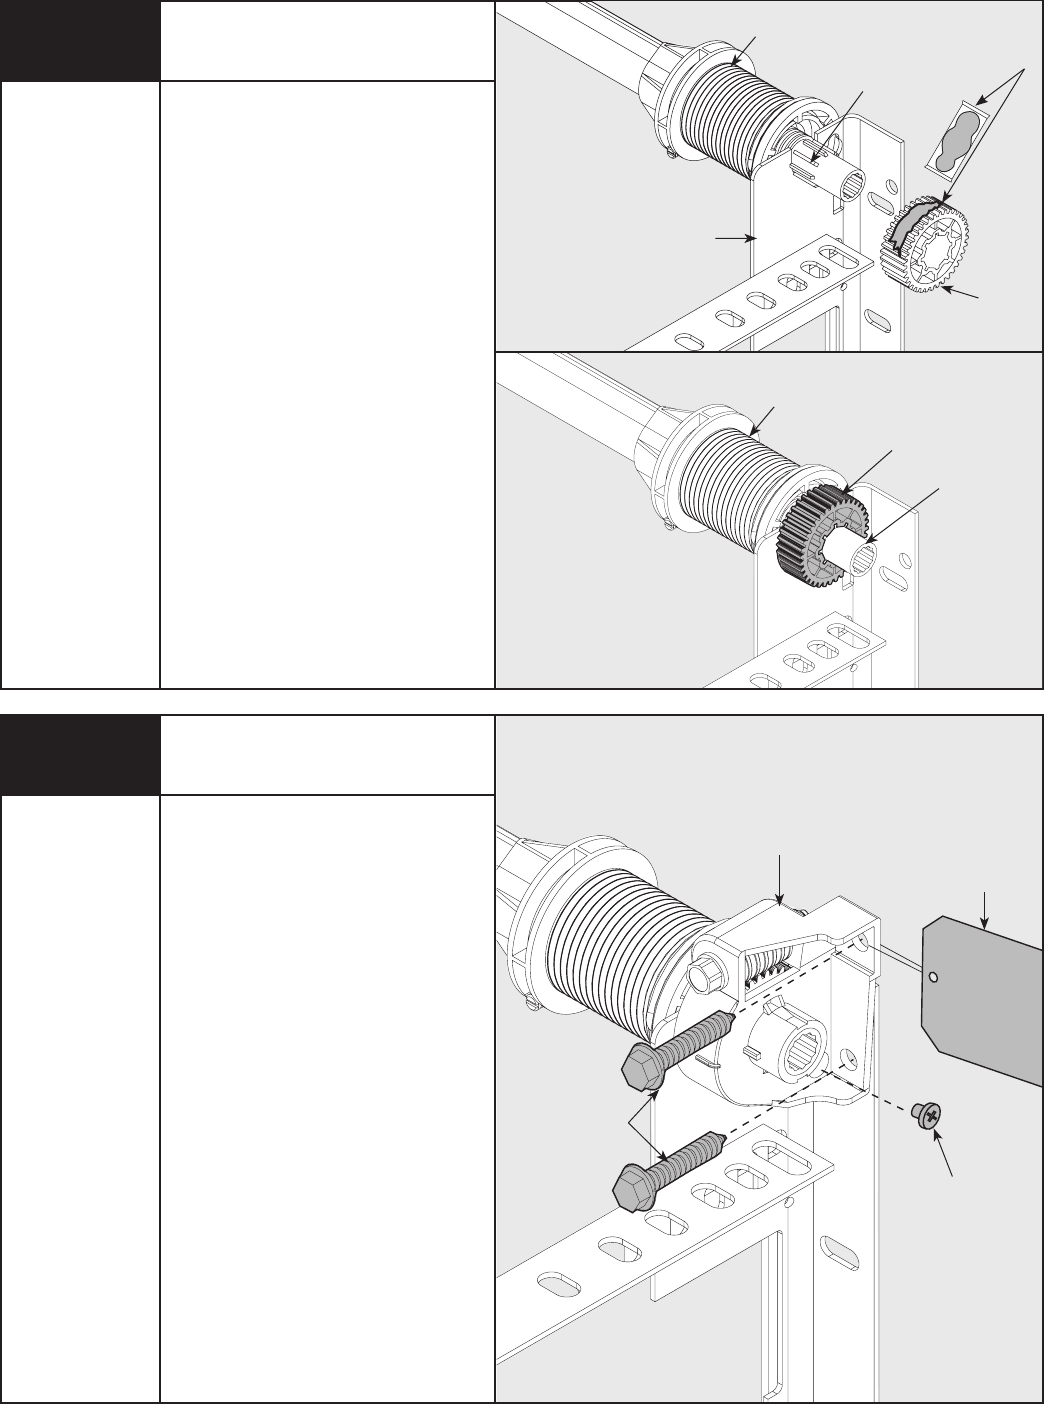
End Brackets
Beginning with the right hand side,
lubricate entire circumference of the
drive gear with the lubricating oil
provided. Slide the drive gear onto the
winding shaft splines until it touches
the flagangle.
NOTE: On single spring applications,
no drive gear is required on the left
side.
NOTE: If additional lubricating oil is
needed, use “Dura Lube
®
Engine Oil
Treatment”.
IMPORTANT: WARNING TAGS MUST BE
SECURELY ATTACHED TO BOTH END
BRACKETS.
Slide the right hand end bracket over
the drive gear and fasten to the
flagangle using a #10 phillips head
screw.
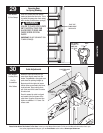
Drill 3/16” pilot holes into jamb for the
lag screws. Secure end bracket and the
flagangle to the jamb using
(2) 5/16” x 2" hex head lag screws.
Power Drill
3/16” Drill Bit
7/16”
Socket Driver
Phillips Head
Screwdriver
WINDING
SHAFT
SPLINES
DRIVE
GEAR
FLAGANGLE
WINDING
SHAFT
CABLE
DRUM
CABLE
DRUM
(2) 5/16” X 2”
HEX HEAD LAG
SCREWS
#10 PHILLIPS
HEAD
SCREW
WARNING
TAG
END BRACKET
LUBRICATING
OIL
DRIVE GEAR