


44
14.0 Changing Components
© Baxi Heating UK Ltd 2012
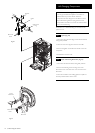
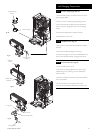
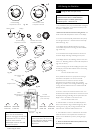
Fig. 81
Cover
Burner
Gasket
Extension Piece
(On 28 models only)
Collector
Venturi
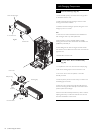
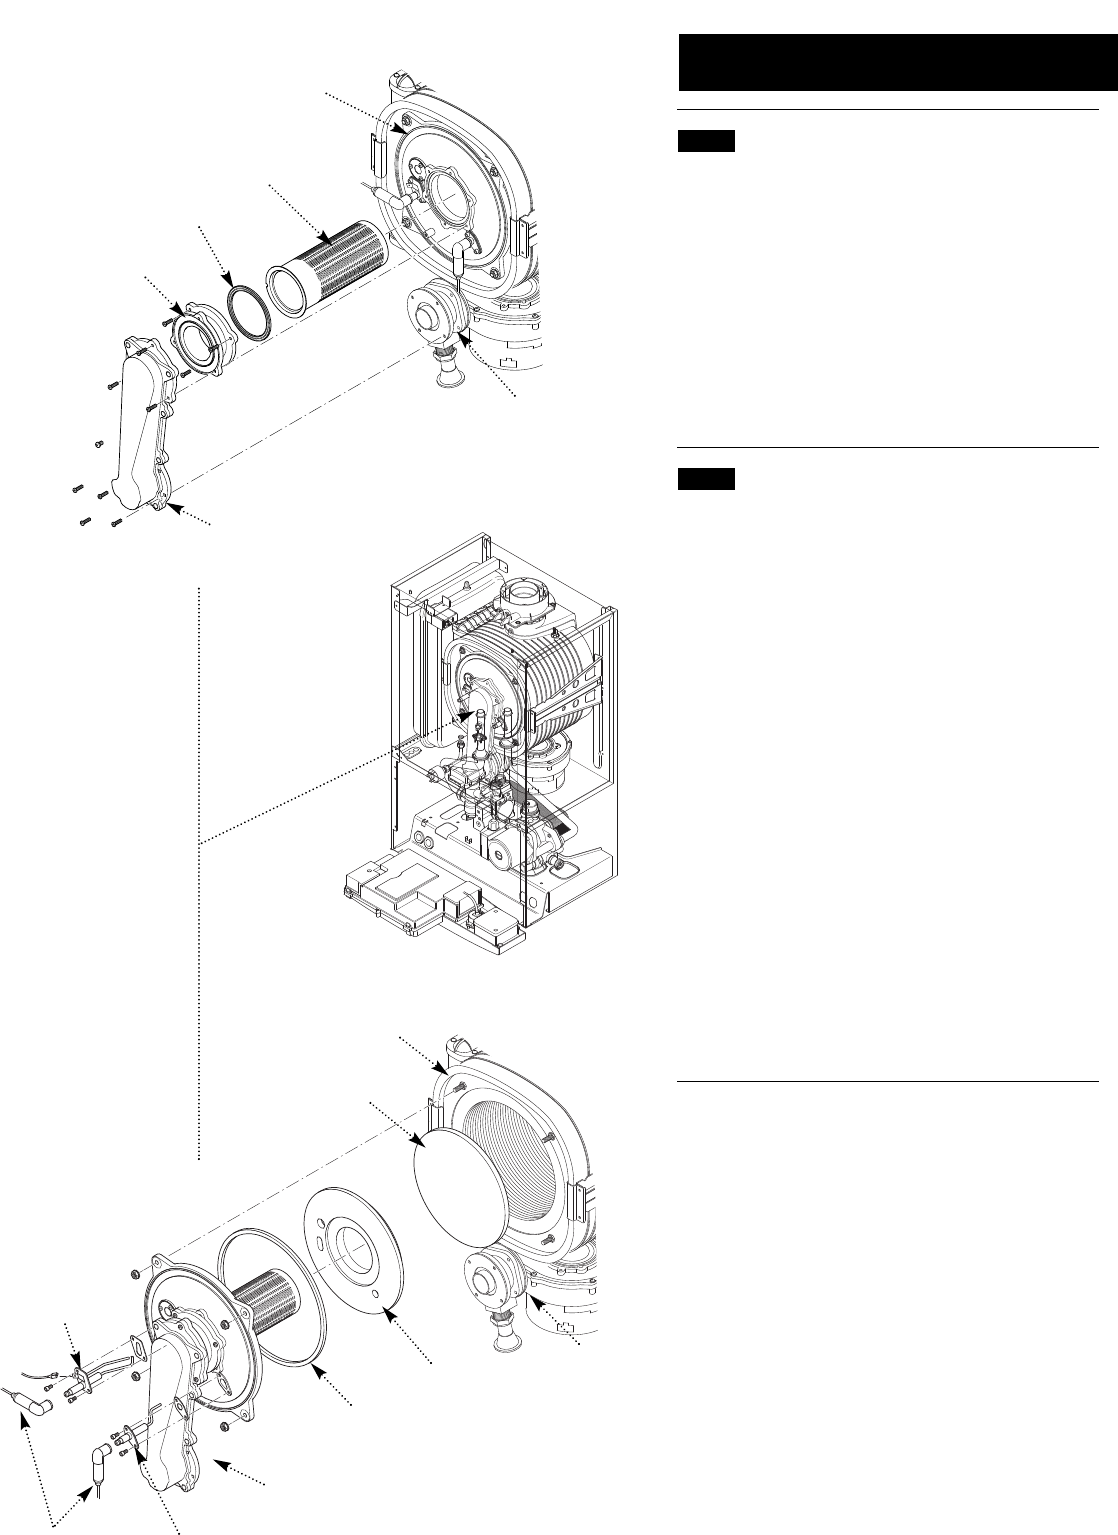
Heat
Exchanger
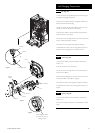
Rear
Insulation
Cover
Insulation
Seal
Collector
Spark
Electrode
Sensing
Electrode
Electrode
Leads
Venturi
Fig. 82
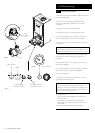
14.6 Burner (Fig. 81)
1. Undo the screws securing the collector to the cover and
venturi (On 28 models there is an extension piece fitted to
the cover, remove this also.
2. Withdraw the burner from the cover and replace with
the new one.
3. Examine the gasket, replacing if necessary.
4. Reassemble in reverse order.
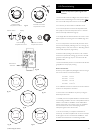
14.7 Insulation (Fig. 82)
1. Remove the electrode leads, noting their positions. Also
remove the electrodes as described in section 14.2.
2. Undo the screws securing the collector to the venturi and
the nuts holding the cover to the heat exchanger. Draw the
collector and cover assembly away.
3. Remove the cover insulation piece.
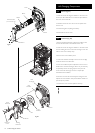
4. Fit the new insulation carefully over the burner and align
it with the slots for the electrodes.
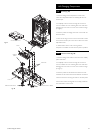
5. If the rear insulation requires replacement remove it and
all debris from the heat exchanger. Also it may be necessary
to separately remove the spring clip from the pin in the
centre of the heat exchanger and the ‘L’ shaped clips
embedded in the insulation.
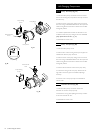
6. DO NOT remove the shrink-wrapped coating from the
replacement rear insulation. Keep the insulation vertical and
press firmly into position.
7. Examine the cover seal and replace if necessary.