


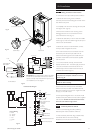
10.0 Installation
30
© Baxi Heating UK Ltd 2007
10.7 Fitting the Flue (Cont)
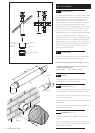
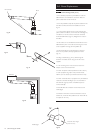
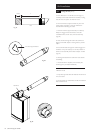
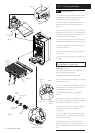
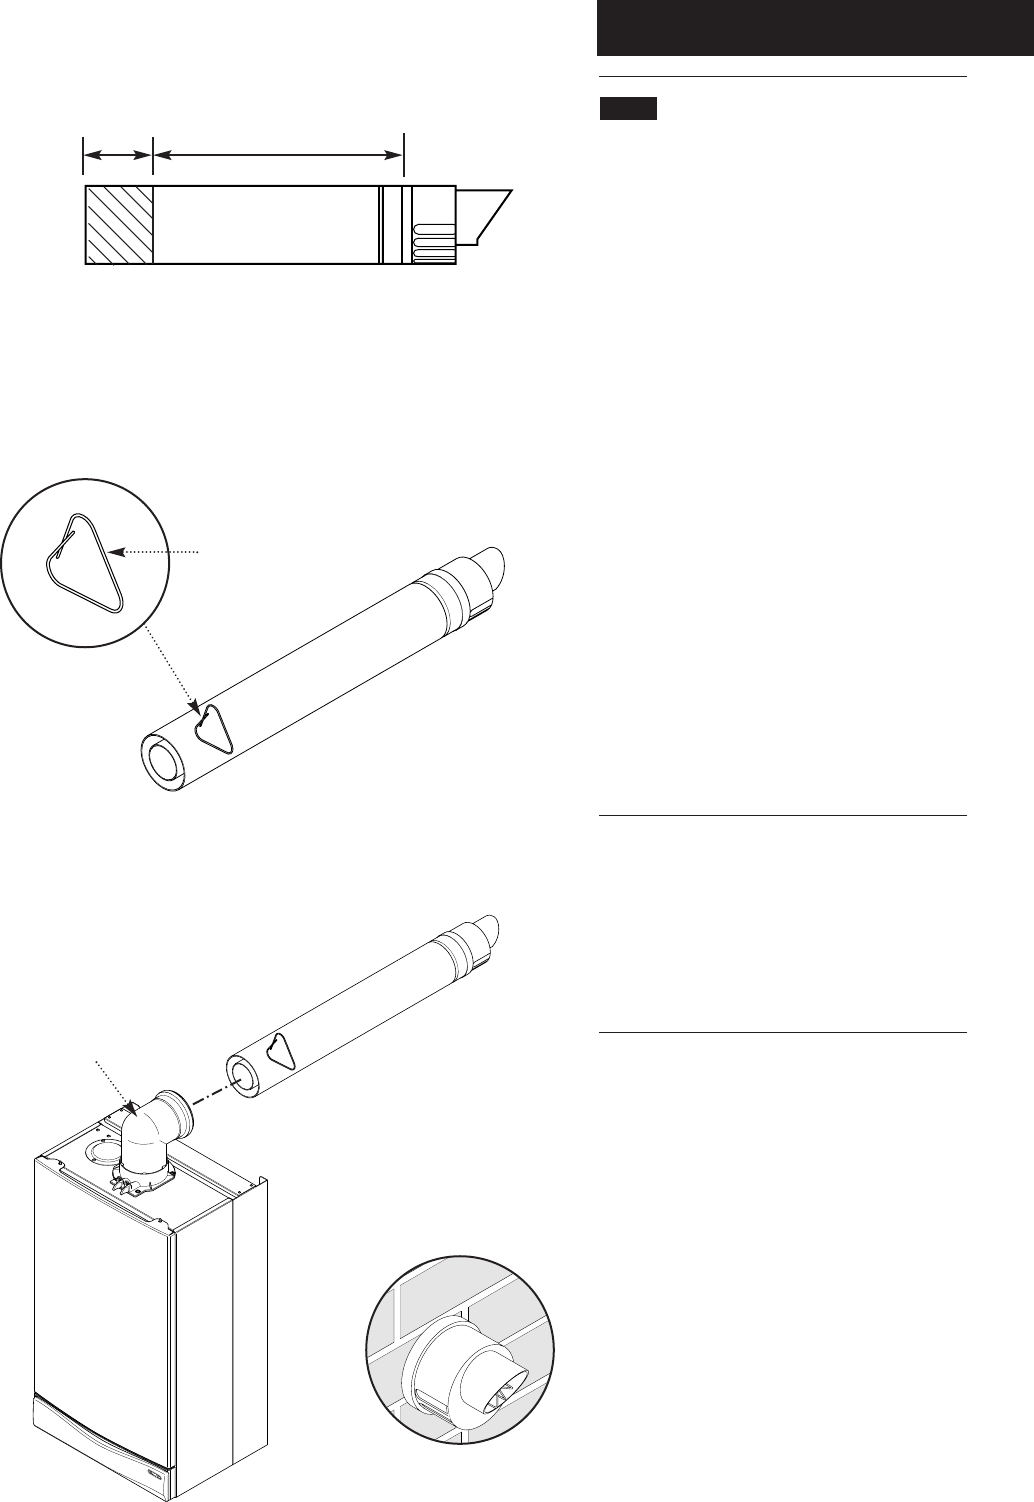
5. Mark dimension ‘Y’ on the flue as shown (Fig. 37).
Carefully cut the waste material from the flue, ensuring
that the ducts are square and free from burrs.
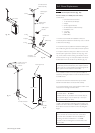
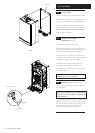
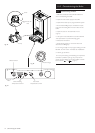
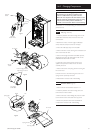
6. The inner flue duct support bracket may be in the
waste portion of the flue. In this case retrieve the
bracket before discarding the waste.
7. Take the inner flue support bracket (if not already
fitted) and engage it over the flue duct. This will
centralise the flue and air ducts, and ease assembly
(Fig. 38).
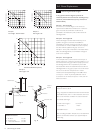
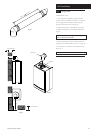
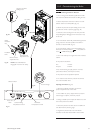
8. Insert the flue through the hole in the wall. Fit the
elbow to the boiler adaptor, ensuring that it is pushed
fully in.
9. Draw the flue back through the wall and engage it in
the elbow. It may be necessary to use soap solution or
similar to ease assembly of the elbow adaptor and flue
(Fig. 39).
10. Make good between the wall and air duct outside
the building.
11. Fit the flue trim if required, and if necessary fit a
terminal guard (see Section 8.8 & 8.9).
VERTICAL FLUE
1. Only a flue approved with the Potterton Performa 30
HE can be used.
2. For information on vertical flues consult the Potterton
Flue Guide brochure.
Flue Elbow
Fig. 39
Inner Flue Support Bracket
Fig. 38
Y
Flue
Waste
Fig. 37