THX9321 PRESTIGE
®
2.0 AND THX9421 PRESTIGE
®
IAQ 2.0 WITH EIM
68-0311—01 52
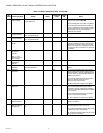
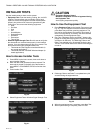
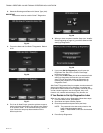
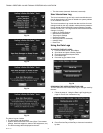
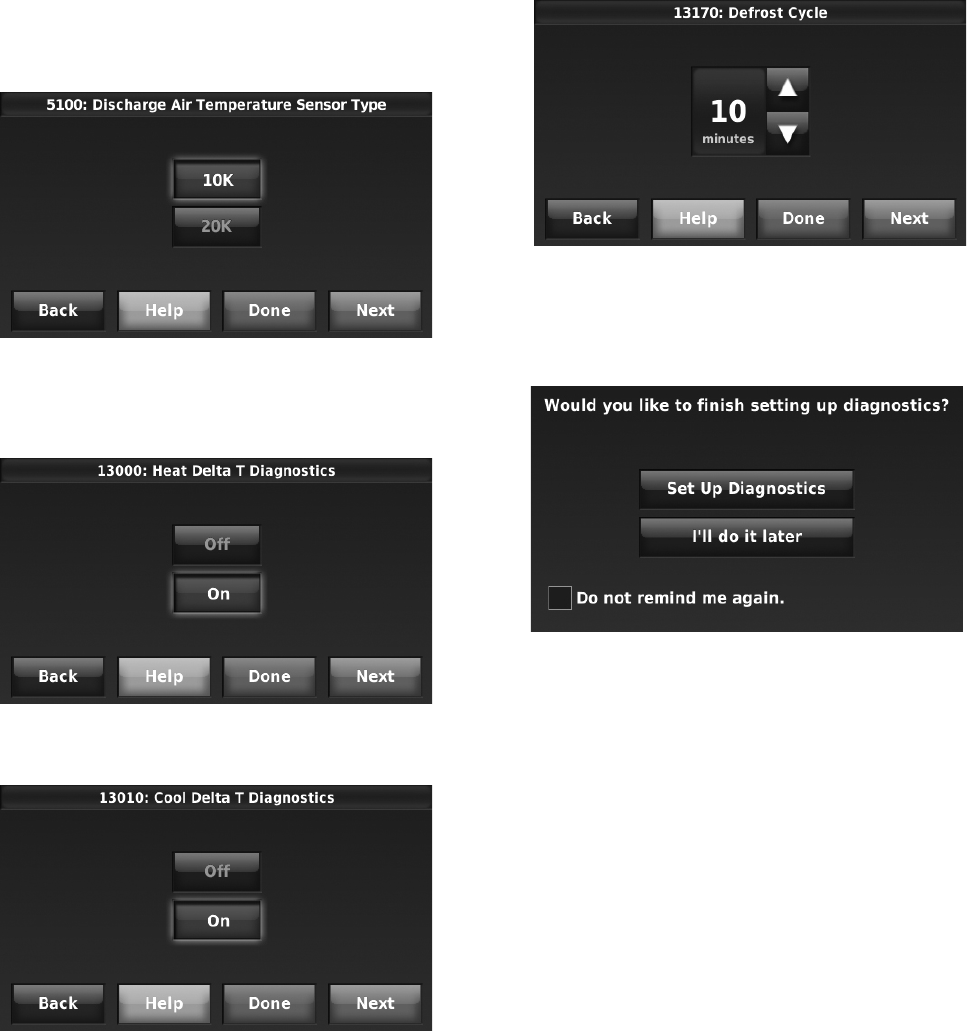
3. Select the Discharge and Return Air Sensor Type (10K).
IMPORTANT
10K sensors must be used for Delta T Diagnostics.
Fig. 55.
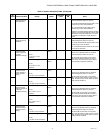
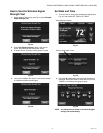
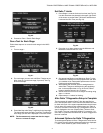
4. Turn on the Heat and Cool Delta T Diagnostics. Default
is On.
Fig. 56.
Fig. 57.
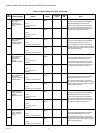
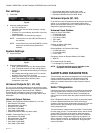
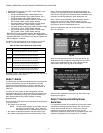
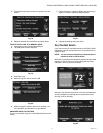
5. For Air-to-Air Heat Pumps, press the up/down arrows to
set the maximum time duration of a defrost cycle. Default
is 10 minutes. Delta T is not monitored during a defrost
cycle. Check the heat pump documentation for the
defrost cycle time.
Fig. 58.
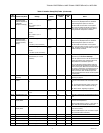
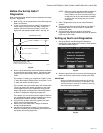
6. When you have completed Installer Setup (see “Installer
Setup” beginning on page 14), you will be asked to finish
setting up Diagnostics.
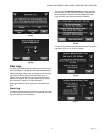
Fig. 59.
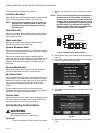
7. If you press Set Up Diagnostics, you will enter the
Equipment Test. See “Run a Test for Each Stage”
beginning on page 53.
8. If you press I’ll do it later, you will be reminded to finish
setting up diagnostics the next time you exit installer
setup. You can also finish setting up diagnostics by
following the procedure in “If You Decide to Set Up
Diagnostics Later”.
After Delta T Diagnostics Setup is complete, the thermostat will
detect typical failures such as no heating or no cooling and
performance related issues that are typically caused by a dirty
air filter, blocked registers, loss of refrigerant, dirty a-coil,
frozen a-coil, cracked heat exchanger, dirty burners, etc.
If You Decide to Set Up Diagnostics Later
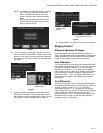
When you are ready to set up diagnostics, follow these steps:
1. From the Home screen, press MENU.
2. Scroll down and press Installer Options.
3. Enter the passcode and press Done (see Note).
NOTE: The passcode is the date code printed on the
back of the thermostat or press
MENU > EQUIPMENT STATUS to find the date
code.
4. Press Set Up Diagnostics.


