S7999B, S7999C SOLA LOCAL OPERATOR INTERFACE
17 65-0303—05
of history to view. The user can also silence an audible alarm
generated by the control during a lockout or alert by alarm
condition.
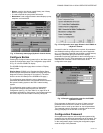
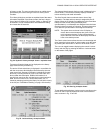
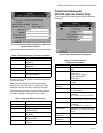
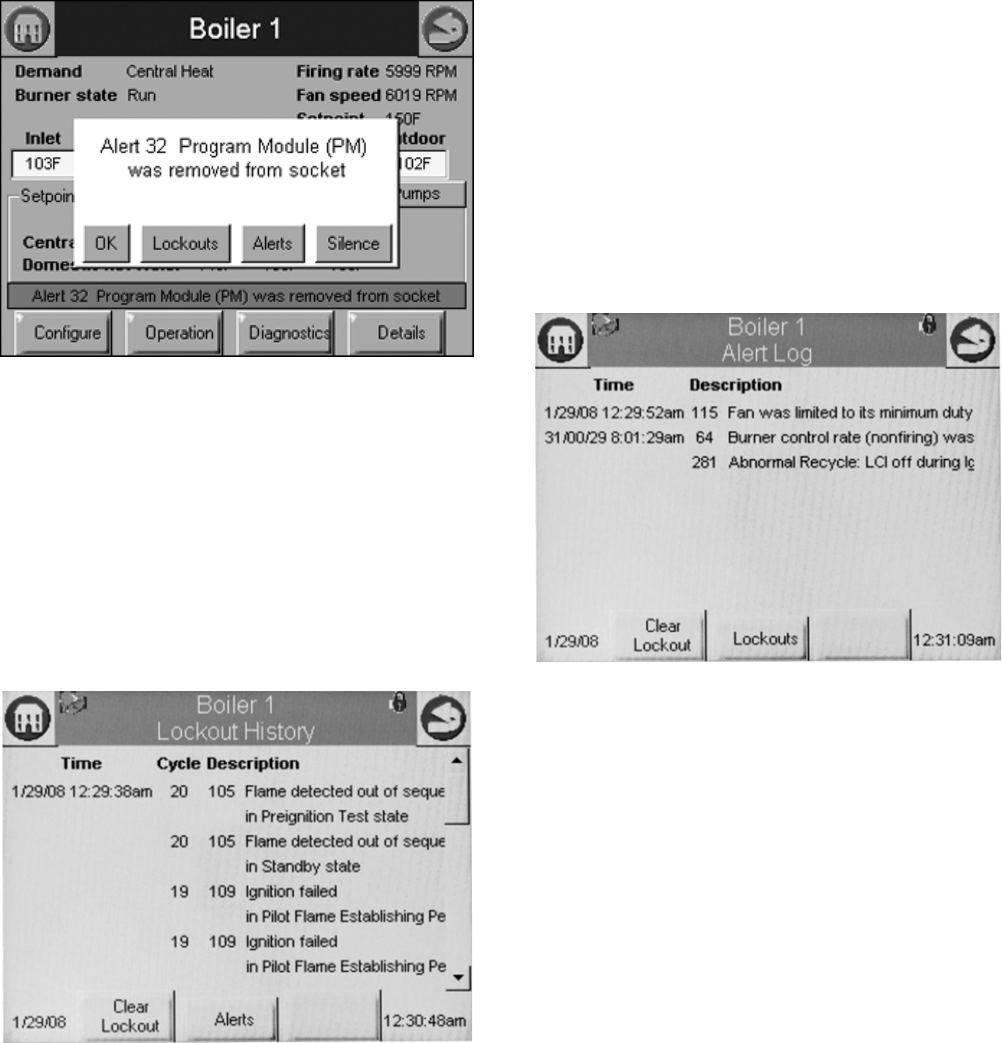
This History dialog box provides an exploded view of the status
information displayed in the History button (the font is larger).
One of the four buttons (OK, Lockouts, Alerts, or Silence) can
be selected. If none of these buttons are selected the dialog
box closes after 30 seconds.
Fig. 24. Hydronic history example shown—exploded view.
Two types of historical data can be displayed on the history
page: lockout history and alert log.
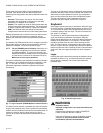
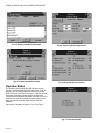
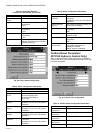
The entire 15 fault code history is displayed in a scrollable list
with the most recent fault displayed first followed by the next
most recent fault. Summary information is displayed for each
fault entry, including the burner cycle count, fault code, and
fault number with description. Detailed information for a
specific fault entry that also includes burner control sequence
state, burner run-time hours, annunciation status, etc., is
viewed by selecting (touching the History line) the lockout entry
in the list (see “Fault/Alarm Handling” on page 16 for details).
Fig. 25. Lockout history example shown.
The date and time that each fault occurred is displayed in the
lockout history. The lockout timestamp displays in both the
lockout summary and detail information.
The Sola Control does not maintain date or time of day
information. The date and time stamp is assigned by the OI
display. When the OI display first obtains the lockout and alert
history from the control (during the display data
synchronization), no timestamps are assigned since the times
that the lockouts occurred are unknown. All new lockouts that
occur after the synchronization are assigned timestamps.
NOTE: The system time can be set in the OI display to
ensure that correct timestamps are given to the con-
trols’ lockouts and alerts. Power interruptions will
require the time to be reset as the display DOES NOT
have a time backup means.
The Clear Lockout button allows the user to acknowledge and
clear (reset) the lockout when in lockout state, much the same
as pressing the reset button on the front of the Sola Control.
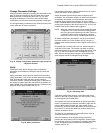
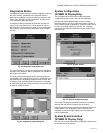
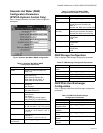
The user can toggle between displaying the controls’ lockout
history and alert log by pressing the Alerts or Lockouts button
on the bottom of the pages.
Fig. 26. Alert log example shown.
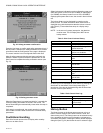
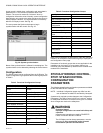
To see additional detail about a lockout or alert, touching on the
lockout or alert in the list expands the view of that lockout or
alert, as shown in Fig. 27 and 28.


