STRYKER VAV USER GUIDE
62-2030—01 26
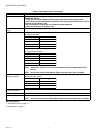
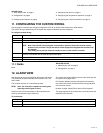
17. SETTING TIME
Use this page to set time for an Stryker VAV device on the LON network. This action can be performed with the device in online
mode. The controller must be in a commissioned state. Using Set Time feature, you can specify time or use the computer's time
in the controller. While performing this online operation, the device should not be used by another application.
To set time parameters:
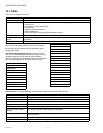
17.1 Fields
Table 16. Time Fields.
RELATED TOPICS
“1. About Stryker VAV” on page 2
“2. Configuration” on page 4
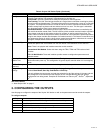
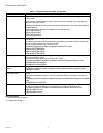
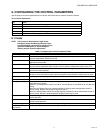
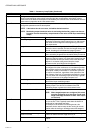
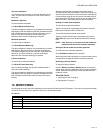
18. ONLINE OPERATION
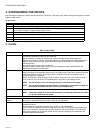
The online operations can be invoked on the Stryker VAV
device only if the device is not in use by another application.
You can perform following online operations:
1. Download - Perform this action to download the config-
uration from tool to controller.
2. Upload - Invoke this option to read configuration data
from the controller and update the same in the tool data-
base.
3. Calibration - Use this option to calibrate the sensor
connected to the controller.
4. Diagnostics - Use this feature to command the device
to manual mode and to test the outputs.
5. Set Time - Use this option to set the date and time in
the controller.
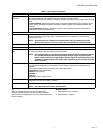
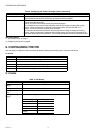
6. Flow Balancing - The flow balancing feature allows
minimum balancing, maximum balancing, zero balanc-
ing and k factor balancing.
You can also balance the reheat and peripheral heat
valves.
You can also reset the balancing values to factory
defaults.
7. Monitoring - Use the monitoring option to view key
parameters in the controller.
You can also temporarily override setpoints and occu-
pancy status.
8. Alarms - Use the Alarms option to view the list of
alarms generated by the controller.
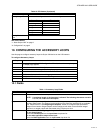
Related Topics
“13. Diagnostics” on page 21
“14. Flow Balancing” on page 22
“15. Monitoring” on page 23
“16. Sensor Calibration” on page 25
“17. Setting Time” on page 26
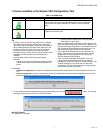
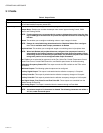
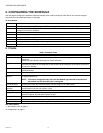
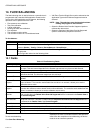
Step Action
1 From the Nav menu, choose Station > Driver > LON network > AscLonVAV device.
2 Right-click the device and choose Views > Set Time from device items.
3The Set Time screen appears.
4 Enter information in the available fields.
5 Click Apply to set date and time in device.
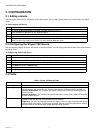
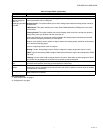
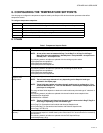
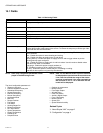
Name Definition
Date This option enables you to set date in the controller.
Time This option enables you to set time in the controller.