


4-99 23 21322M
GC150 SERIES DIRECT VENT GAS APPLIANCE
If you own a standing pilot ignition, skip section B and
continue with Step 2.
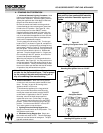
B. ELECTRONIC IGNITION OPERATION
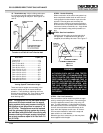
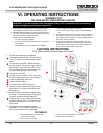
1. Initial and Seasonal Lighting Procedure.
Initial lighting constitutes the very first time the
appliance has been lit after installation. Seasonal
lighting refers to lighting the unit after it has been
unused and the gas valve has been turned to OFF.
Be sure the remote wall switch and the manual
on/off knob have been turned to the OFF position.
Also, your unit may have a rocker ON/OFF switch
installed inside the lower panel; if so this also
needs to be turned to the OFF position. If they are
not, do so and allow the appliance to sit for five
minutes so any gas that may have accumulated in
the main burner compartment escapes.
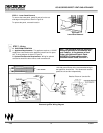
Turn the manual on/off knob inside the lower
access area to the ON position. Then, turn the
remote wall switch to ON. This will activate an
electronic spark. Initially, the flames may have
more of a blue color but after the first 20 minutes of
operation, they will become more yellow.
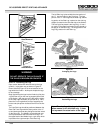
Figure 40
Lower Front Face Replacement
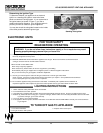
Note: Keep the area near the appliance
clear and free from combustible materials,
gasoline and other flammable vapors and
liquids.
Note: When first operated, this unit may
release an odor for the first several
hours. This is caused by the curing of
the paint and the burning off of any oils
remaining from manufacturing.
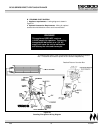
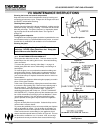
2. Seasonal Shutdown. When the burning sea-
son comes to an end, the entire system should be
shut down. Note: There may be a rocker switch
on a column in the control area, as well as a
wall switch. Both have to be off for the unit to
be off. In this way, no gas will be running to the
appliance while it is not in use.
To shut down the appliance for an extended period
of time, you must first shut off the main burner by
moving the remote wall switch to the OFF position.
The next step is to remove the lower access panel
to expose the valve area. Locate the gas valve
knob and turn it to the OFF position. Turn the
manual on/off knob to OFF. Your entire system is
now shut down.
3. Lighting Procedure During Regular Use.
Simply turn the wall switch to the ON position.
This will activate the ignitor and the main burner
will light.
4. Shutdown During Regular Use. Simply turn
the remote wall switch to the OFF position. This
will disengage the ignitor and the main burner will
extinguish.
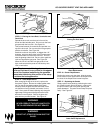
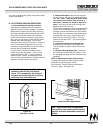
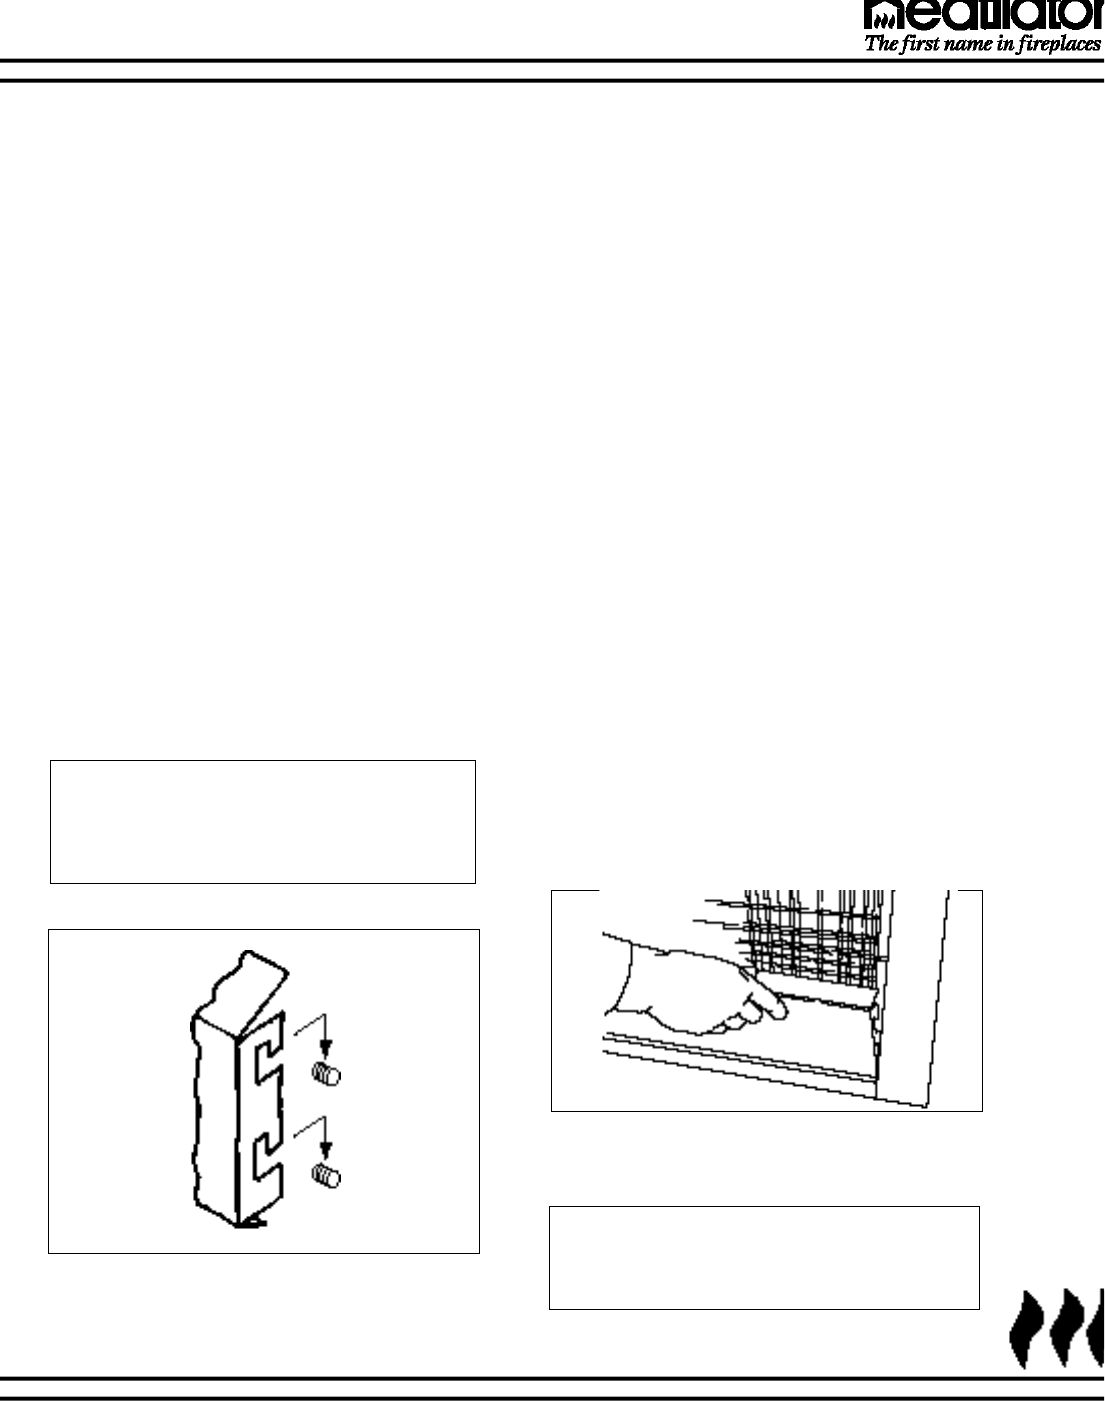
STEP 2 - Replacing the Lower Access Panel.
To replace the lower grille panel, align the lower
panel with the [4] Pins ([2] per column.
See Figure 39. Press the panel in and down to
secure it in place. See Figure 40.
Figure 39
Side View of Panel