


Heat & Glo • ESC-42ST • 2146-900 Rev. o • 5/1248
B. Remove the Shipping Materials
Remove shipping materials from inside or underneath the
fi rebox.
C. Clean the Appliance
Clean/vacuum any sawdust that may have accumulated
inside the fi rebox or underneath in the control cavity.
D. Accessories
Install approved accessories per instructions included
with accessories. Contact your dealer for a list of ap-
proved accessories.
WARNING! Risk of Fire and Electric Shock! Use ONLY
Hearth & Home Technologies-approved optional acces-
sories with this appliance. Using non-listed accessories
could result in a safety hazard and will void the warranty.
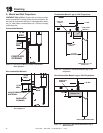
E. Installing the Optional Heat-Zone
®
Gas Kit
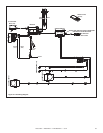
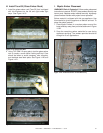
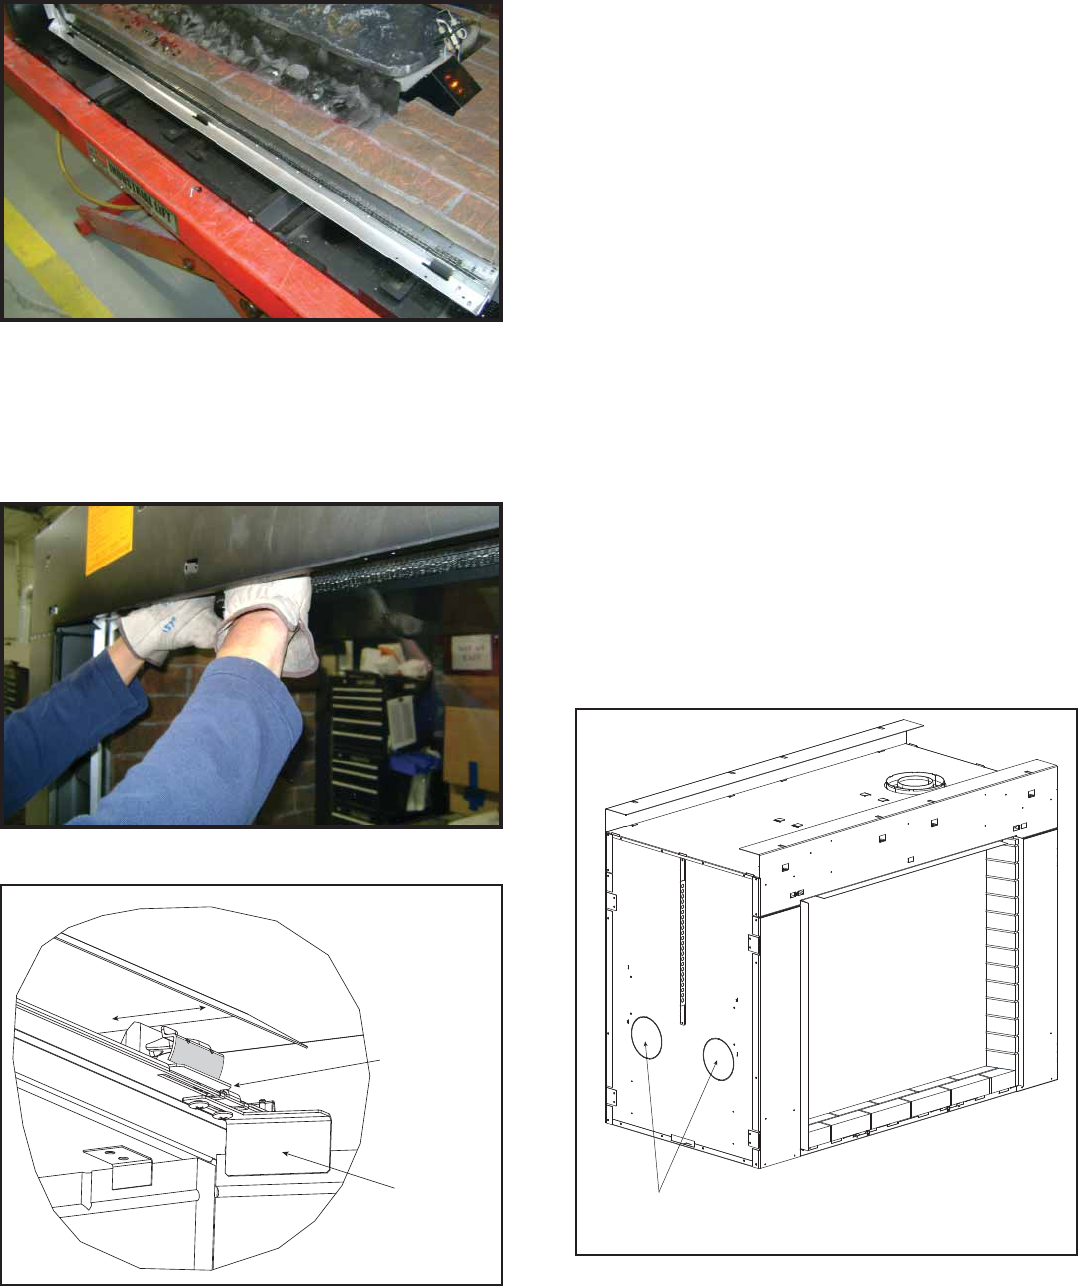
1. Remove the knockout from the side of the appliance
and discard it (see Figure 14.8).
2. Center the duct collar around the exposed hole and
attach it to the appliance with 3 screws. Note: Do this
BEFORE fi nal positioning of the appliance.
3. Determine the location for the air register/fan housing
assembly.
Reference the Heat-Zone
®
Gas Kit instructions for the
remaining installations steps.
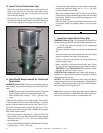
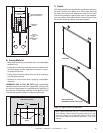
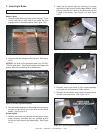
5. Ensure all three bottom glass latch tabs are engaged
and centered in the three slots in the glass frame. The
glass latch tab should protrude through the slot in the
glass frame about 1/4 in. See Figure 14.5
Figure 14.5 Bottom Glass Latch Tabs Installed in Glass Frame
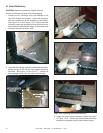
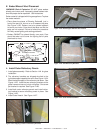
6. Engage the three glass latches on top. Push the top
of the glass toward the fi replace. Use index fi ngers
to manipulate top glass latches and pull out and latch
the three glass assembly latches into the engagement
grooves. See Figure 14.6 and Figure 14.7.
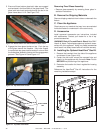
Figure 14.6 Top Glass Latch Access
Removing Fixed Glass Assembly
• Remove glass assembly by reversing these glass in-
stallation instructions.
REFRACTORY
TAB
GLASS FRAME
TAB
Figure 14.7. Top Glass Latch Detail
HEAT-ZONE
®
KNOCKOUTS
Figure 14.8 Heat-Zone® Gas Knockouts.