


2-13
Cisco Intrusion Prevention System Sensor CLI Configuration Guide for IPS 7.2
OL-29168-01
Chapter 2 Initializing the Sensor
Advanced Setup
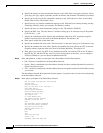
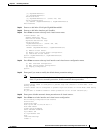
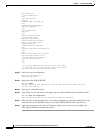
Step 29
Reboot the appliance.
sensor# reset
Warning: Executing this command will stop all applications and reboot the node.
Continue with reset? []:
Step 30
Enter
yes
to continue the reboot.
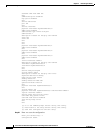
Step 31
Apply the most recent service pack and signature update. You are now ready to configure your appliance
for intrusion prevention.
For More Information
For the procedure for obtaining the most recent IPS software, see Obtaining Cisco IPS Software,
page 20-1.
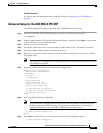
Advanced Setup for the ASA 5500-X IPS SSP
To continue with advanced setup for the ASA 5500-X IPS SSP, follow these steps:
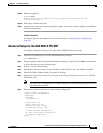
Step 1
Session in to the IPS using an account with administrator privileges.
asa# session ips
Step 2
Enter the
setup
command. The System Configuration Dialog is displayed. Press Enter or the spacebar
to skip to the menu to access advanced setup.
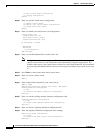
Step 3
Enter
3
to access advanced setup.
Step 4
Specify the Telnet server status. You can disable or enable Telnet services. The default is disabled.
Step 5
Specify the SSHv1 fallback setting. The default is disabled.
Step 6
Specify the web server port. The web server port is the TCP port used by the web server (1 to 65535).
The default is 443.
Note
The web server is configured to use TLS/SSL encryption by default. Setting the port to 80 does
not disable the encryption.
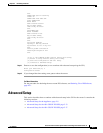
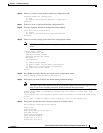
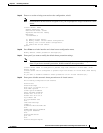
Step 7
Enter
yes
to modify the interface and virtual sensor configuration.
Current interface configuration
Command control: Management0/0
Unassigned:
Monitored:
PortChannel 0/0
Virtual Sensor: vs0
Anomaly Detection: ad0
Event Action Rules: rules0
Signature Definitions: sig0
[1] Edit Interface Configuration
[2] Edit Virtual Sensor Configuration
[3] Display configuration
Option: