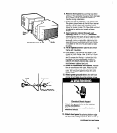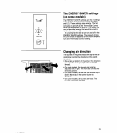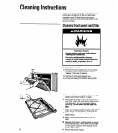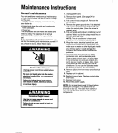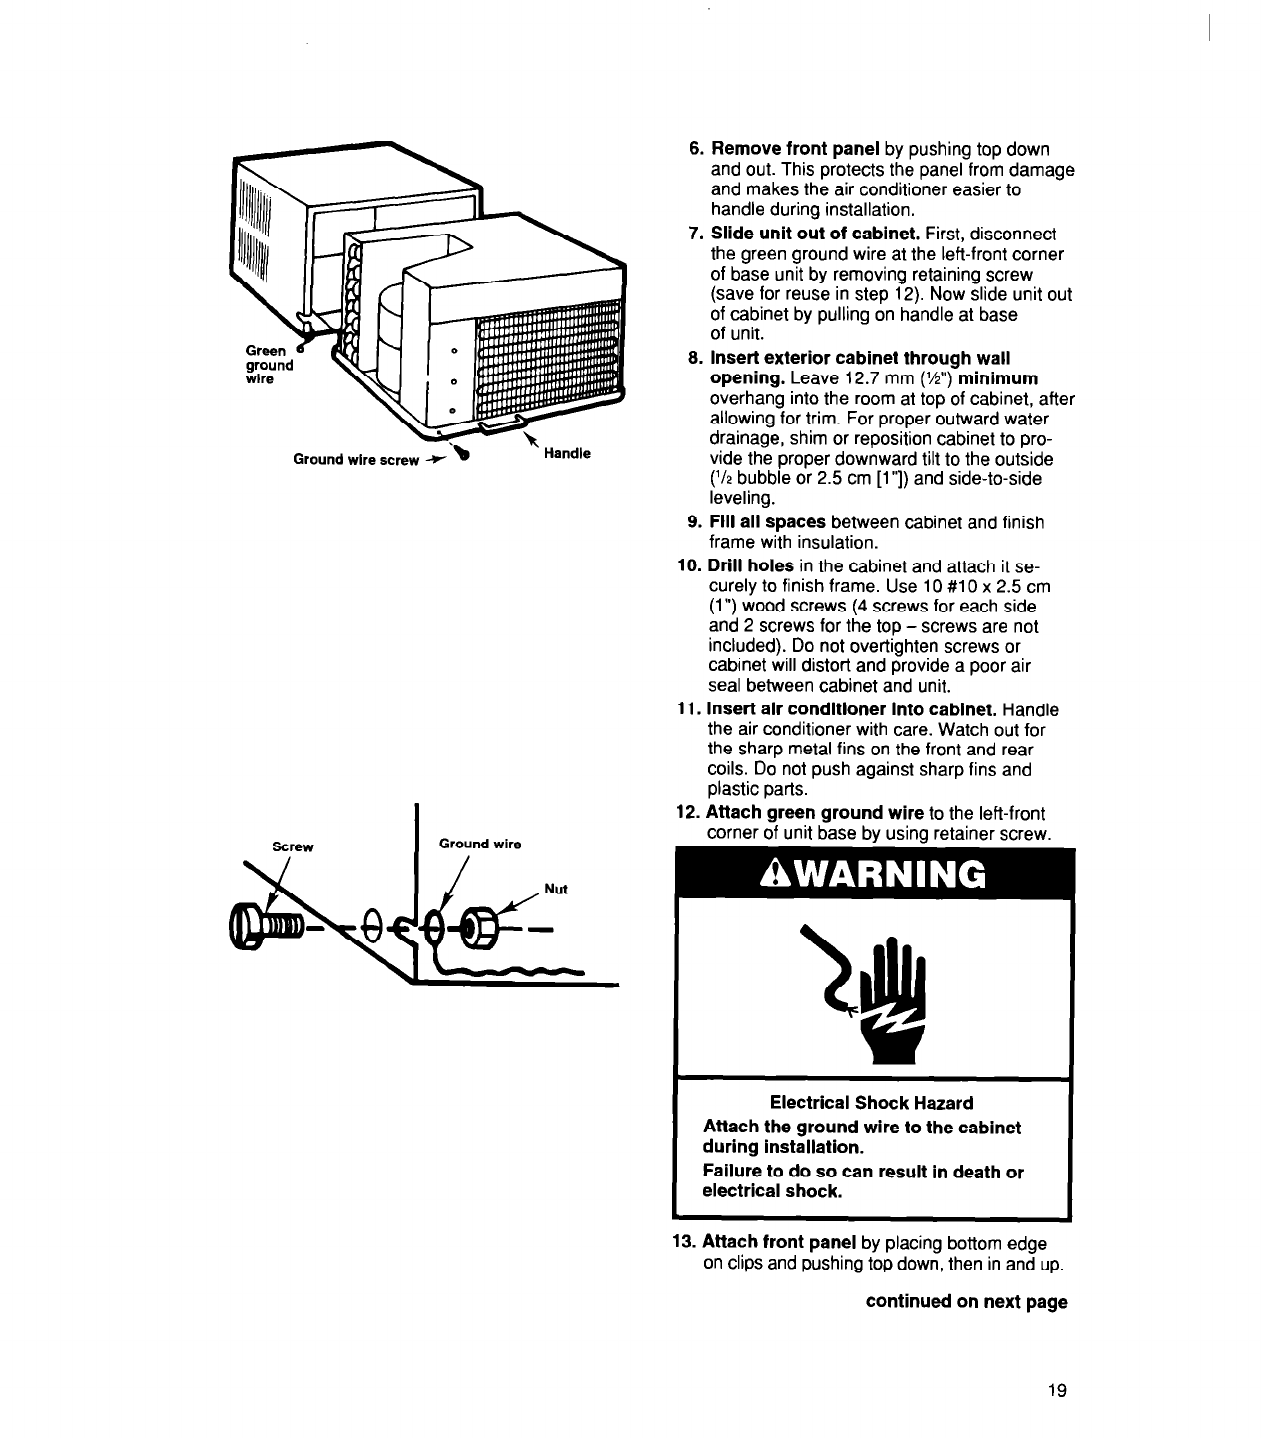
Ground wire screw *
‘b
T Handle
I
Ground wire
6.
7.
8.
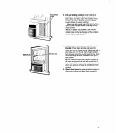
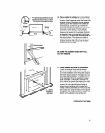
Remove front panel by pushing top down
and out. This protects the panel from damage
and makes the air conditioner easier to
handle during installation.
Slide unit out of cabinet. First, disconnect
the green ground wire at the left-front corner
of base unit by removing retaining screw
(save for reuse in step 12). Now slide unit out
of cabinet by pulling on handle at base
of unit.
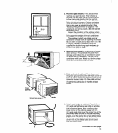
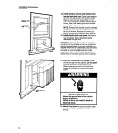
Insert exterior cabinet through wall
opening. Leave 12.7 mm (W’) minimum
overhang into the room at top of cabinet, after
allowing for trim. For proper outward water
drainage, shim or reposition cabinet to pro-
vide the proper downward tilt to the outside
(l/2 bubble or 2.5 cm [l”]) and side-to-side
leveling.
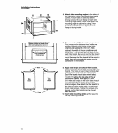
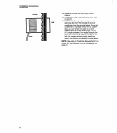
9. Fill all spaces between cabinet and finish
frame with insulation.
10. Drill holes in the cabinet and attach it se-
curely to finish frame. Use 10 #lO x 2.5 cm
(1”) wood screws (4 screws for each side
and 2 screws for the top - screws are not
included). Do not overtighten screws or
cabinet will distort and provide a poor air
seal between cabinet and unit.
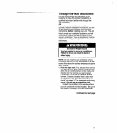
11. Insert air conditioner into cabinet. Handle
the air conditioner with care. Watch out for
the sharp metal fins on the front and rear
coils. Do not push against sharp fins and
plastic parts.
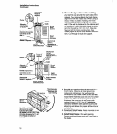
12. Attach green ground wire to the left-front
corner of unit base
by usino retainer screw.
Electrical Shock Hazard
Attach the ground wire to the cabinet
during installation.
Failure to do so can result in death or
electrical shock.
13. Attach front panel by placing bottom edge
on clips and pushing top down, then in and up.
continued on next page
19


