Installation Instructions
Continued
Appropriate
& ::.:lzf
Casing
P^. -IL
for plaster
Trlm
/
Provlde 3 cm (1%“)
clearance for service
cord entry on left
side \
Approprlate
Qd
header If required -
Y
Do not
block
louvers
Flnlsh
frame
- thickness
se 24.3 cm
1%“)
FRAME
CONSTRUCTION
dimension on
56.6 cm (23%“)
cabinet
Use 24.3 cm
for plaster
BRICK VENEER
CONSTRUCTION
This dlmension
depends on wall
thickness and
tvw moldlna
rr n
56.6 cm (23’116”)
dimenblon /
%
Y
/
47.6 cm (16?
Use 44.5 cm
Use 49.5 cm (19’12”) 7’ _
dimenslon for cabinet
for cabinet 4i.9 cm(l6’k”) hlah
’
Includes aliowancdfor 1.3 cri;
b
As”] flange on bottom of
cabinet).
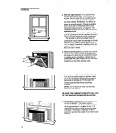
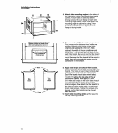
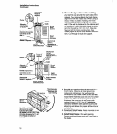
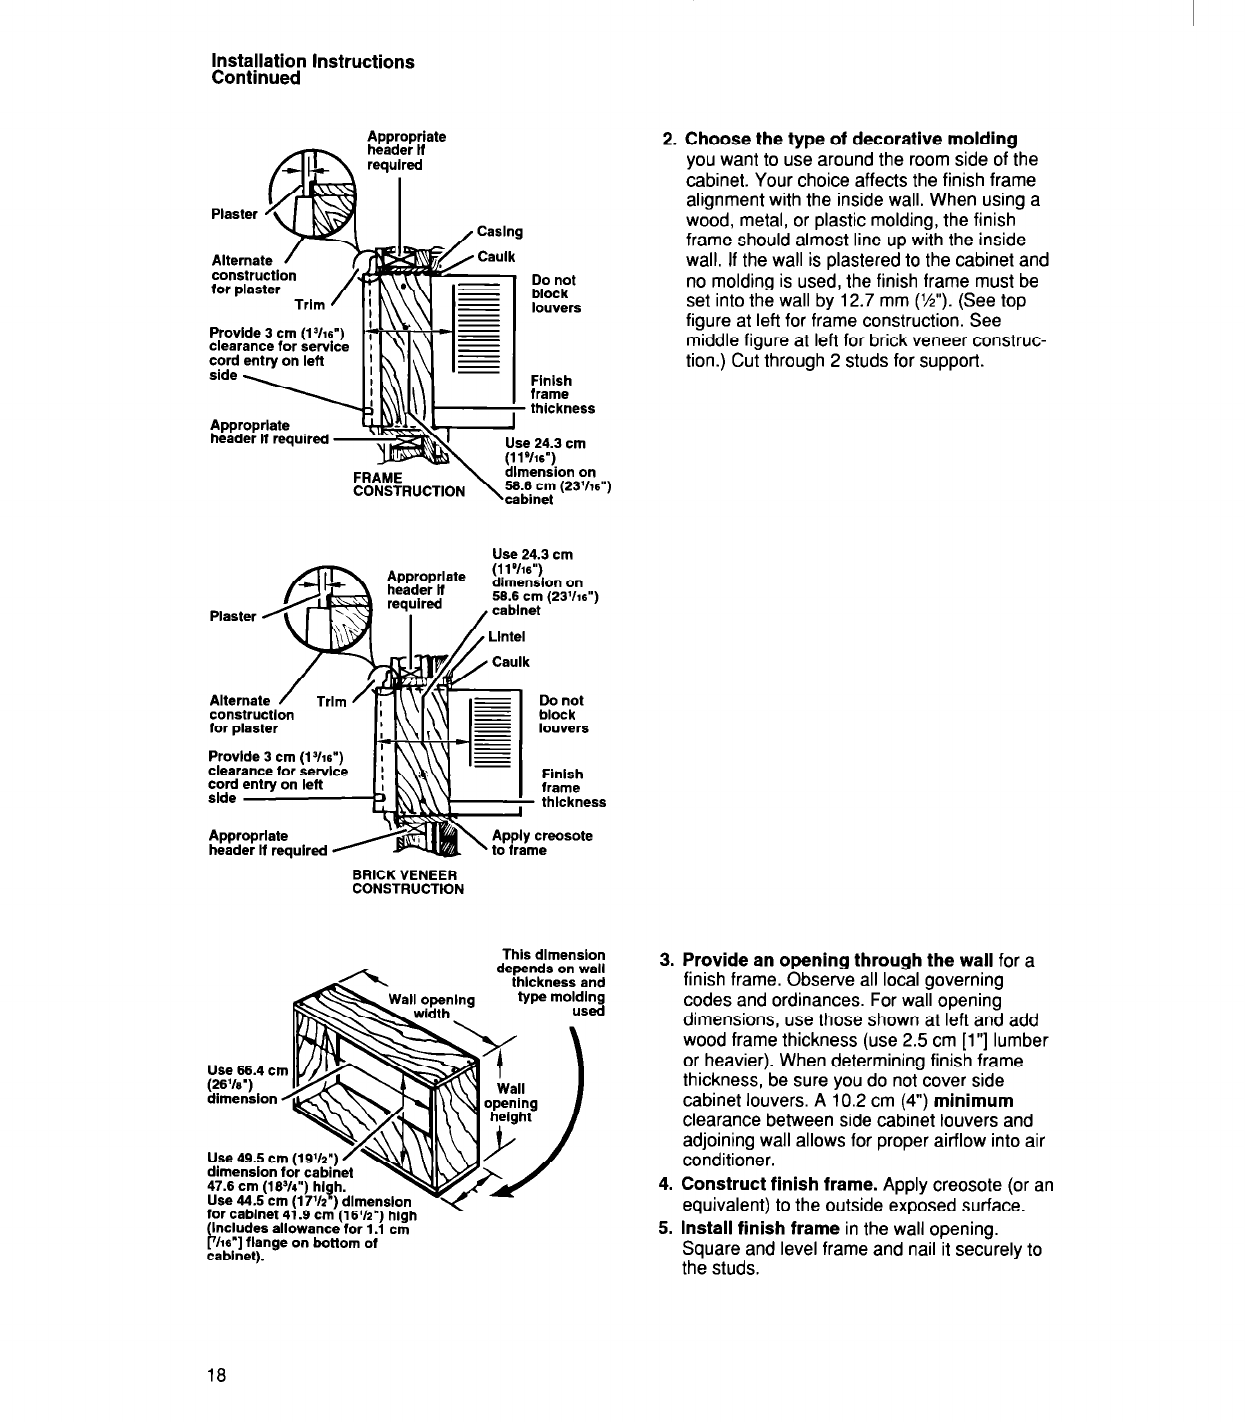
2. Choose the type of decorative molding
you want to use around the room side of the
cabinet. Your choice affects the finish frame
alignment with the inside wall. When using a
wood, metal, or plastic molding, the finish
frame should almost line up with the inside
wall. If the wall is plastered to the cabinet and
no molding is used, the finish frame must be
set into the wall by 12.7 mm (I/$‘). (See top
figure at left for frame construction. See
middle figure at left for brick veneer construc-
tion.) Cut through 2 studs for support.
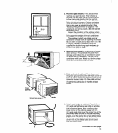
3. Provide an opening through the wall for a
4.
5.
finish frame. bbse;e all lot.% governing
codes and ordinances. For wall opening
dimensions, use those shown at left and add
wood frame thickness (use 2.5 cm [l”] lumber
or heavier). When determining finish frame
thickness, be sure you do not cover side
cabinet louvers. A 10.2 cm (4”) minimum
clearance between side cabinet louvers and
adjoining wall allows for proper airflow into air
conditioner.
Construct finish frame. Apply creosote (or an
equivalent) to the outside exposed surface.
Install finish frame in the wall opening.
Square and level frame and nail it securely to
the studs.
18


