Installation Instructions
Continued
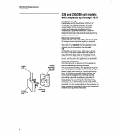
Level
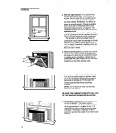
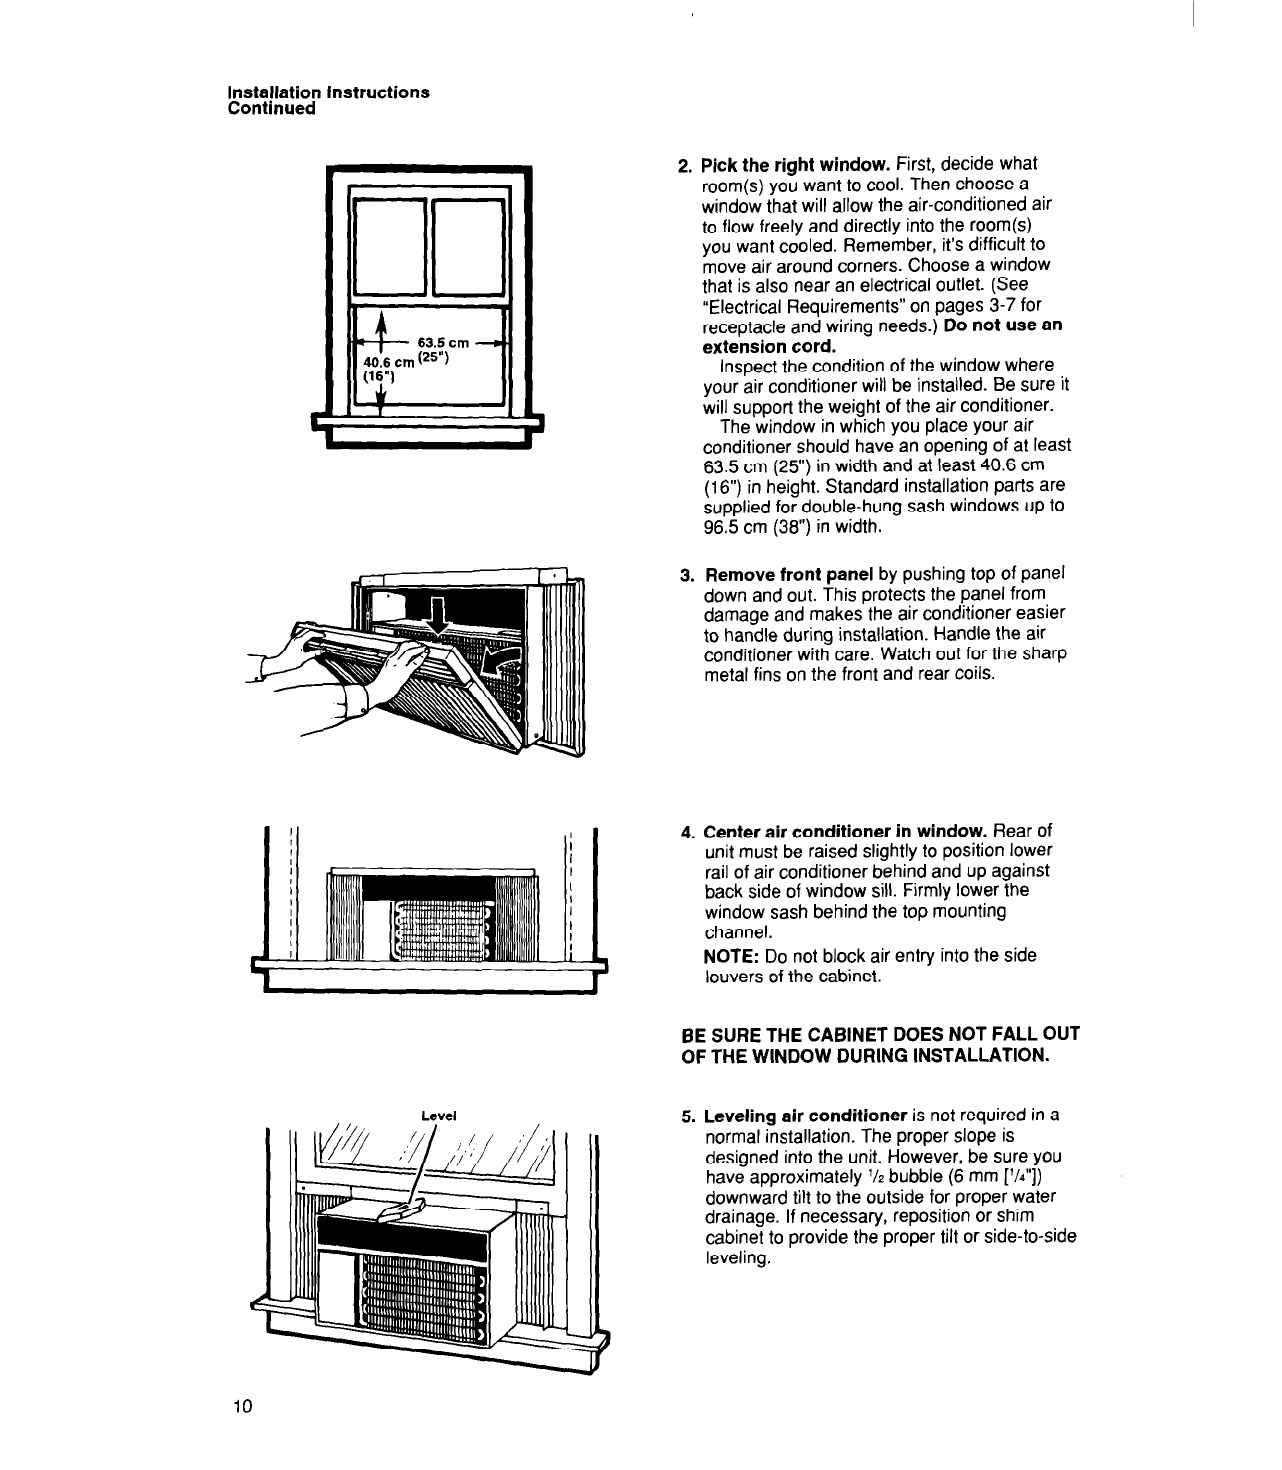
2. Pick the right window. First, decide what
room(s) you want to cool. Then choose a
window that will allow the air-conditioned air
to flow freely and directly into the room(s)
you want cooled. Remember, it’s difficult to
move air around corners. Choose a window
that is also near an electrical outlet. (See
“Electrical Requirements” on pages 3-7 for
receptacle and wiring needs.) Do not use an
extension cord.
Inspect the condition of the window where
your air conditioner will be installed. Be sure it
will support the weight of the air conditioner.
The window in which you place your air
conditioner should have an opening of at least
63.5 cm (25”) in width and at least 40.6 cm
(16”) in height. Standard installation parts are
supplied for double-hung sash windows up to
96.5 cm (36”) in width.
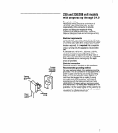
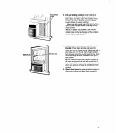
3. Remove front panel by pushing top of panel
down and out. This protects the panel from
damage and makes the air conditioner easier
to handle during installation. Handle the air
conditioner with care. Watch out for the sharp
metal fins on the front and rear coils.
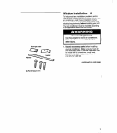
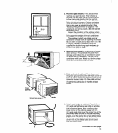
4. Center air conditioner in window. Rear of
unit must be raised slightly to position lower
rail of air conditioner behind and up against
back side of window sill. Firmly lower the
window sash behind the top mounting
channel.
NOTE: Do not block air entry into the side
louvers of the cabinet.
BE SURE THE CABINET DOES NOT FALL OUT
OF THE WINDOW DURING INSTALLATION.
5. Leveling air conditioner is not required in a
normal installation. The proper slope is
designed into the unit. However, be sure you
have approximately ‘/z bubble (6 mm [‘L”])
downward tilt to the outside for proper water
drainage. If necessary, reposition or shim
cabinet to provide the proper tilt or side-to-side
leveling.


