


27
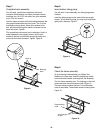
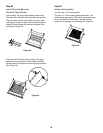
Step 23
Install brace panel and right end panel
You will need: brace panel, right end panel,
1/4-20 x 1 1/2 inch bolt, 1/4-20 hex nut, 1/4-20 x 1/2 inch
bolt, 1/4-20 wing nut, three nylon washers, gas line
bracket and a 7/16 inch wrench.
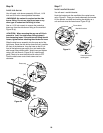
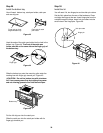
Position the right end panel with the flange at the top
facing away from the barbecue, and the bottom flange
toward the barbecue.
Place a nylon washer on the 1/4-20 x 1/2 inch bolt. Insert
the bolt through the top of the right end panel and the
brace panel. Put on nylon washer, then wing nut and
tighten. Figure 28.
Figure 28
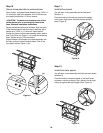
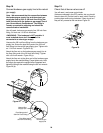
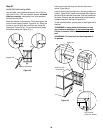
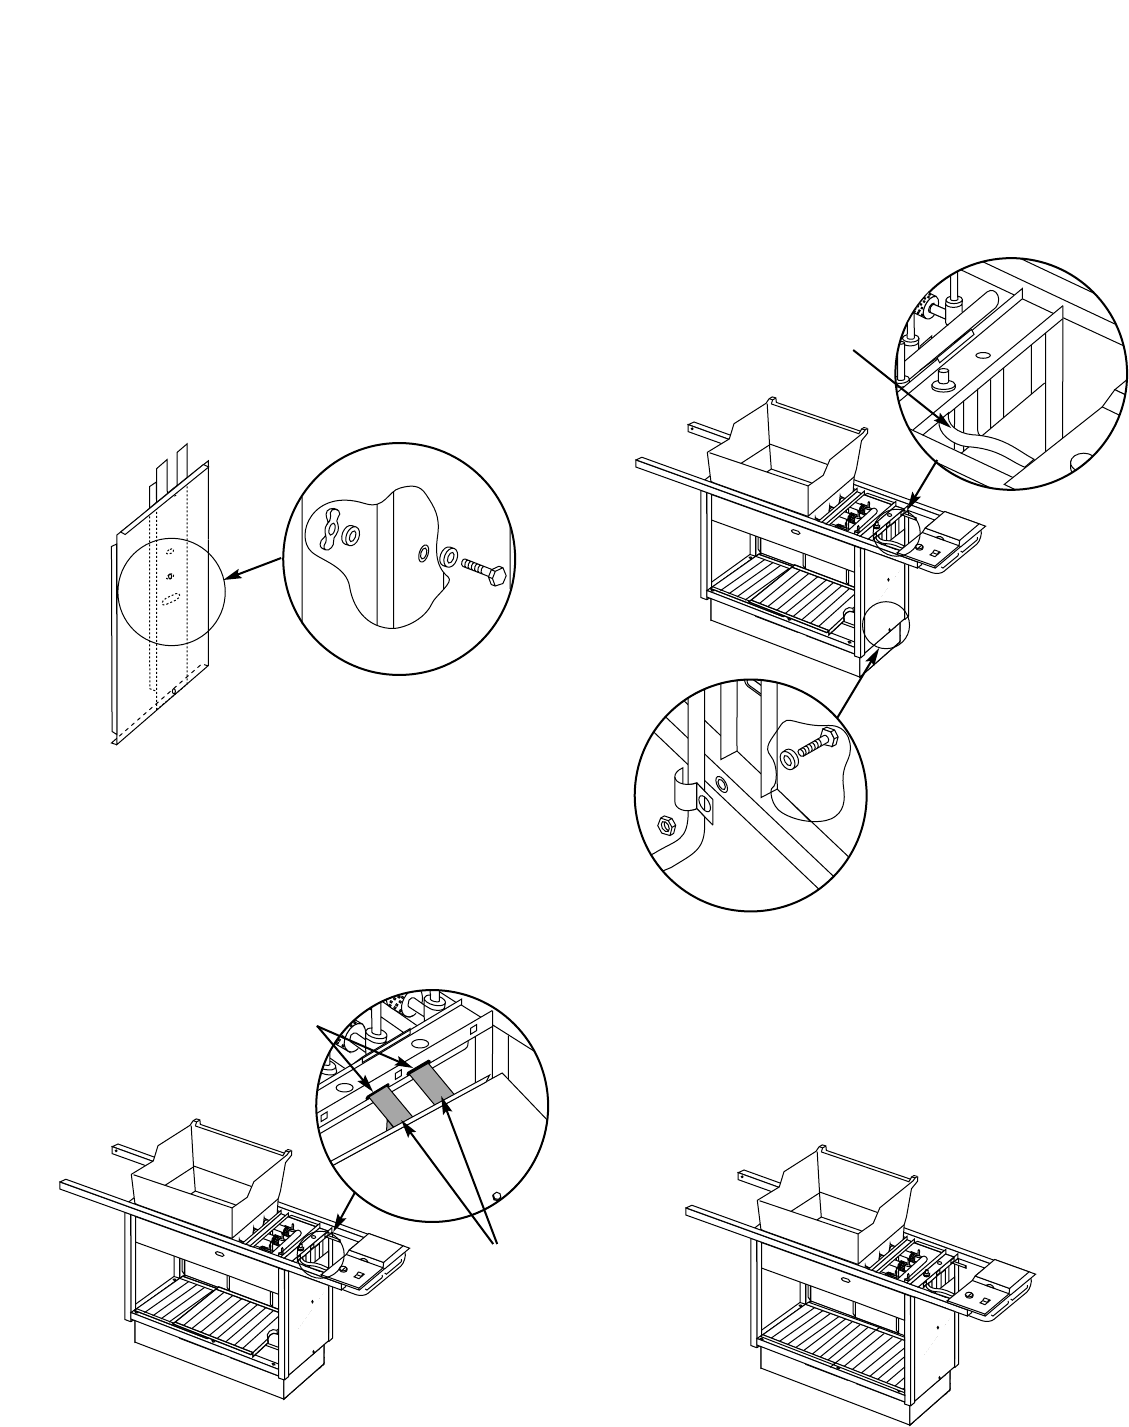
Slide the side burner back. Insert the tabs of the brace
panel into the slots in the frame brace. (Make sure that
the side burner hose is to the front of the barbecue.)
Figure 29. Slide up until the notch in the bottom of the
brace panel fits over the cross brace.
Figure 29
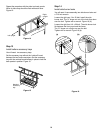
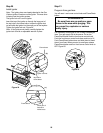
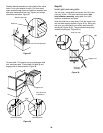
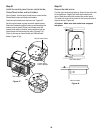
Put a nylon washer on a 1/4-20 x 1 1/2 inch bolt, and
insert through the brace and end panel assembly and the
frame brace. Add the gas line bracket and hex nut.
Tighten with the 7/16 inch wrench. Figure 30. The side
burner hose should be at the top front of the right end
panel.
Note - The bracket holds the barbecue gas supply line to
the frame assembly.
Side burner hose
Tabs on
brace panel
Slots in frame brace
Figure 30
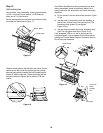
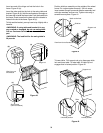
Step 24
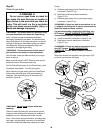
Set notched accessory tray in place
Move the accessory tray to the right, in place between the
frame connectors with the notched board toward the
barbecue gas supply line. Figure 31.
Figure 31