


21
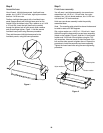
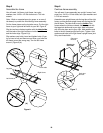
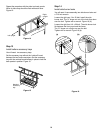
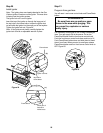
Repeat the procedure with the other two back panels.
When in place they should be flush with each other.
Figure 14.
Left upright
Figure 14
Right
upright
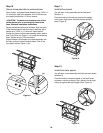
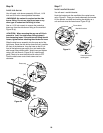
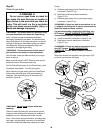
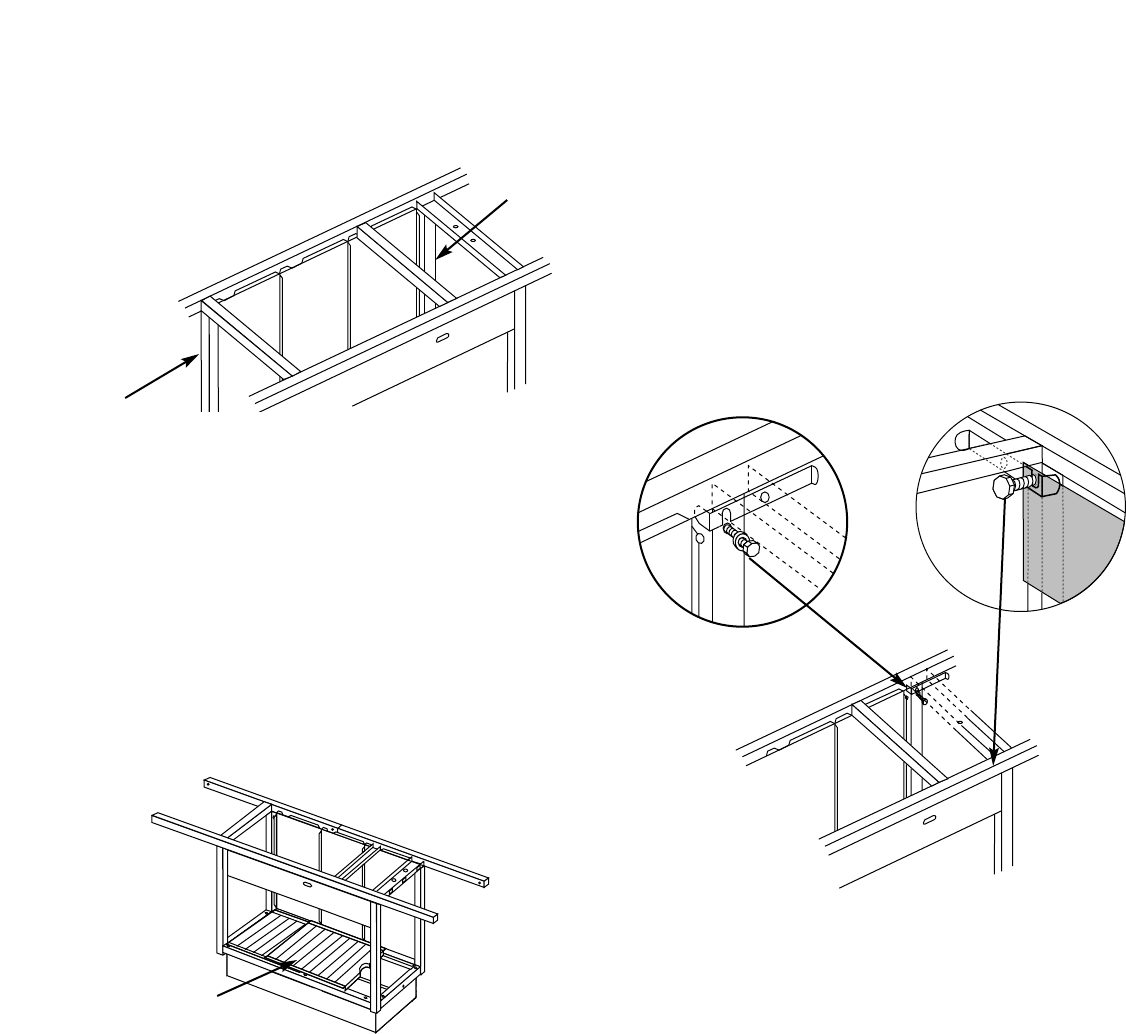
Step 14
Install side burner locks
You will need: frame assembly, two side burner locks and
a 7/16 inch wrench.
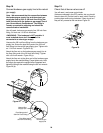
Loosen the right rear 1/4 x 20 bolt. Install the side
burner lock. The “U” shape cut out of the lock slips down
over the bolt. Tighten with a wrench. Figure 16 (a).
Loosen the right front 1/4 x 20 bolt. The side burner lock
fits between the front panel and the frame.
The “U” shape cut out slips up over the bolt.
Tighten with a wrench. Figure 16 (b).
Figure 16
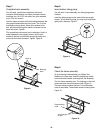
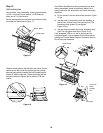
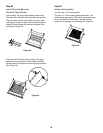
Step 13
Install bottom accessory trays
You will need: two accessory trays.
Set the accessory tray without the “notched” board
between the two frame connectors. Set the accessory
tray with the notched board halfway in place to hold the
back panels in position. Figure 15.
Notched
accessory
tray
Figure 15
(a)
(b)