


– 92 –
No.
Part name
Fan motor
Procedure
1) Perform work of Detachment 1 of
,
,
and
.
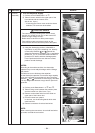
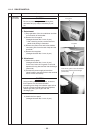
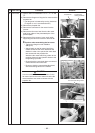
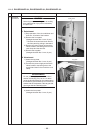
2) Remove the flange nut fixing the fan motor and the
propeller fan.
∗ The flange nut is loosened by turning clockwise.
(To tighten it, turn it counterclockwise.)
3) Remove the propeller fan.
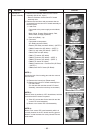
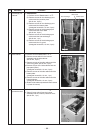
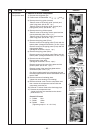
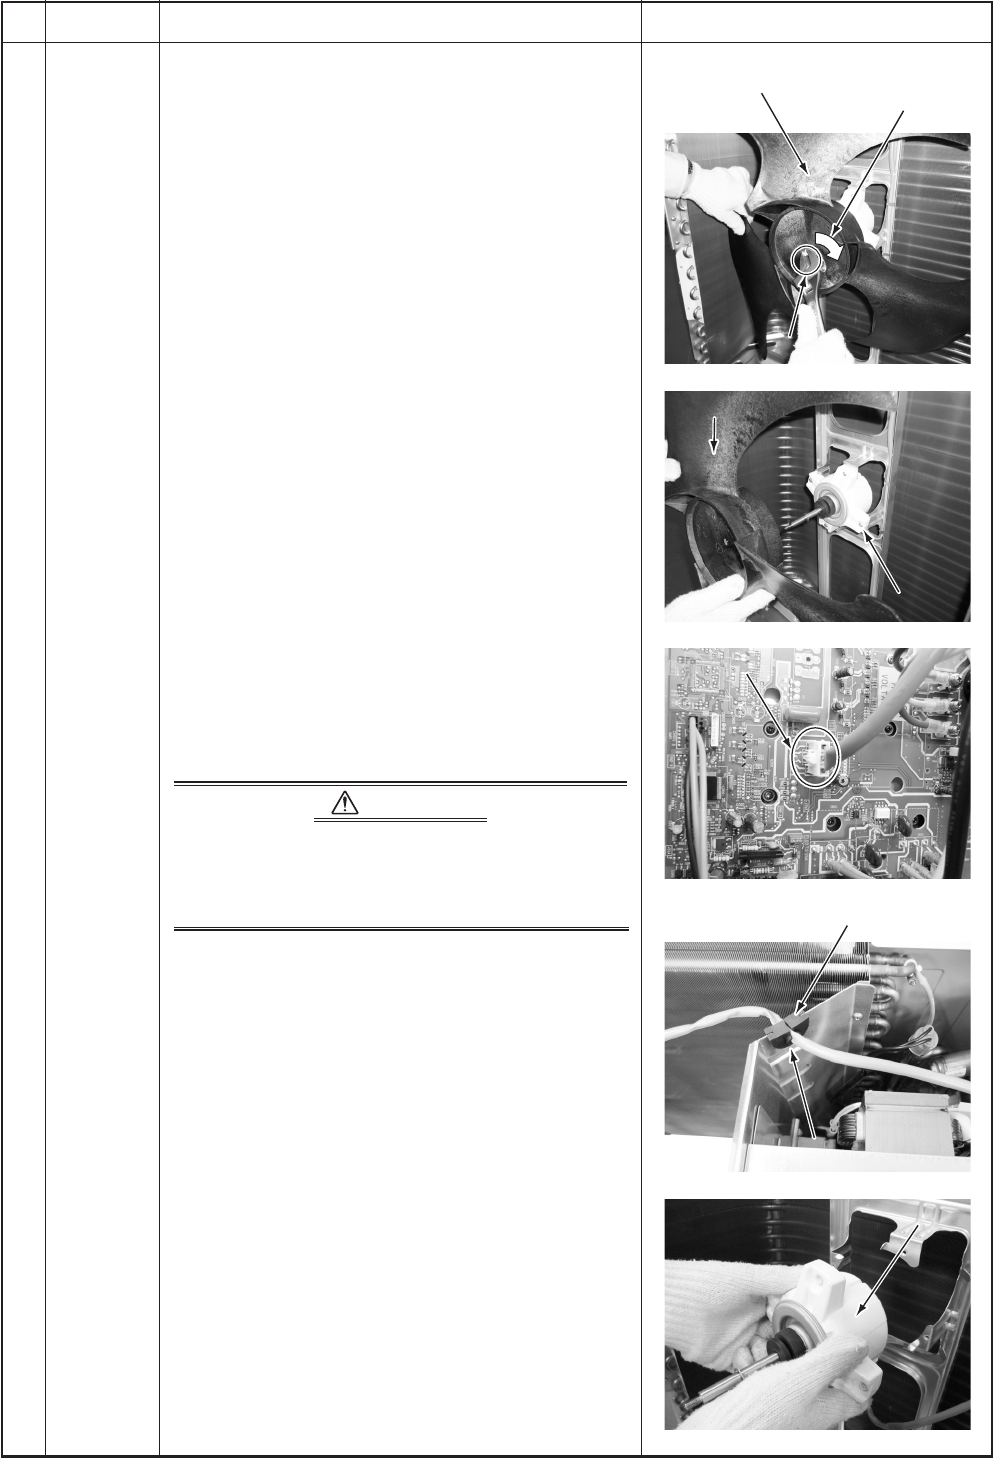
4) Remove the connector for fan motor from the
inverter.
5) Remove the fan motor lead from the fan motor
lead fixing rubber of the penetrated part of the
partition plate.
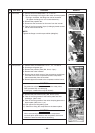
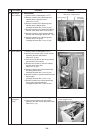
6) Remove the fixing screws (4 pcs. each) while
supporting the fan motor so that it does not fall.
✻✻
✻✻
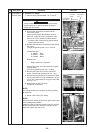
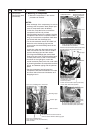
✻ Cautions when assembling the fan motor
∗ Tighten the flange nut with 4.95N•m
(50kgf.cm).
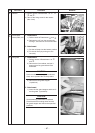
∗ Adjust length on the fan motor lead fixing
rubber so that the fan motor lead does not
slacken in order not to put the fan motor lead
into contact with the propeller fan.
Attach the fan motor lead fixing rubber to the
partition plate so that projection directs to the
refrigerating cycle side.
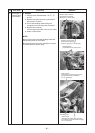
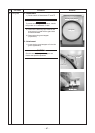
∗ Be sure that the rector body does not come to
contact with the fan motor lead.
∗ Be sure to bind the removed bundling band
with the bundling band on the market.
CAUTION
Use the metal band of the motor base to fix the
fan motor lead on the motor base so that the fan
motor lead does not come to contact with the
propeller fan.
Remarks
Propeller fan
Propeller fan
Propeller fan Loosened by
turning clockwise
Fan motor
Fan motor
Propeller fan
Fan motor
Flange nut
Flange nut
Flange nut
Fan motor
Fan motor
Fan motor
Fan motor lead fixing rubber
Projection/Refrigerating cycle side
Projection/Refrigerating cycle side
Projection/Refrigerating cycle side
Fan motor connector
Fan motor connector
Fan motor connector