


21
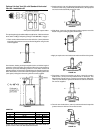
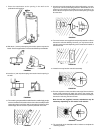
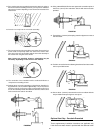
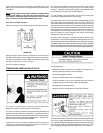
8. Be sure the 6” (15.2 cm) diameter elbow is centered around the 3”
(7.6 cm) diameter flue, secure using two sheet metal screws at the
connection of the elbow and the 6” (15.2 cm) vertical extension.
FIGURE 79.
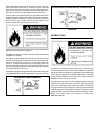
9. Slide the vent collar (to be installed later) over the 6” (15.2 cm) vent elbow.
FIGURE 80.
10. Move the water heater into position at the vent opening.
FIGURE 81.
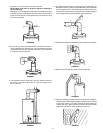
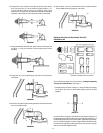
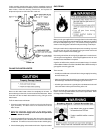
11. Slide the 6” (15.2 cm) telescoping vent section apart to expose the
beads. Use the supplied tube of caulking and fill the exposed beads.
FIGURE 82.
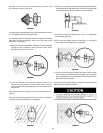
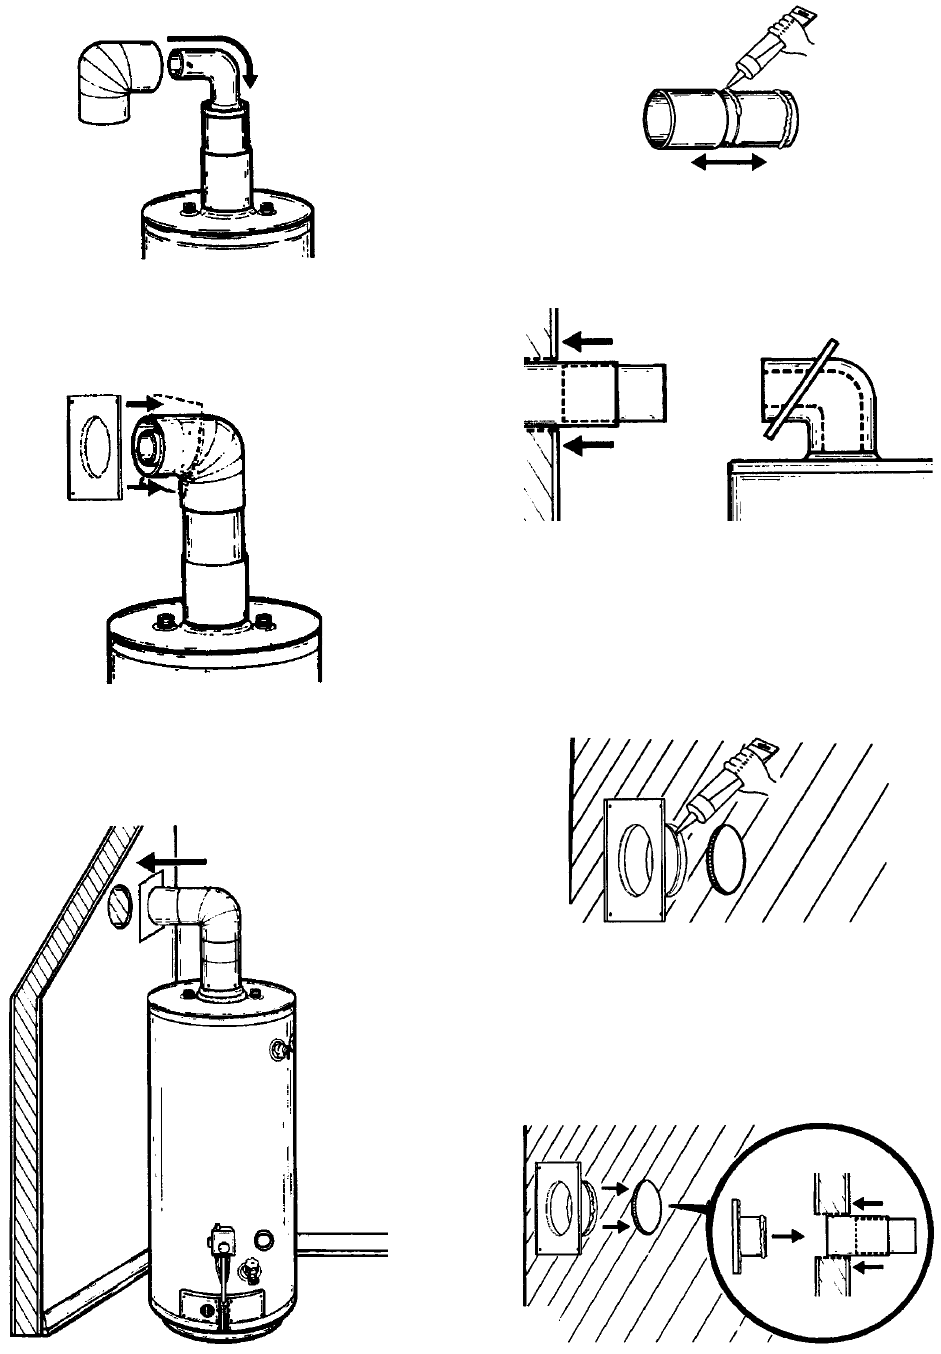
12. Insert the 6” (15.2 cm) telescoping vent section into the wall.
FIGURE 83.
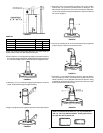
13. The remaining vent parts will be installed from the outside. Apply
ample amount of sealant to the inside surface of the collar assembly
that will contact the exterior wall. Also, apply sealant to the bead
around the outside edge at the end of the 6” (15.2 cm) diameter vent
collar.
FIGURE 84.
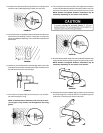
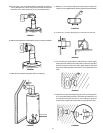
14. Install the vent collar assembly through the wall, connecting to the
6” (15.2 cm) telescoping extension. Remember, the extension is not
connected and may be necessary to return indoors to push the
extension back against the interior wall for a tight fit to the collar.
FIGURE 85.