


Regency
®
P40 Direct Vent Gas Fireplace 27
INSTALLATION
INSTALLATION
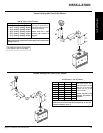
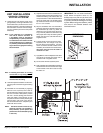
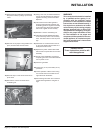
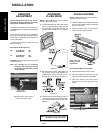
Control Module
17) Remove the Control Module, located behind
the power module, by lifting it up off of the
velcro.
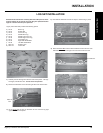
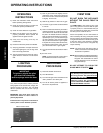
18) Remove the J9 jumper using needle nose
pliers, located under the heat shield.
19) Reverse steps 17 and 16. Be careful not to
pinch wires.
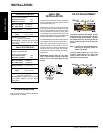
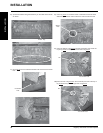
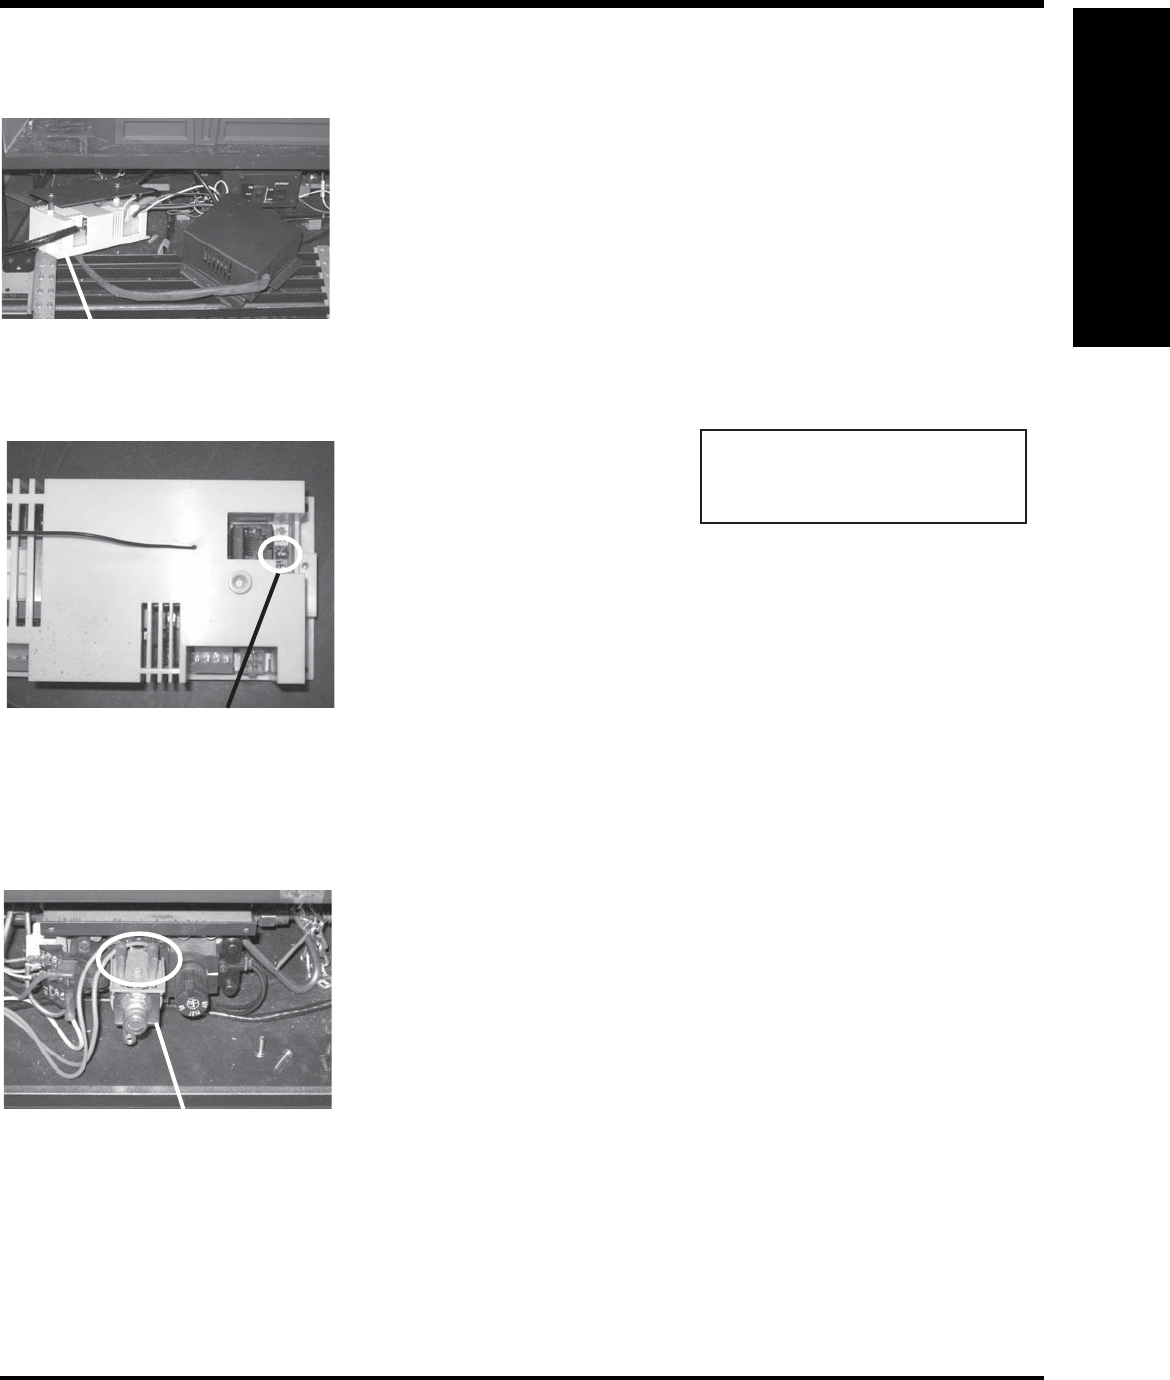
20) Remove the 2 wires connected to the
modulating coil.
Modulating Coil
21) Using a Torx T20, or slotted screwdriver,
remove and discard the three pressure
regulator mounting screws and rubber
diaphram.
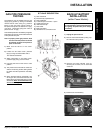
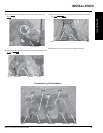
22) Insure that the new rubber gasket is
properly positioned and install the new
modulating pressure regulator assembly
to the valve using the screws supplied
with the kit. Tighten screws securely.
23) Reattach 2 wires to modulating coil.
24) Install the enclosed identifi cation label
to the valve body where it can be easily
seen. The label is found in the coil pack-
age.
25) Attach the LP conversion decal near or
on top of the serial # decal located on a
metal plate under the unit.
26) Replace the yellow "Natural Gas" label
with the red "Propane" label on the valve
assembly.
27) Ensure proper installation of venting is
complete, gas line is connected and then
turn on power to unit.
28) Check for gas leaks.
29) Check inlet (12" wc) and outlet (10" wc)
pressures.
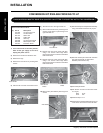
30) Check operation of fl ame control using
the manual control box located on the
right side under the fi rebox.
31) Re-install logs and fl ush door. Check for
proper fl ame appearance and glow on
logs.
WARNING!
This conversion kit should be installed
by a qualifi ed service agency in ac-
cordance with the authority having
jurisdiction. If the information in these
instructions are not followed exactly, a
fi re, explosion or production of carbon
monoxide may result causing property
damage, personal injury or loss of life.
The qualifi ed service agency is respon-
sible for the proper installation of this
kit. The installation is not proper and
complete until the operation of the con-
verted appliance is checked as speci-
fi ed in the manufacturer's instructions
supplied with the kit.
Installer Notice:
These instructions must be left
with the appliance.
J9 Jumper