


Regency
®
L676-1 Direct Vent Gas Fireplace 29
INSTALLATION
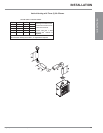
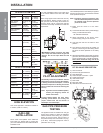
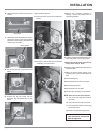
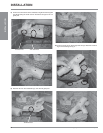
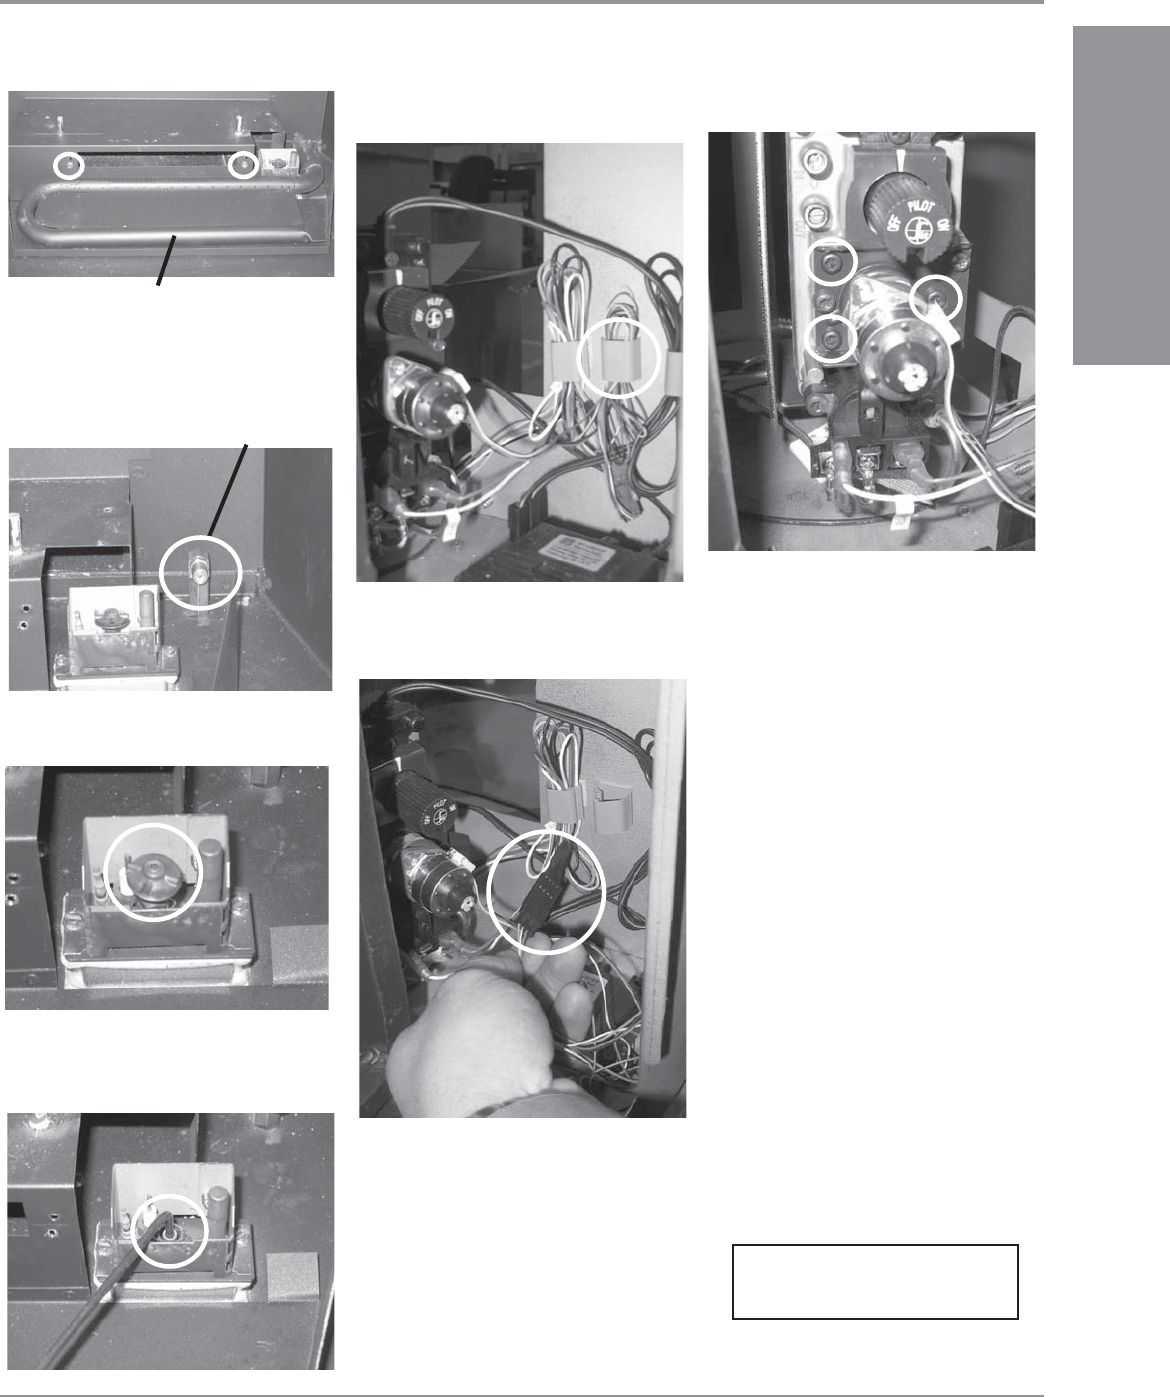
9) Remove the NG pilot orifice with the
5/32 Allen Key and replace with LP pilot
orifi ce.
10) Re-install the pilot cap.
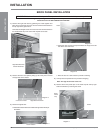
14) Install the enclosed identifi cation label to the
valve body where it can be easily seen.
15) Attach the LP conversion decal near or
on top of the serial no. decal.
16) Replace yellow "Natural Gas" label with red
"Propane" label.
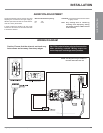
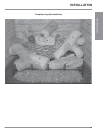
17) Adjust the burner aeration setting to the
LP setting (5/16") and re-install the burner
tube.
18) Re-install the grate.
19) Re-install the burner orifi ce cover plate.
20) Re-install the glass door.
21) Re-install the front cover plate
22) Continue with completing unit installation.
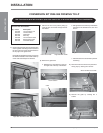
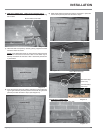
NOTE: Once the unit has been installed;
Installer Notice:
This instructions must be left
with the appliance.
a) Turn on the gas supply and check for
gas leaks.
b) Check the inlet and outlet pressures.
c) Check operation of fl ame control using
the remote control.
d) Check for proper fl ame appearance.
11) Undo the center wire clip on the side of the
fi rebox.
12) Unplug the wire harness that connects the
modulating coil to the receiver.
13) Remove NG modulating regulator by
undoing 3 screws and replace with LP
modulating regulator.
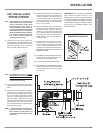
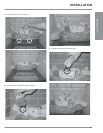
7) Remove the burner orifi ce with a 1/2" wrench.
Use another wrench to hold onto the elbow
behind the orifi ce. Replace the NG burner
orifi ce with LP orifi ce #51.
Burner Orifi ce
8) Pull off the pilot cap to expose the pilot
orifi ce.
6) Remove the burner tube by removing the 2
screws.
Burner Tube
INSTALLATION