


16 C3608M (9/07)
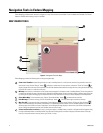
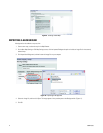
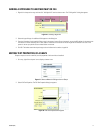
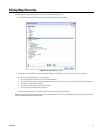
Figure 14. Editing Tools for Shapes
5. If desired, select the text tool, and then add a name for the shape on the map. You can add text directly to the shape, or use the Text tool to
add a separate text label to the shape. Refer to Editing Text Properties of a Shape on page 17 for instructions on adding a text title to a
shape and modifying its properties.
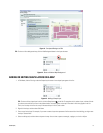
6. If desired, move a shape to a different position on the map, or click along the edge of a shape and drag the border to change its size.
7. If desired, change the color of the border and the fill. To adjust the transparency of the fill, move the slider toward the left to increase the
color saturation or to the right to decrease the color saturation. If a shape uses a transparent fill, the background map is visible beneath the
shape. The most recently used colors are presented above the color palette for quicker access.
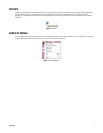
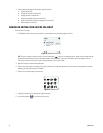
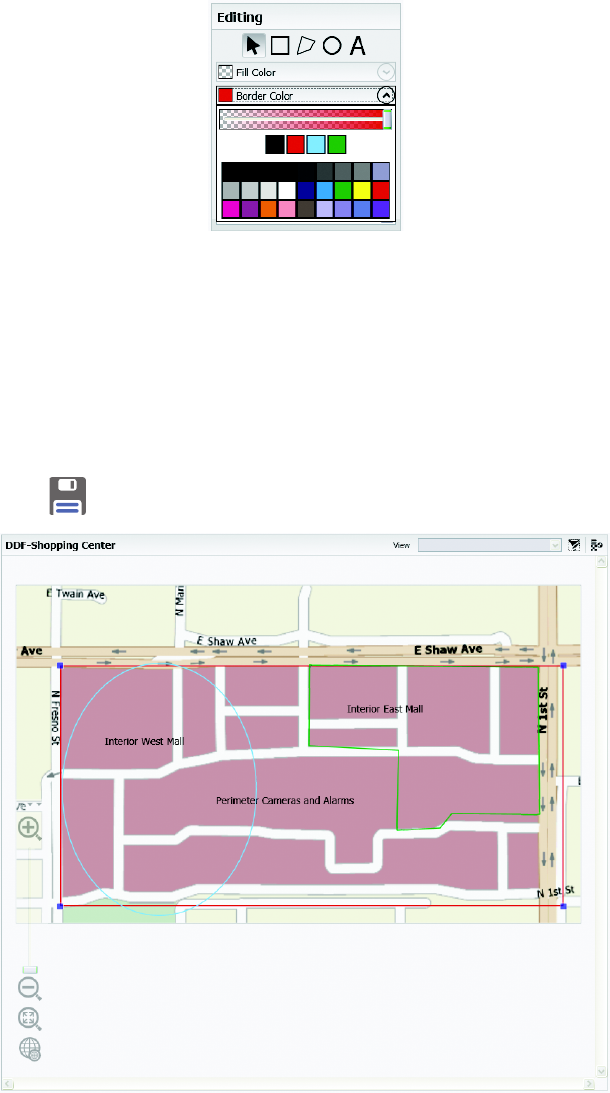
8. Click the Save button
to save the changes to the map.
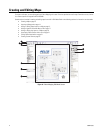
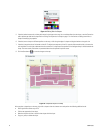
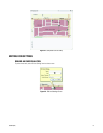
Figure 15. Completed Layers on a Map
After you place a shape layer on the map, right-click a shape to view the shortcut menu and perform the following additional tasks:
• Add a hyperlink to another map or file.
• Edit the text properties of the shape.
• Move the shape to the front or back of other shapes within the layer.
• Copy, cut, paste, or delete the shape.