


Embroidery 5-5
1 —
2 —
3 —
4 —
5 —
6 —
7 —
8 —
?
!
9 —
CONTENTS
Index
1
2
Attaching the Embroidery Unit
CAUTION
Be sure to turn off the power before installing the em-
broidery unit, otherwise, the machine may be dam-
aged.
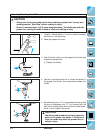
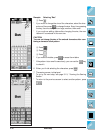
1. Turn off the power, and remove the flat-bed attach-
ment.
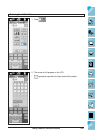
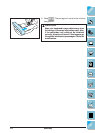
2. Open the cover of the connection port, as shown in
the illustration.
Note
Be sure to replace the cover when the embroidery unit is
not installed.
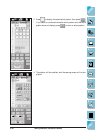
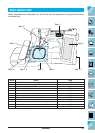
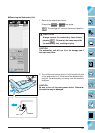
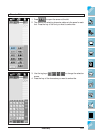
3. Insert the embroidery unit connection into the machine
connection port. Push lightly until the unit clicks into
place.
1 Embroidery unit connection
2 Machine connection port
CAUTION
• Be sure there is no gap between the embroidery unit
and the sewing machine. If there is a gap, the em-
broidery patterns will not embroider with the correct
registration.
• Do not push on the carriage when installing the em-
broidery unit onto machine. Moving the carriage may
damage the embroidery unit.
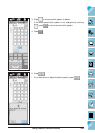
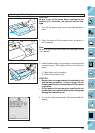
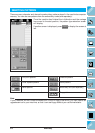
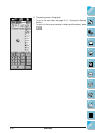
4. Turn on the main power switch. The screen at left will
display.