


Setting Up 1-3
1 —
2 —
3 —
4 —
5 —
6 —
7 —
8 —
?
!
9 —
CONTENTS
Index
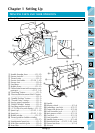
START
STOP
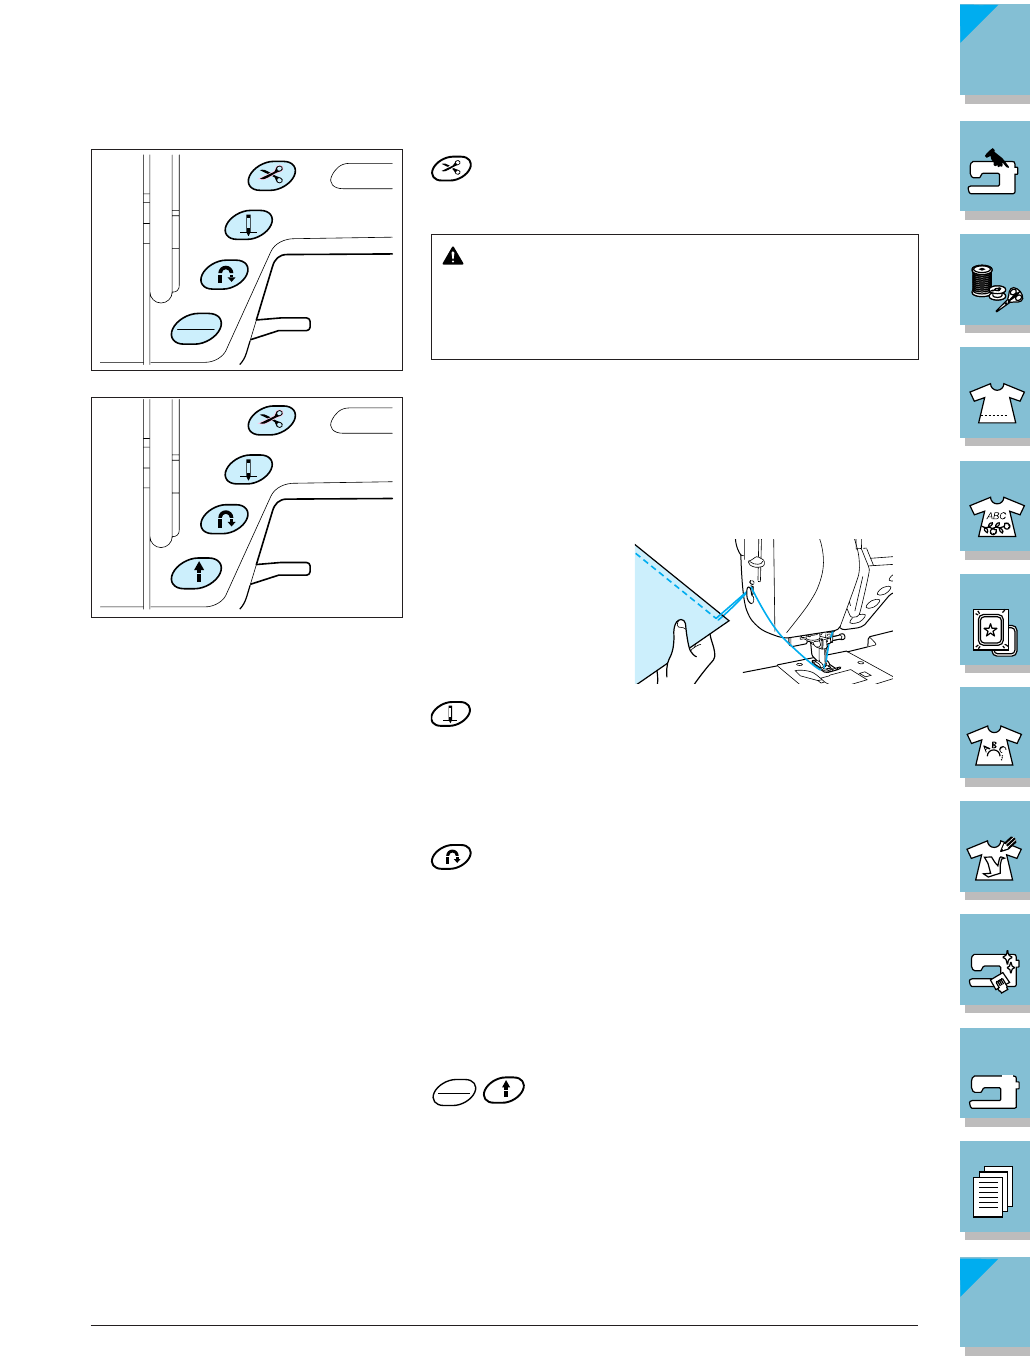
■ Operation Buttons
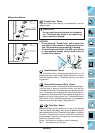
“Thread Cutter” Button
Press this button after sewing to automatically trim the
excess thread.
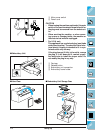
CAUTION
Do not repeat thread cutting after the threads are
cut. The thread may tangle or the needle may
break, resulting in damage.
CAUTION
• Do not press the “Thread Cutter” button when there
is no fabric in the machine or during machine opera-
tion. The thread may tangle resulting in damage.
• When cutting thread thicker than #30, nylon thread,
or other specialty threads, use the thread cutter on
the side of the machine.
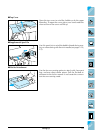
“Needle Position” Button
Use this button when changing sewing direction or for
detailed sewing in small areas. Press this button to raise or
lower the needle position. Press the button twice to sew a
single stitch.
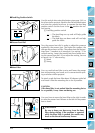
“Reverse/Reinforcement Stitch” Button
Use this button to sew reinforcement stitches at the begin-
ning and end of sewing. Press this button, and the ma-
chine sews 3 stitches in the same spot and stops automati-
cally. For straight and zigzag stitch patterns that take re-
verse stitches, the machine will sew reverse stitches at low
speed only while holding down the “Reverse/Reinforce-
ment Stitch“ button (the stitches are sewn in the opposite
direction from the main seam). (See page 2-3.)
START
STOP
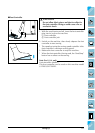
“Start/Stop” Button
Press this button and the machine will sew a few stitches
at a slow speed, then begin sewing at the speed set by the
sewing speed controller. Press the button again to stop the
machine. Hold the button down to sew at the machine’s
slowest speed. The button changes color according to the
machine’s operation mode.
Green : the machine is ready to sew or is sewing.
Red : the machine can not sew.