


Solution 64
12
Bosch Security Systems 09/06 BLCC110U
User Guide
2. Use the [↑] and [↓] keys to select the user that you
want to add the RF keyfob ID, then press [OK] to select.
Alternatively, you can enter the user number you, then
press [OK].
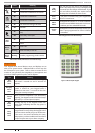
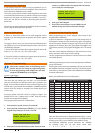
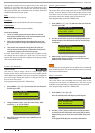
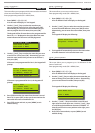
The keypad will prompt you to enter the RF keyfob ID
number:
Enter keyfob RFid for
U016 User 16 Name
000000000
Press OK or MENU
3. Enter the RF Keyfob ID Number
4. Press [OK] to save and exit, or press [MENU] to exit
without saving.
Access > RF Keyfob >
Delete Keyfob
MENU 1-3-1
This menu allows the security installer or a master user to delete
the RF keyfob ID that has been assigned to a user.
Enter programming mode (PIN + MENU) then,
1. Enter [MENU] + [1] + [3] + [1].
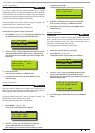
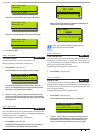
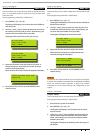
A list of users will display on the keypad.
U001 JOHN SMITH
U002 DEBBIE SMITH
U003 USER 3 NAME
PRESS , OK or MENU
2. Use the [
↑] and [↓] keys to select the user that you want to
delete the keyfob, then press [OK] to select. Alternatively,
you can enter the user number, then press [OK].
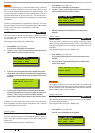
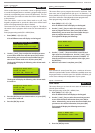
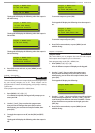
OK to delete Keyfob for
U002 Debbie Smith
009553507
Press OK or MENU
3. Press [OK] to delete the RF Keyfob ID number and exit, or
press [MENU] to exit without saving.
Access > User Properties >
User Name
MENU 1-4-0
This menu allows the master user to program the user’s name. A
maximum of 16 characters can be entered.
Enter programming mode (PIN + MENU) then,
Enter [MENU] + [1] + [4] + [0].
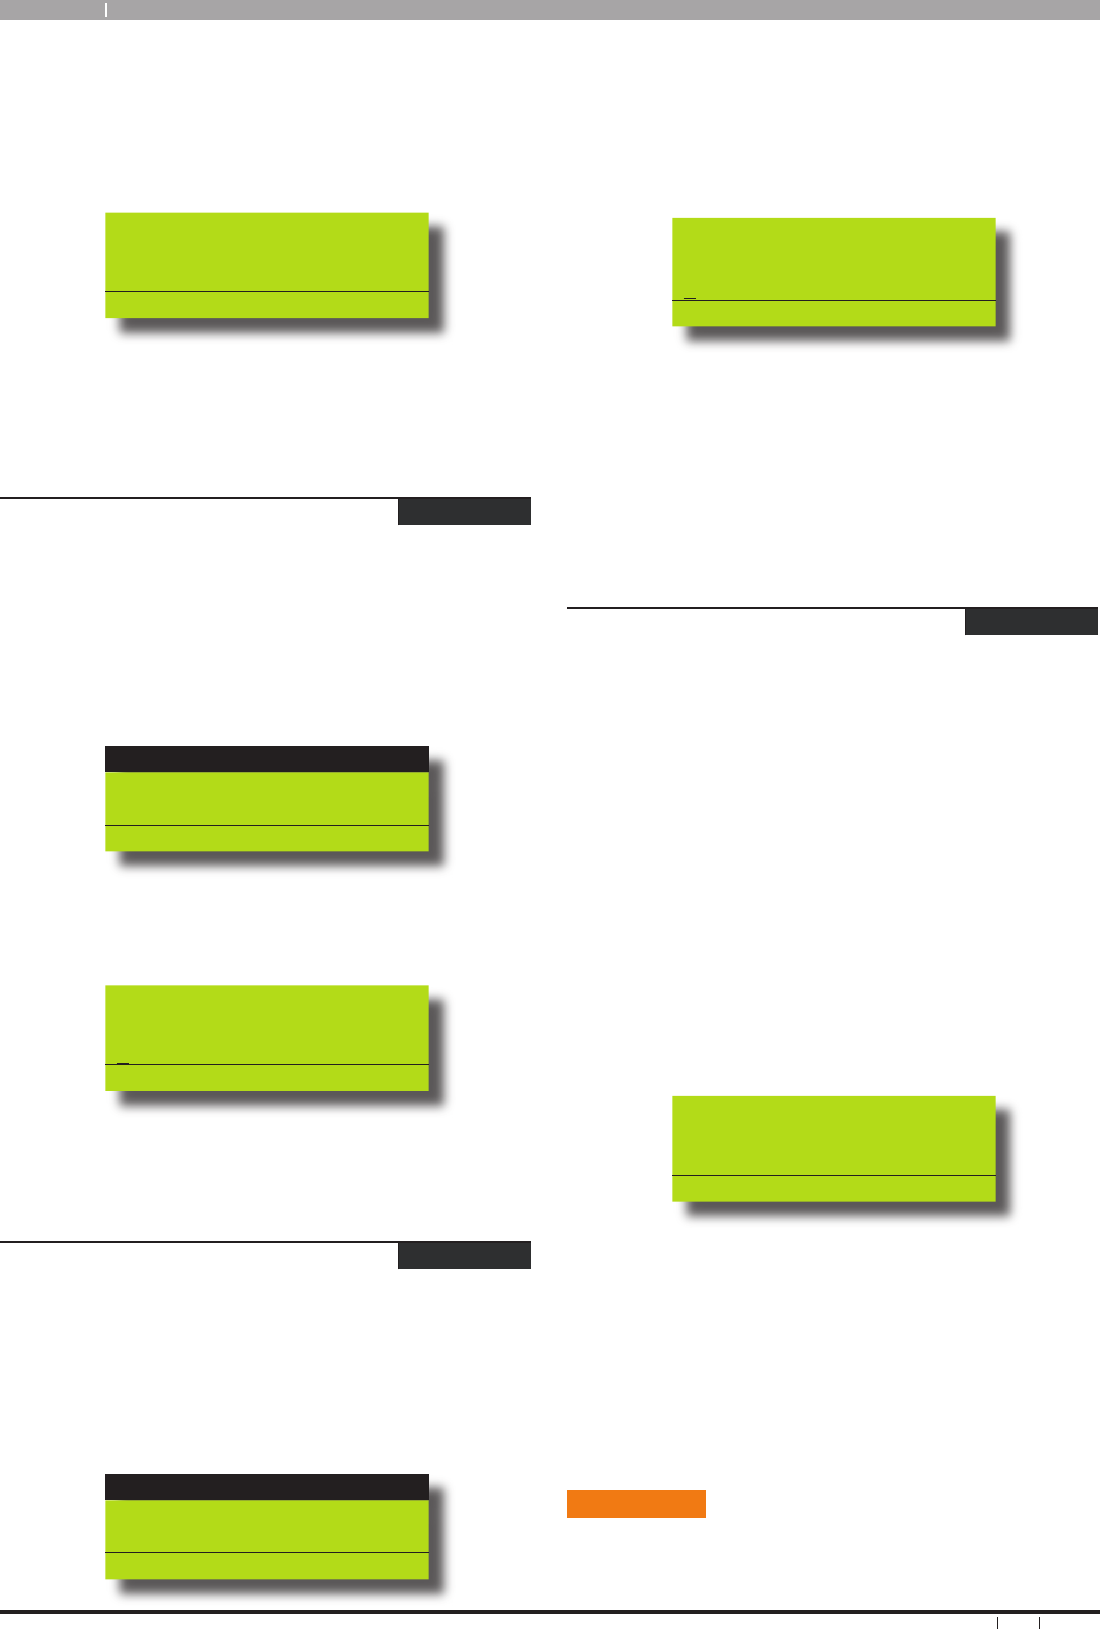
A list of users will display on the keypad.
U001 JOHN SMITH
U002 DEBBIE SMITH
U003 USER 3 NAME
Press OK or MENU
1.
To program the user name, use the [↑] and [↓] keys to
select the user that you want to program, then press [OK]
to select. Alternatively, you can enter the user number
you want to program, then press [OK].
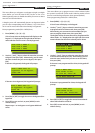
The keypad will display the current user name.
User Name U001
User 1 Name
Press ◄► OK to SAVE
Use the [
←] and [→] keys to scroll the cursor left and
right across the user name text. Use the [↑] and [↓] keys
to scroll through the different characters available. To
clear all text from the cursor position to the right, press
the [OFF] key.
When the user name is complete, press [OK] to save and
exit, or press [MENU] to exit without saving.
Access > User Properties >
Area Assignment
MENU 1-4-1
This menu allows the master user to program which areas (1 to 8)
a user can access. Each user can be assigned to one or multiple
areas. The master user is restricted and can only assign another
user to any one or multiple areas that the master user has been
assigned to. At factory default, each user is assigned to operate
Area 1.
Enter programming mode (PIN + MENU) then,
1. Enter [MENU] + [1] + [4] + [1].
A list of users will display on the keypad.
2. To assign areas to a user, use the [
↑] and [↓] keys to select
the user that you want to program, then press [OK] to
select. Alternatively, you can enter the user number you
want to program, then press [OK].
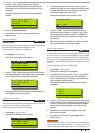
The keypad will display which areas the user has been
assigned to.
Area 1
Area 2
Area 3
Press OK ON OFF MENU
3. Use the [
↑] and [↓] keys to select the area that you want to
assign to the user. Press the [ON] key to assign the user to
the area (√ will display) or press the [OFF] key to disable
the user from the corresponding area (√ will no longer
display).
4. Repeat Step 3 until you have assigned the user to all
areas that are required.
5. Press [OK] to save and exit, or press [MENU] to exit
without saving.
Timer Groups
Timer Groups are used to restrict users from operating doors
outside given times, days or holidays. To do this you need to
create a time group, then assign one or more schedules to the
2.
3.
4.