H25-IR Maintenance
Instruction 3015-4342 47
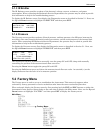
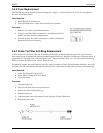
5.4.2 Fuse Replacement
The H25-IR is protected from electrical damage by a single 1 A fuse located next to the AC receptacle at
the rear of the instrument.
Items Required:
• Small flat-blade screwdriver
• Fuse (P/N 604-2610 – spare fuse located in fuse holder)
Procedure:
1. Remove AC power cord from instrument.
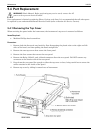
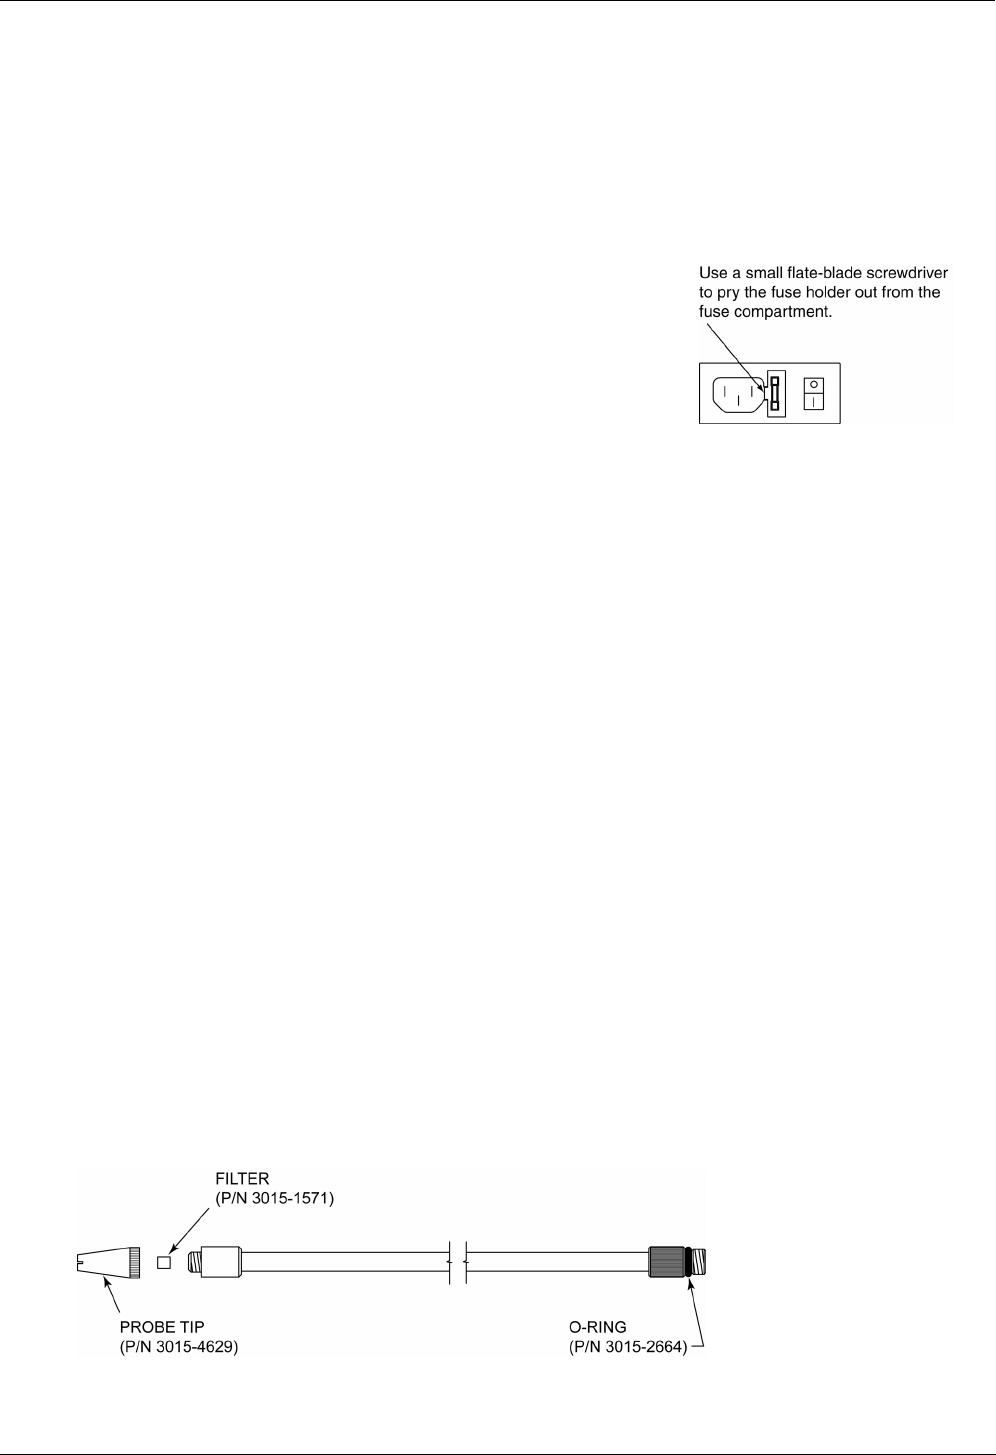
2. Using a small flat-blade screwdriver, carefully pry the fuse
holder out from the fuse compartment.
3. Visually inspect the fuse for damage or check its continuity.
Replace the fuse as necessary.
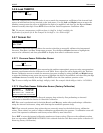
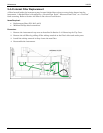
5.4.3 Probe Tip Filter & O-Ring Replacement
A filter located in the probe tip is the instrument’s first line of defense against dust, dirt, and moisture
from entering the instrument’s internal plumbing and IR detector. Replace this filter as it becomes dirty. A
clogged filter is identified by a “Search Flow Fault,” “Measure Flow Fault,” or a “No Flow” fault occurring.
Refer to Section
4.3 What to Do when a Fault Occurs.
Periodically inspect the probe tube’s O-ring for signs of cracking. If this O-ring becomes defective, air could
be drawn into the instrument through the bottom of the probe tube resulting in inaccurate measurements.
Items Required:
• Probe Tip Filter (P/N 3015-1571)
• Probe Tube O-Ring (P/N 3015-2664)
• Pin or Tweezers
Procedure:
1. Unscrew probe tip.
2. Pick out old filter with a pin or tweezers.
3. Insert new filter inside probe tip.
4. Replace probe tip.
5. Unscrew probe tube and inspect O-ring. Replace O-ring if defective.
6. Reattach probe tube.


