Operation H25-IR
32 Instruction 3015-4342
4.2.7 Measuring the Leak Rate
After finding a leak, a measurement can be made to determine its leak rate as follows:
1. Press the MODE button to display “MERS” at the bottom of the Data Display screen or “MEASR”
on the Smart probe.
2. Allow the instrument to sample fresh air. The gas reading must
be “0.00” before proceeding. If
necessary, press the ZERO button to zero the reading while sampling fresh air.
3. While observing the gas reading, hold the probe tip over the leak source until the reading
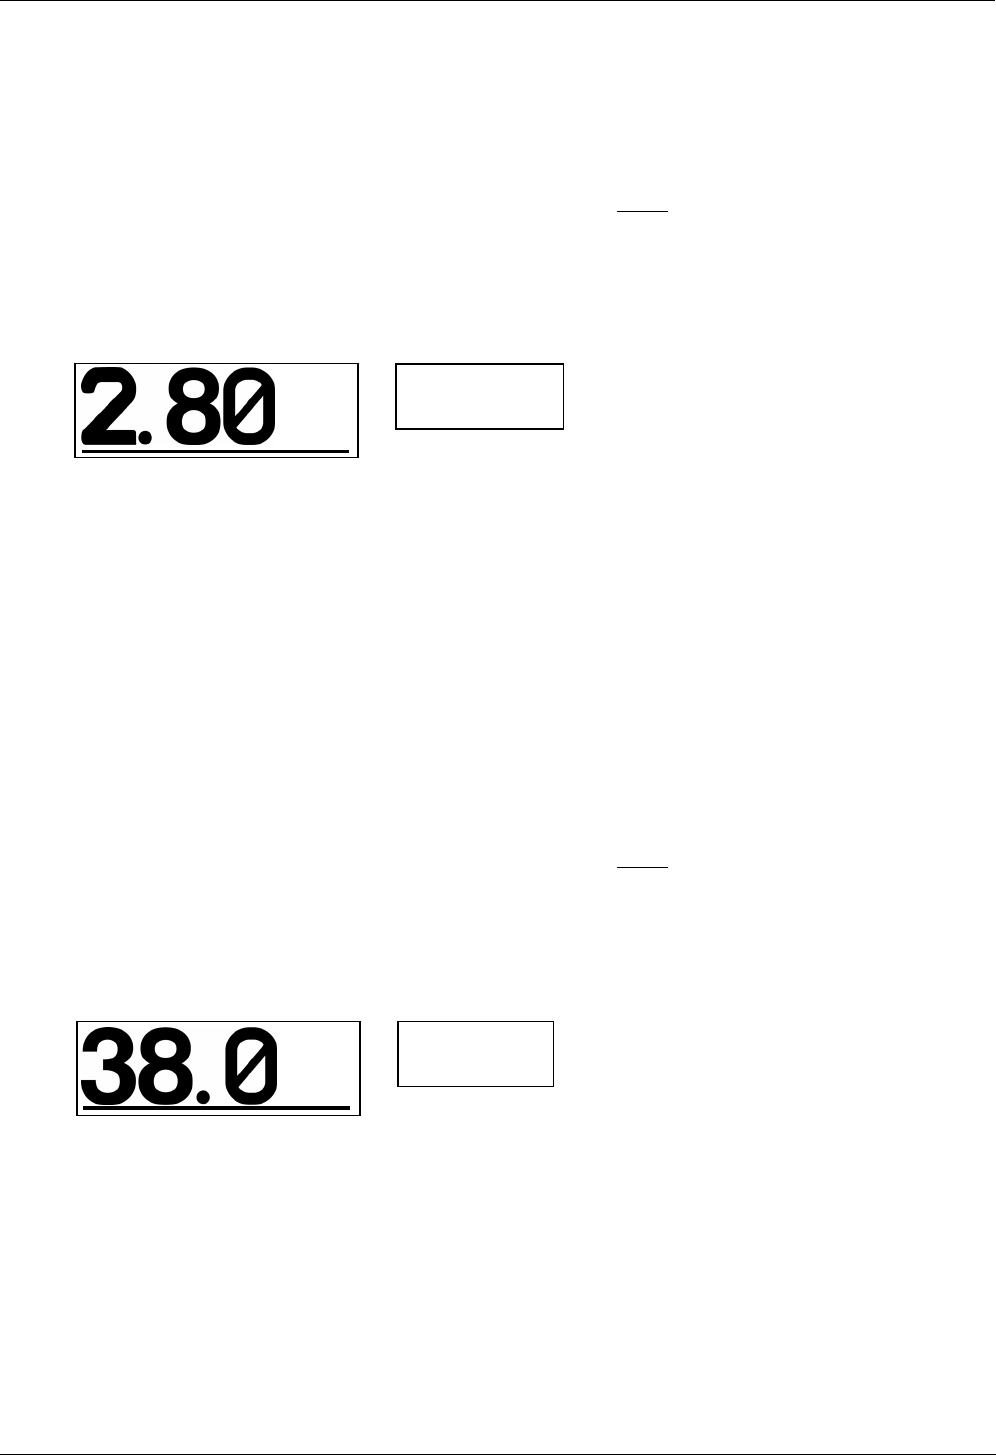
stabilizes. In the examples below, a leak rate of 2.80 Oz/yr of R134a is being measured.
Instrument Display Smart Probe Display
4.2.8 Measuring the PPM Level
The H25-IR can be used to measure a gas’s ppm level within a confined space, and display that level
within the range of 0 to 1,000 ppm. Set up the instrument to measure ppm levels as follows:
NOTE: Although the H25-IR can display ppm levels above its rated range of 0 to 999 ppm, the accuracy of
the reading above 999 ppm is unspecified. Refer to Section “
7 Specifications.”
1. Set up the instrument’s Leak Units to ppm as described in Section
2.4.2 Leak Units.
2. Press the MODE button to display “MERS” at the bottom of the Data Display screen or “MEASR”
on the Smart probe.
3. Allow the instrument to sample fresh air. The gas reading must
be “00.0” before proceeding. Press
the ZERO button to zero the gas reading while sampling fresh air.
4. Place probe in area to be measured. In the example below, 38.0 ppm of R134a is being measured.
Note that the display is auto ranging, causing the decimal point to turn off above 99.9 ppm.
Instrument Display Smart Probe Display
.80 SM
EASR(1)
Oz/yr
R134A
SETUP
SM MERS
8.0 SM
EASR(1)
ppm
R134A
SETUP
SM MERS
