


8
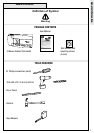
Tools required:
Phillips or Slotted Screwdriver
Drill
3/16 inch drill bit
Hammer
Pencil
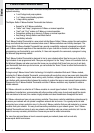
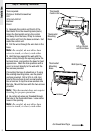
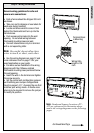
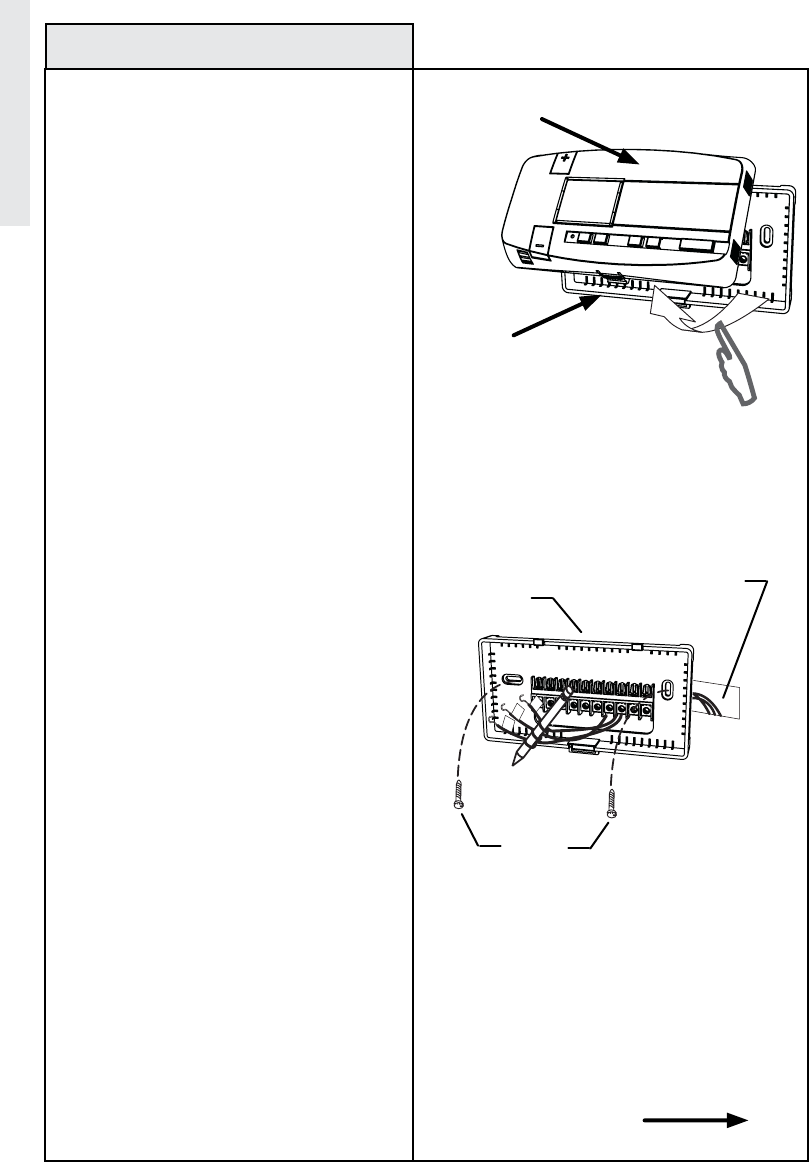
1. Separate the control unit (front) of the
thermostat from the mounting base (back.)
Grasp the thermostat and pry the control
unit away from the base, lift up to remove
the control unit from the base as shown. Set
aside the control unit.
2. Pull the wires through the wire hole in the
base.
Note: Be careful, do not allow bare
wires to touch, or short, each other.
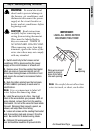
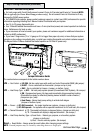
3. Hold the base against the wall with the
wires coming through the opening below the
terminal block, and position the base for best
appearance. Mark the hole positions with a
pencil or mount directly to the wall with the
two screws provided.
If mounting the base to sheetrock or if using
the existing mounting holes, use the plastic
anchors provided. Drill a 3/16 in (4.8 mm)
hole for the anchors at each screw location.
Use a hammer to tap the screw anchors into
the hole. Mount the base with the two screws
provided.
Note: This thermostat does not require
leveling for proper operation.
4. Be certain all wires are threaded through
the hole in the thermostat base. Leave wires
loose in the opening.
Note: Be careful, do not allow bare
wires to touch, or short, each other.
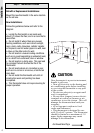
Step 3: Mounting Thermostat
Installation
Thermostat
Control Unit
Thermostat
Mounting
Base
Lift up Control
unit from Base
Wall Opening
Thermostat
Mounting
Base
Screws
w
G
B
Continued Next Page