


D–7
D
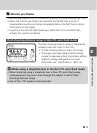
Flash modes and functions
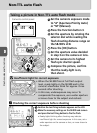
Taking a picture in Auto aperture flash mode
SHOOT
CUSTOM
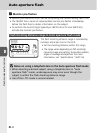
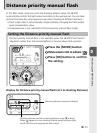
t While using a CPU lens which has an
aperture ring
While using a CPU lens which has an aperture ring,
lock the lens aperture at minimum. For details, see
lens’ user’s manual.
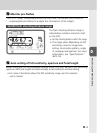
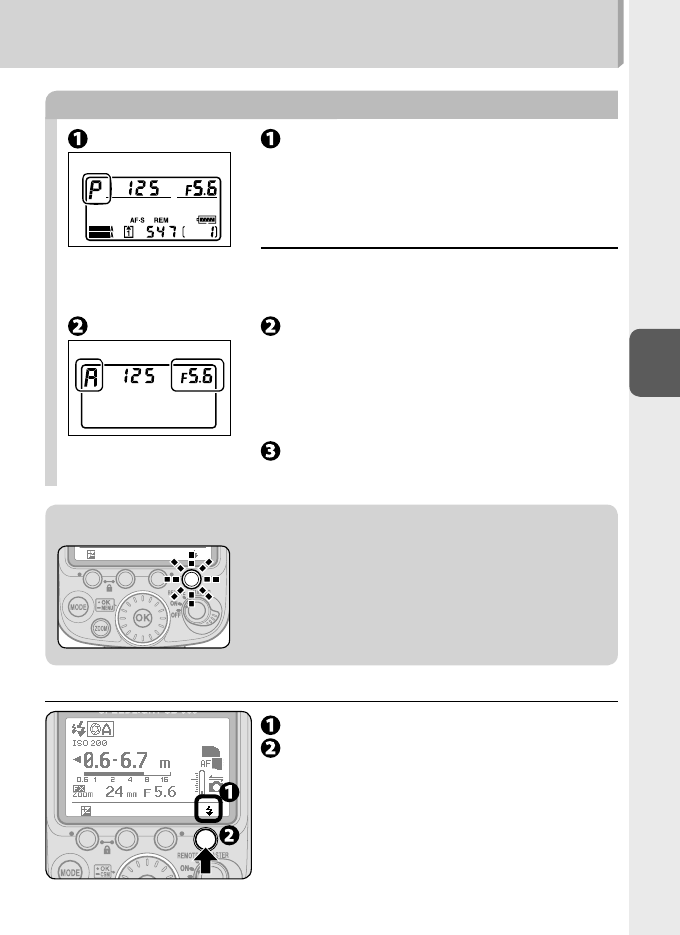
Camera’s control panel
Camera’s control panel
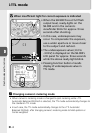
Set the camera’s exposure mode to “P”
(Programmed Auto) or “A” (Aperture-
Priority Auto).
With the camera’s exposure mode set
to “A”, set the aperture on the camera
while reading the flash shooting
distance range on the SB-900’s LCD.
Decide the aperture value by referring to the chart.
Compose the picture, confirm that the
ready-light is on, then shoot.
•
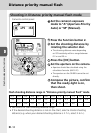
v Insuffi cient light for correct exposure
When the SB-900 fires at full flash output level, ready-
lights on the SB-900 and in the camera’s viewfinder
blink for approx. three seconds after shooting.
In this case, underexposure may occur. To
compensate the exposure, use a wider aperture or
move closer to the subject and reshoot.
•
•
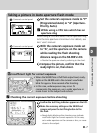
t Checking the correct exposure before shooting
Confirm the test firing indicator appears on the LCD.
Make the necessary settings on the SB-900 and
camera and press the test firing button to fire
the flash.
Ready-lights blinking after shooting may indicate
insufficient light for correct exposure. In this case,
set a wider aperture on the camera or lens, or move
closer to the subject.
•