


User Manual Chapter 7 Measuring Features and Defects 107
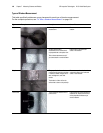
Taking Comparison Measurements
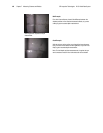
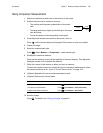
1. Attach any standard forward-view or side-view tip to the probe.
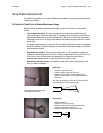
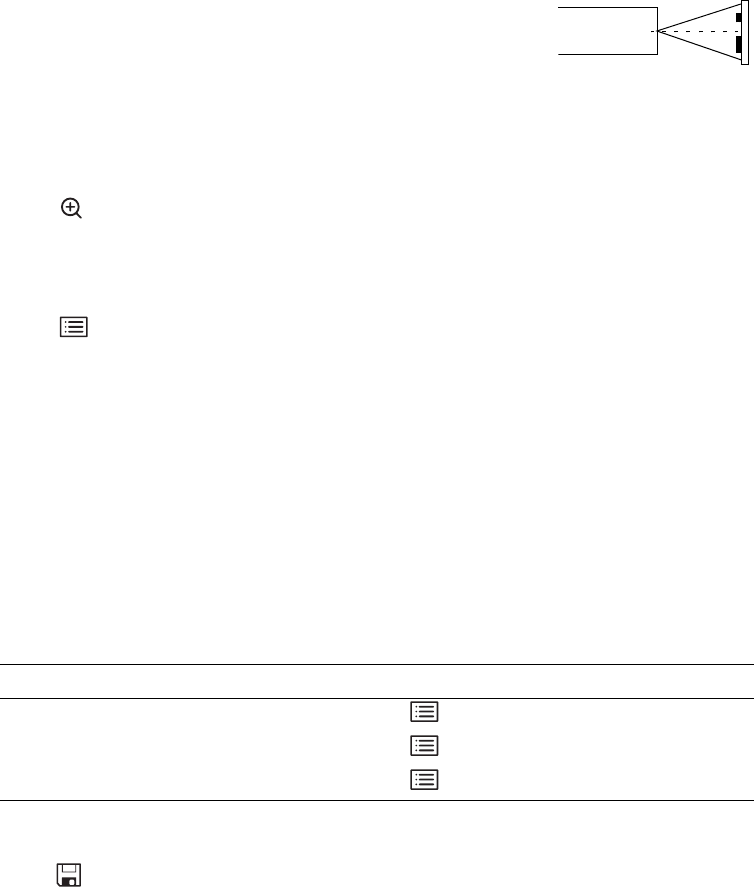
2. Position the probe tip for maximum accuracy:
• The surface should appear perpendicular to the probe
view.
• The target and known object should both be in the same
view and plane.
• The tip should be as close as possible to the target.
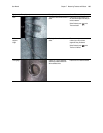
3. If the object and reference are small on the screen, zoom in.
Press until the known object and the target fill the screen as much as possible.
4. Freeze the image.
5. Select the measurement type.
Press . Select Measure > Comparison > measurement type.
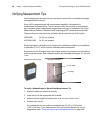
6. Establish the reference distance.
Place the two reference cursors at the endpoints of a known distance. Then adjust the
displayed number until it matches that distance.
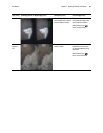
7. Place the cursors for the feature or defect you want to measure.
To learn how to place cursors for a particular type of comparison measurement, follow
the same instructions as for “Types of Shadow Measurement” on page 104.
8. (Optional) Reposition the cursors and measurement result.
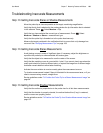
9. (Optional) Perform any of these tasks:
10. Save the image.
Press . For details, see “Saving an Image” on page 61.
Task Menu Item
Add measurements, up to five total. Press . Select Measure > Add.
Clear some or all measurements. Press . Select Measure > Clear measurement.
Establish a new reference dimension. Press . Select Measure > New Ref Dim.
Probe