- 5 -
7 PRESET MEMORY/MENU buttons
Calls up the preset menu or controller menu.
8 LCD panel
9 F1 dial
Operates the camera menu or controller
menu of the unit.
10 CAMERA OSD button (l 10)
Displays the camera menu of the unit.
11 F2 dial
Operates the controller menu.
12 EXIT button
Operates the controller menu to return to the
previous screen.
13 USER button (USER1/USER2)
(l 8, 18)
Used to register a portion of the functions of
the controller menu.
14 PT ACTIVE button (l 14)
Press this when operating the PAN/TILT
lever.
15 PAN/TILT lever (l 14)
16 PTZ/FOCUS SPEED dial (l 14)
Changes the zoom, pan/tilt speed.
17 CAMERA STATUS/SELECTION
buttons 1 to 5
Selects the camera to be operated.
Before Operating With the Controller
Press CAMERA STATUS/SELECTION button 1 to 5 to select the camera.
Display/Hide the Color Bar
Switches the image displayed on the HDMI output monitor or web setting screen to the
camera image/color bar.
1 Press the MENU button to light the button.
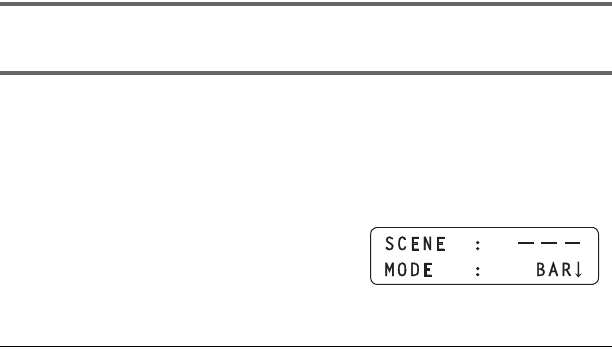
2 Press the PRESET MEMORY/MENU 7 button (SCENE/MODE) to light
the button.
≥ The SCENE/MODE menu is displayed on the LCD panel.
3 Turn the F2 dial to select [CAM]
(camera image) or [BAR] (color
bars).
4 Press the F2 dial to set .
≥ You can also switch between camera image display and color bar display by pressing the
MODE button on the wireless remote controller or with the web setting screen.
≥ The color bar display varies depending on the system frequency setting.


