


Chapter 21: Remote Access
80
!
!
!
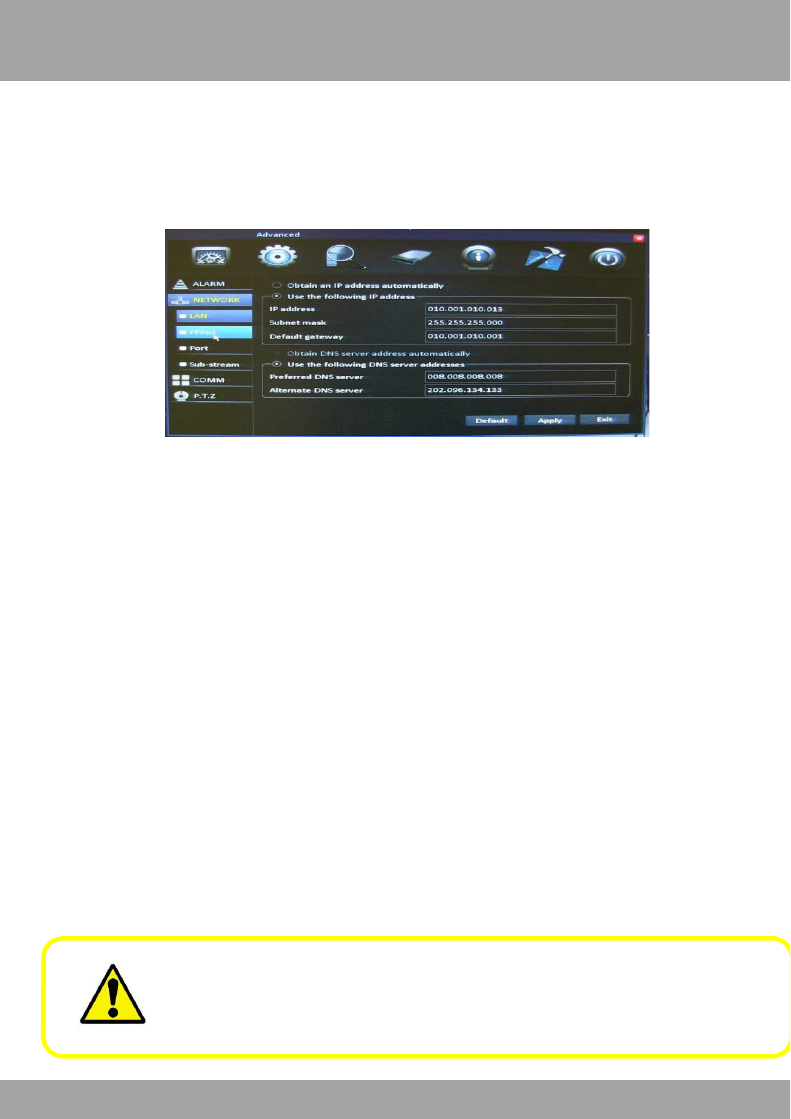
Changing the Network Settings on the DVR
!
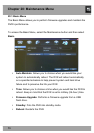
For the following steps, use the information that you just wrote down.
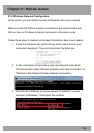
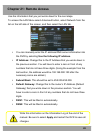
To access the LAN Menu, select the Advanced button, select
Network from the list on the left side of the screen, and then LAN.
!
!
!
!
!
!
!
!
!
!
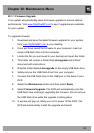
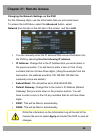
• You can manually enter the IP address/DNS server information into
the DVR by selecting Use the following IP address.
• IP Address: Change this to the IP Address that you wrote down in
the previous section. You will have to enter a zero in front of any
numbers that do not have three digits. (Using the example from the
last section, the address would be 192.168.000.150 after the
necessary zeros are added.)
• Subnet Mask: This should be set to 255.255.255.000.
!
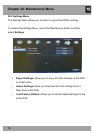
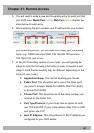
• Default Gateway: Change this to the router’s IP Address (Default
Gateway) that you wrote down in the previous section. You will
have to enter a zero in front of any numbers that do not have three
digits.
• DNS1: This will be filled in automatically.
!
• DNS2: This will be filled in automatically.
!
Write this information on the Information Log at the end of the
manual. Be sure to select Apply and restart the DVR to save all
changes.