


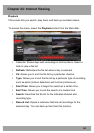
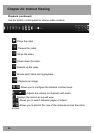
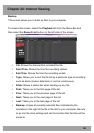
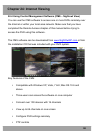
Chapter 24: Internet Viewing
102
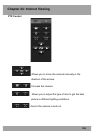
!
!
!
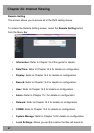
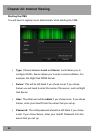
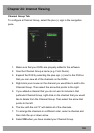
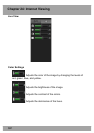
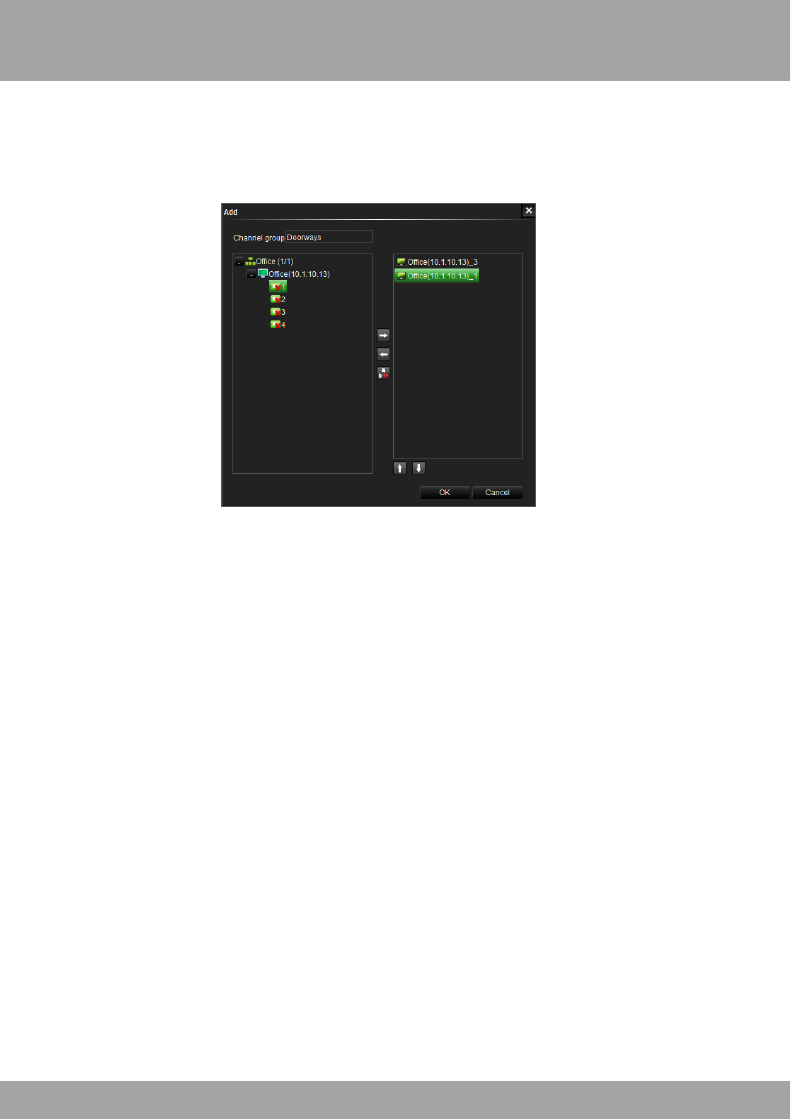
Channel Group Tab
!
To configure a Channel Group, select the plus (+) sign in the navigation
pane.
!
!
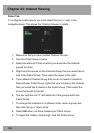
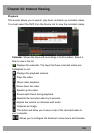
1. Make sure that your DVRs are properly added to the software.
!
2. Give the Channel Group a name (e.g. Front Doors).
!
3. Expand the DVR by selecting the plus sign (+) next to the DVR so
that you can view all of the channels on the DVRs.
4. Right-click your mouse on the channel you would like to add to the
Channel Group. Then select the arrow that points to the right.
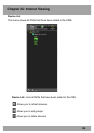
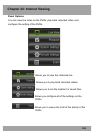
5. If you added a channel that you do not want to include in that
particular Channel Group, right-click on the channel that you would
like to delete from the Channel Group. Then select the arrow that
points to the left.
6. The box with the red “X” will delete all of the channels.
!
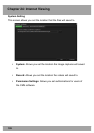
7. To arrange the channels in a different order, select a channel and
then click the up or down arrow.
8. Select OK when you have created your Channel Group.