32
W415-0661 / C / 02.20.08
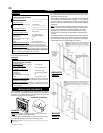
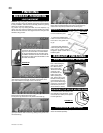
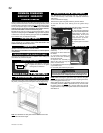
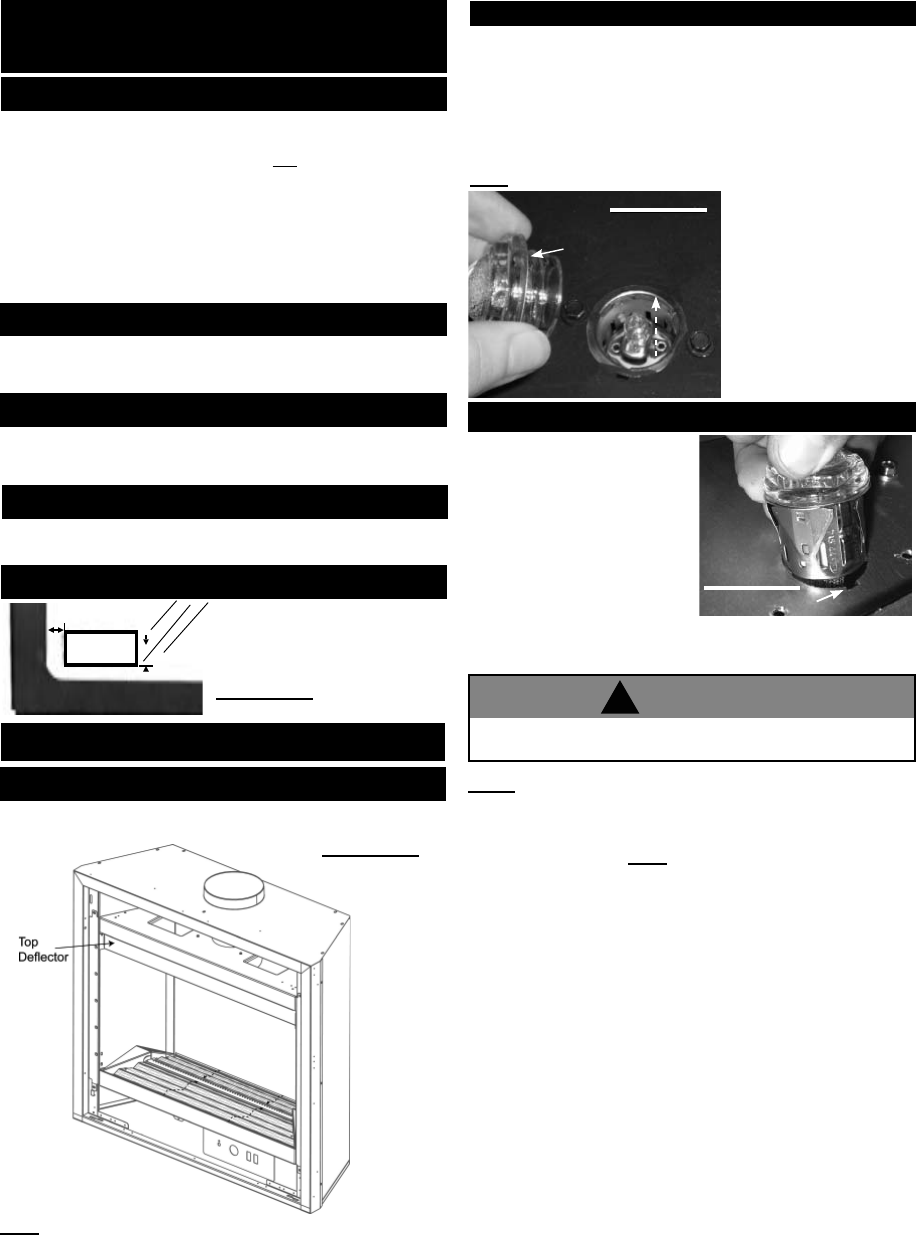
Remove the backing of the logo
supplied and place on the glass
viewing door, as indicated.
GLOWING EMBERS
LOGO PLACEMENT
½"
½"
LOGO
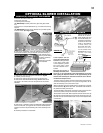
Tear the embers into pieces and place along the front row of ports
covering all of the burner area in front of the small logs (#2 & #3). Care
should be taken to shred the embers into thin, small irregular pieces
as only the exposed edges of the fi bre hairs will glow. The ember
material will only glow when exposed to direct fl ame; however,
care should be taken to not block the burner ports.
Blocked burner ports can cause an incorrect fl ame pattern, carbon
deposits and delayed ignition. PHAZER
TM
logs glow when exposed
to direct fl ame. Use only certifi ed "glowing embers" and PHAZER
TM
logs available from your Napoleon® dealer.
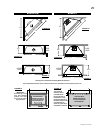
Randomly place the charcoal embers along the front and sides of
the log support tray in a realistic manner. Fine dust found in the
bottom of the bag should not be used.
Sprinkle vermiculite around the charcoal embers.
Note: Both charcoal embers and vermiculite are not to be placed
on the burner.
CHARCOAL EMBERS
VERMICULITE
COMMON FINISHING
BGD36CF / BGD42CF
BGD36CFG BULB REPLACEMENT
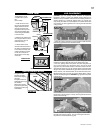
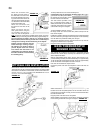
The BGD36CFG comes equipped with our “Night Light™”.
If in the event the lamp or lens needs to be replaced, follow these
instructions.
1. Turn off all electrical supply.
2. Remove the glass and glass ember tray from the fi rebox.
3. Unscrew the lens cover making sure the gasket stays
in place.
Note: Do not handle the lamp (bulb) with bare fi ngers, protect with
a clean dry cloth.
4. The lamp will pull straight
out of the socket. Replace with
Wolf Steel Ltd. parts only
(W387-0006), as lamp and
lens are special "high
temperature" products.
5. Replace lens cover.
6. Replace glass and ember
tray.
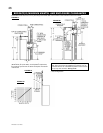
1. Remove the glass and glass
ember tray.
2. Remove the burner base from
the fi rebox.
3. Compress the retainer fins
and lift out the lens assembly,
disconnect the wires.
4. Replace lens assembly by
aligning key hole and snap into
place, re-connect wires.
5. Re-install burner base ensuring
a good fi rebox seal.
6. Re-install glass ember tray and glass.
The front of the fi replace becomes very hot during operation.
Let the fi replace cool completely before conducting service.
NOTE: When removing the glass ember tray make sure the glass
embers are away from the center of the screen, exposing the burner,
before lifting glass ember tray out.
When replacing burner, absolutely no glass embers can be in cup
surrounding the orifi ce. HINT: If glass falls into cup and surrounds
the orifi ce, insert a clean bag into a vacuum cleaner and vacuum
out glass embers or replacement glass embers can be ordered from
Wolf Steel Ltd.
BGD36CFG LENS ASSEMBLY REPLACEMENT
FIGURE 110
Gasket
KEY HOLE
FIGURE 111
BGD36CFG FINISHING
GLASS BURNER INSTALLATION
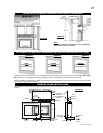
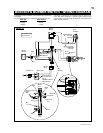
Spread the clear glass embers (W300-0102) onto the glass ember
tray evenly covering the burner tube (follow natural shape of tray).
FIGURE 109
Note: The distribution of clear glass embers over the burner tube
will infl uence the fl ame height.
FIGURE 108
!
WARNING
CHARCOAL LUMPS (BGD42CF ONLY)
Place the lumps between the logs in a realistic manner taking care
not to block any of the burner ports.


