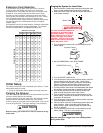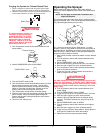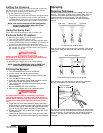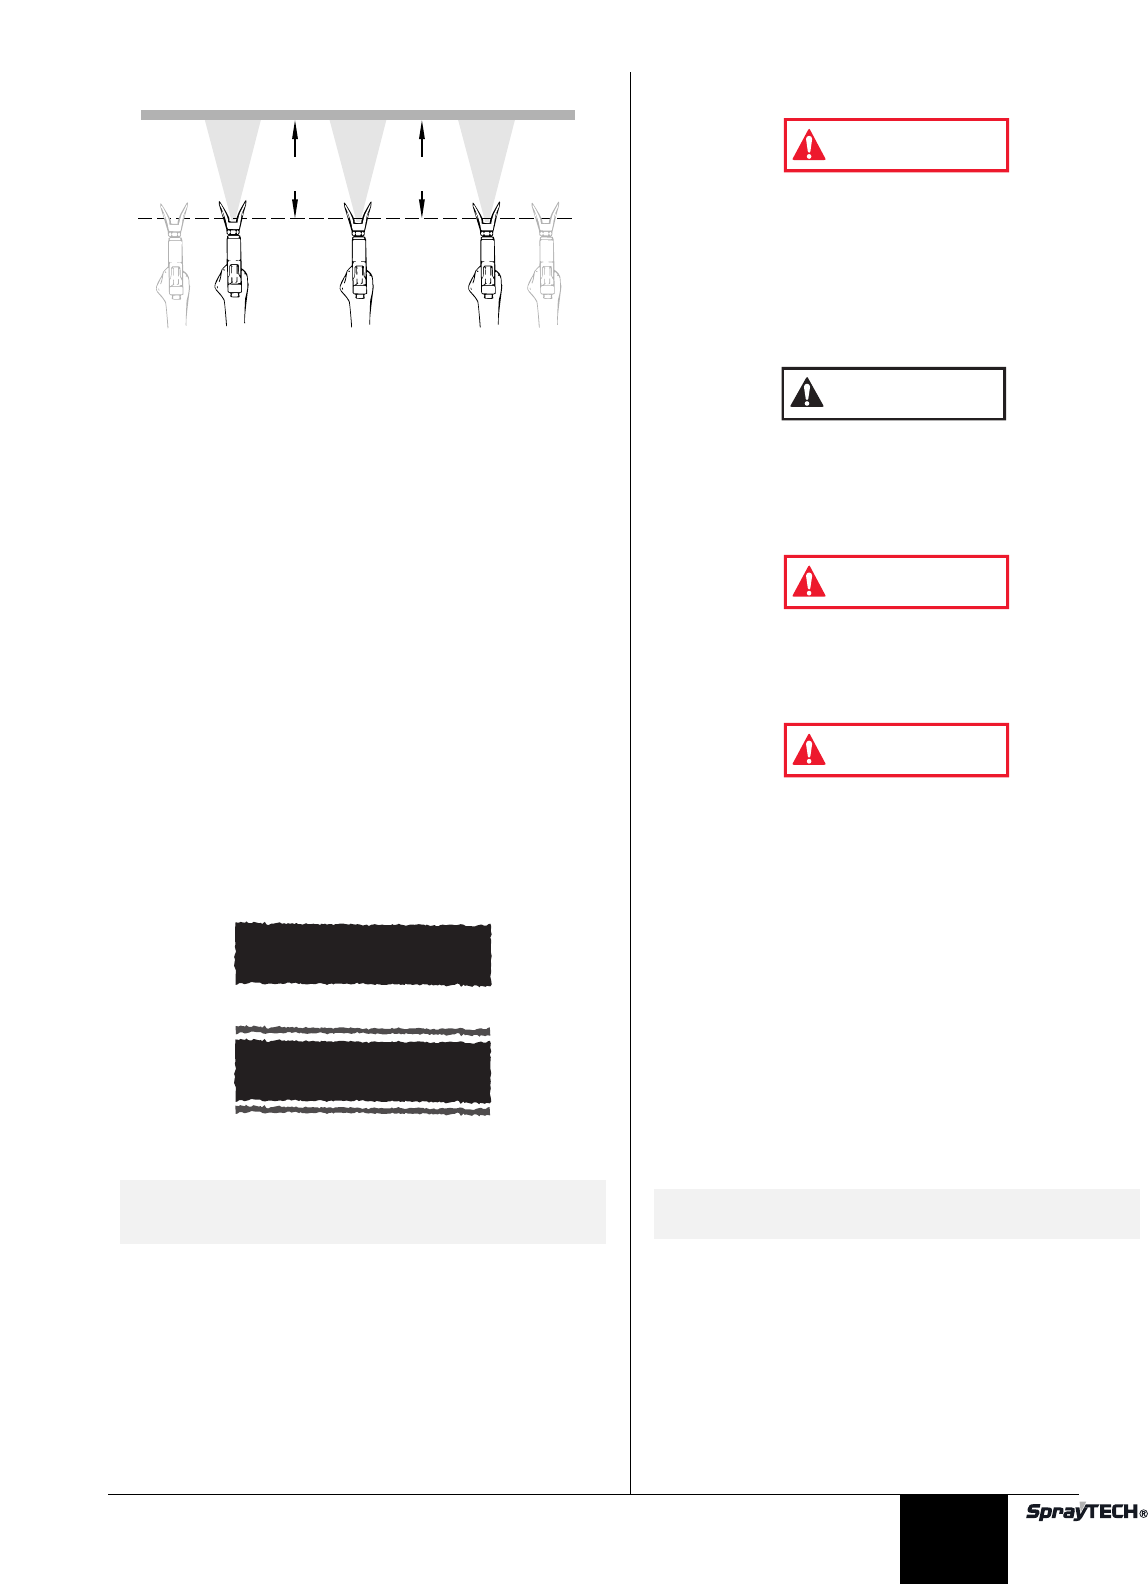
Overlap each stroke by about 30%. This will ensure an even
coating.
When you stop painting, lock the gun safety switch, turn the
pressure control knob counterclockwise to its lowest setting
and set the PRIME/SPRAY valve to PRIME. Turn the ON/OFF
switch to OFF and unplug the sprayer.
Practice
1. Be sure that the paint hose is free of kinks and clear of
objects with sharp cutting edges.
2. Turn the pressure control knob counterclockwise to its
lowest setting.
3. Turn the PRIME/SPRAY valve to SPRAY.
4. Turn the pressure control knob clockwise to its highest
setting. The paint hose should stiffen as paint begins to
flow through it.
5. Move the gun’s trigger lock to the unlocked position.
6. Trigger the spray gun to bleed air out of the hose.
7. When paint reaches the spray tip, spray a test area to
check the spray pattern.
8. Use the lowest pressure setting necessary to get a good
spray pattern. If the pressure is set too high, the spray
pattern will be too light. If the pressure is set too low,
tailing will appear or the paint will spatter out in gobs
rather than in a fine spray.
Most latex paints and stains will require very high
pressure, which is why the sprayer is built to deliver up to
3000 PSI when needed.
NOTE: When spraying block filler, mastics or high
solid coatings, leave out the gun filter and
high pressure filter screens.
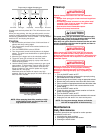
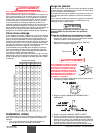
Good spray pattern
Paint tailing pattern
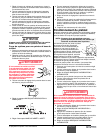
Proper way to trigger the spray gun
Approximately
10 to 12 inches
Keep stroke
even
Start stroke End strokePull trigger Release triggerKeep steady
Cleanup
Special cleanup instructions for use with flammable
solvents:
• Always flush spray gun at least one hose length from
spray pump.
• If collecting flushed solvents in a one gallon metal
container, place it into an empty five gallon metal
container, then flush solvents.
• Area must be free of flammable vapors.
• Follow all cleanup instructions.
The pump, hose, and gun should be cleaned thoroughly
after daily use. Failure to do so permits material to cake,
seriously affecting the performance of the unit.
After daily use, paint should be flushed from the unit with
solvent compatible with the material applied, and then re-
flushed with mineral spirits.
When cleaning the pump, hose, and gun with mineral
spirits or any other solvent, always spray at minimum
pressure with the gun spray tip removed. Static electricity
buildup may result in fire or explosion in the presence of
flammable vapors.
Be sure to follow the pressure relief procedure when
shutting the unit down for any purpose including
servicing or adjusting any part of the spray system,
changing or cleaning the spray tips, or preparing for
cleanup.
1. Turn the ON/OFF switch to OFF.
2. Bleed off any remaining pressure in the pump by turning
the PRIME/SPRAY knob to PRIME.
3. Remove the gun tip and clean it using an appropriate solvent.
4. Remove the paint container from below the suction tube.
5. Place a container of appropriate solvent below the suction tube.
6. Turn the pressure control knob counterclockwise to the
lowest setting.
7. Turn the ON/OFF switch to ON.
8. Trigger the spray gun into a waste container to flush the
pump, hose and gun clean.
9. Turn the ON/OFF switch to OFF.
10. Follow the pressure relief procedure detailed in this manual.
11. Unplug the unit and store it in a clean and dry area.
Maintenance
Daily Maintenance
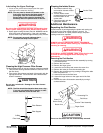
Three daily procedures are required for routine operator
maintenance on this unit:
1. Lubricating the upper packings.
2. Cleaning the high pressure filter screen.
3. Cleaning the intake screen.
NOTE: For long-term storage, be sure to flush the
unit with an appropriate oil before storing.
WARNING
WARNING
CAUTION
WARNING
© SprayTECH Corporation. All rights reserved. 7
English


