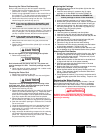
Setting the Pressure
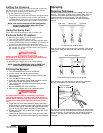
The best pressure setting will vary with the type of paint and
the size and type of spray tip being used. The thicker the
paint, the higher the pressure will need to be.
To find the optimum pressure setting:
1. Turn the pressure control knob clockwise to its highest setting.
2. Trigger the gun and slowly turn the pressure control knob
counterclockwise. Stop when you reach the lowest pressure
necessary to keep the desired spray pattern and atomization.
Using the Spray Gun
Follow the instructions that came with your spray gun.
Pressure Relief Procedure
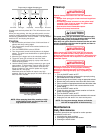
1. Move the gun’s trigger lock to the locked position.
2. Turn the motor ON/OFF switch to OFF.
3. Place the return line into a container and hold it securely in place.
4. Turn the PRIME/SPRAY valve to the PRIME. The pressure will
be relieved and fluid will dump through the return tube.
5. Relieve any pressure remaining in the hose by moving the
gun’s trigger lock to the unlocked position and triggering
the gun into a container.
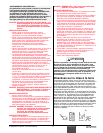
Always ground the container, including the handle.
Failure to do so may result in a static electric discharge,
which may cause an explosion or fire.
6. Move the gun’s trigger lock to the locked position.
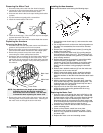
Priming the Sprayer
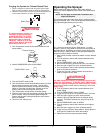
1. Turn the PRIME/SPRAY valve to the PRIME.
2. Put the suction tube into the paint container.
3. Turn the pressure control knob counterclockwise to the
lowest setting.
4. Turn the ON/OFF switch to ON.
5. Slowly turn the pressure control knob clockwise until the
paint begins to flow through the return tube.
6. Turn the pressure control knob counterclockwise to the
lowest setting.
7. Set the PRIME/SPRAY valve to SPRAY.
8. Move the gun’s trigger lock to the unlocked position.
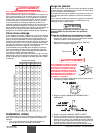
If a metal container is used, it is necessary to ground the
spray gun and container. To do this, hold a metal portion of
the gun against the edge of the metal container. Failure to do
so may lead to static electric discharge, which may cause a
fire.
9. Trigger the gun into a waste container. Hold it open while
slowly turning the pressure control knob clockwise until paint
sprays from the gun tip. Keep the gun triggered until all the
air is forced out of the system and paint is flowing freely.
10. Release the trigger and move the gun’s trigger lock to the
locked position.
11. Check all fluid connections for leaks. If any are found, follow
the pressure relief procedure before tightening the connection.
WARNING
NOTE: Leave the PRIME/SPRAY valve on PRIME until
you are ready to operate the sprayer again.
WARNING
NOTE: Until you are satisfied with the spray pattern,
spray on a test surface rather than on the
surface to be painted.
6 © SprayTECH Corporation. All rights reserved.
Spraying
Spraying Technique
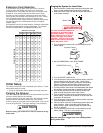
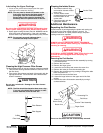
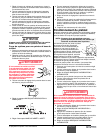
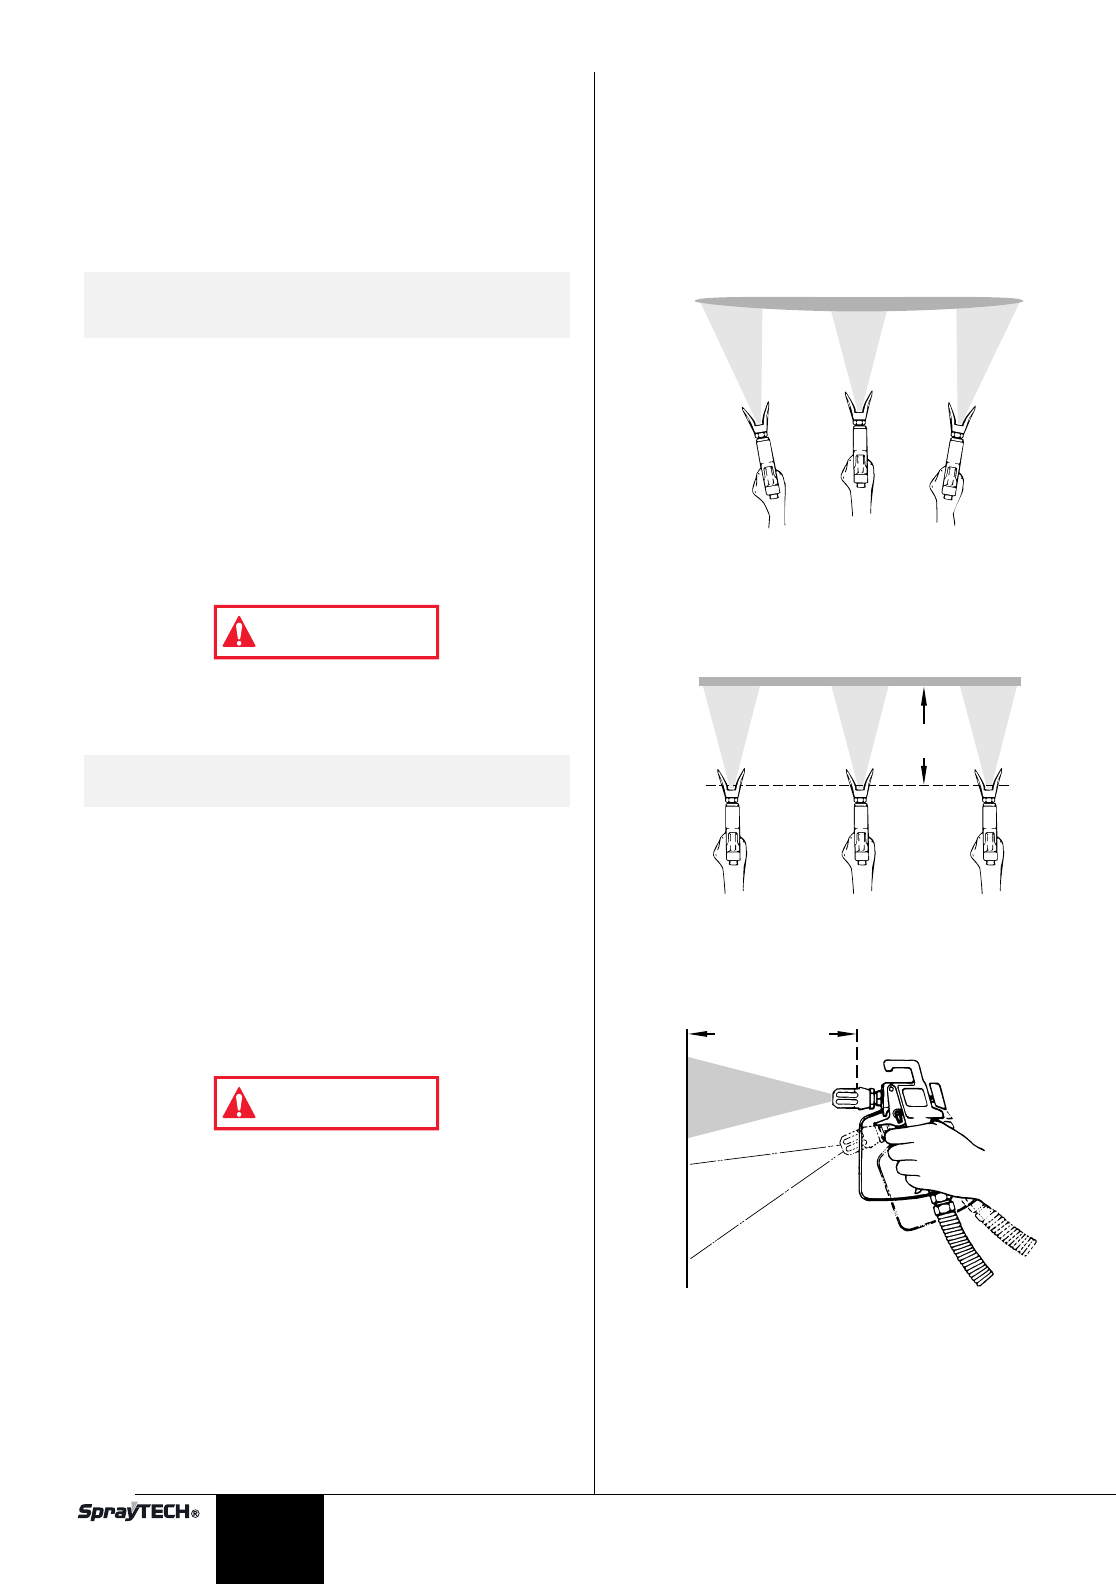
The key to a good paint job is an even coating over the entire
surface. This is done by using even strokes. Keep your arm
moving at a constant speed and keep the spray gun at a
constant distance from the surface. The best spraying
distance is 10 to 12 inches between the spray tip and the
surface.
Keep the spray gun at right angles to the surface. This means
moving your entire arm back and forth rather than just flexing
your wrist.
Keep the spray gun perpendicular to the surface, otherwise
one end of the pattern will be thicker than the other.
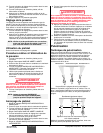
The spray gun should be triggered by turning it on and off with
each stroke. This will save paint and avoid paint buildup at the
end of the stroke. Do not trigger the gun during the middle of
a stroke. This will result in an uneven spray and splotchy
coverage.
Approximately
10 to 12 inches
Right way
Wrong way
Keep stroke smooth and at an even speed.
Even coat throughout
Approximately
10 to 12 inches
Heavy Coat
Do not flex wrist while spraying.
Light Coat Light Coat
English


