


46
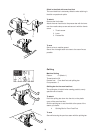
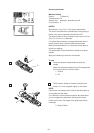
Double layer buttonhole
To make a solid and sturdy buttonhole, sew another layer of
buttonhole over the previous stitches.
After the buttonhole is finished, simply start the machine
again.
Do not raise the foot or buttonhole lever.
The machine will sew another buttonhole in the following
order and stop automatically when it is completed:
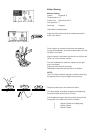
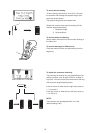
Step 1: Straight stitching in reverse to go back to the
starting point
Step 2: Front bartack and left row
Step 3: Right row
Step 4: Back bartack and locking stitches at the end
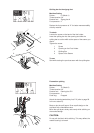
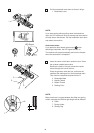
Corded buttonhole
To sew a corded buttonhole, follow the same procedure as
a sensor buttonhole.
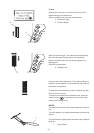
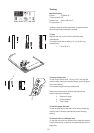
1 With the automatic buttonhole foot R raised, hook the
filler cord on the spur at the back of the buttonhole foot.
2 Bring the ends of cord toward you under the buttonhole
foot clearing the front end.
3 Hook the ends of the filler cord into the forks on the front
of buttonhole foot to hold them tight.
1 Spur
2 Forks
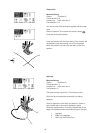
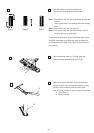
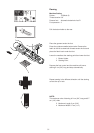
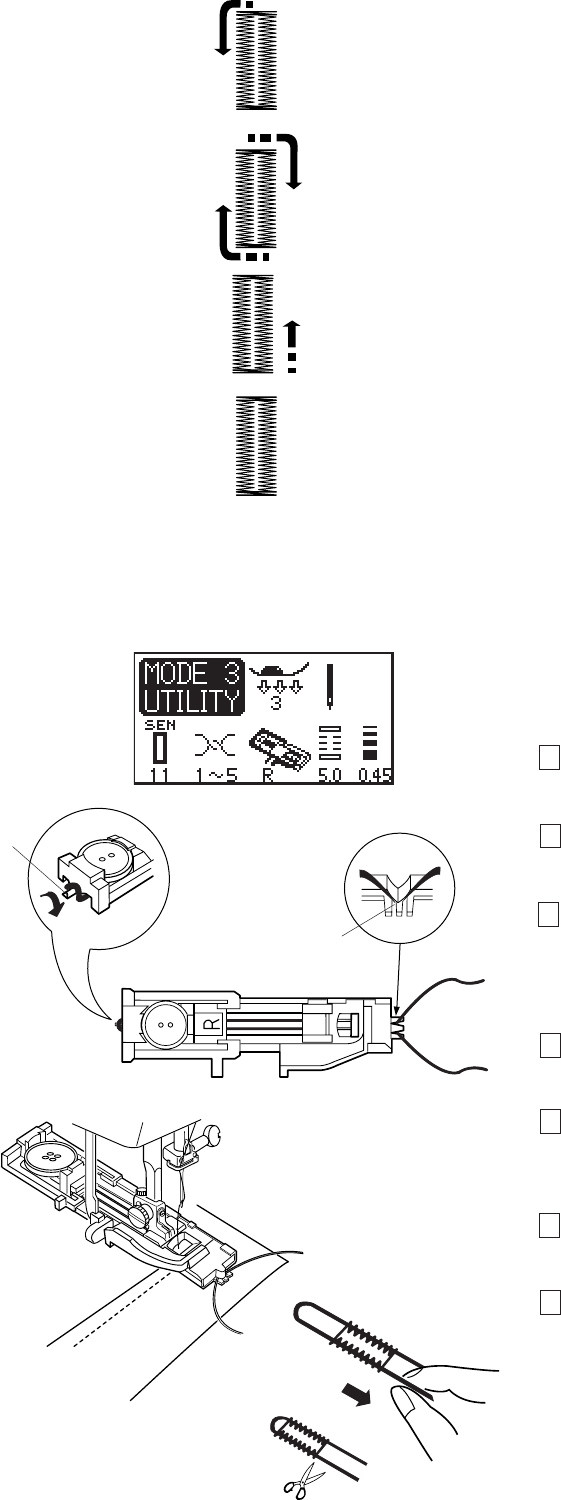
4 Lower the needle into the garment where the buttonhole
will start and lower the foot.
5 Lower the buttonhole lever and buttonhole foot. Start the
machine and sew the buttonhole over the filler cord.
The machine stops automatically when finished.
6 Remove the fabric from the machine and cut the sewing
threads.
7 Pull the left end of the filler cord to tighten it.
Thread the end of the cord through a darning needle and
draw it to the wrong side of the fabric and cut.
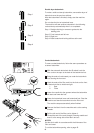
NOTES:
Set the stitch width in accordance with the thickness of the
filler cord used.
To cut the buttonhole opening, refer to page 45.
Step 1
Step 2
Step 3
Step 4
1
2