


IF THE FIRE IS EXTINGUISHED OR GOES OUT IN USE,
WAIT 3 MINUTES BEFORE ATTEMPTING TO RELIGHT
THE FIRE. THE CONTROL VALVE HAS AN INTERLOCK
DEVICE AND THEREFORE CANNOT BE LIT UNTIL THE 3
MINUTES HAVE ELAPSED.
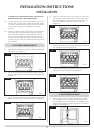
2.2 To adjust the flame height
Once the pilot has been lit the main burner can be lit and
adjusted.
2.2.1 Press the ( ) UP button (10). The flame symbol (1) will
show one extra flame. This is to indicate the burner is on its
lowest position.
2.2.2 Press the same button again and the burner will be in the
medium position.
2.2.3 Press the button again and the burner will be in the
maximum position.
2.2.4 Press the ( ) DOWN button (13) one step at a time and
this will reduce the burner from maximum to medium then
to minimum.
2.2.5 If the ( ) DOWN button is pressed once more, only the
pilot will remain alight.
2.3 To turn the F40 Avanti off
The F40 Avanti can be turned off with the flames in any
position, ie minimum, medium or maximum. It can also be
turned off from the pilot only position.
2.3.1 Press the ON / OFF button (11) the word OFF appears in
the display.
2.3.2 Press the SET button (12) and the fire will turn off.
NOTE: The pilot can be left on if so desired
2.4 To change from Manual to Automatic mode
2.4.1 The hand set display will show the word MANUAL (8)
2.4.2 Press the SET button (12) once and the word AUTO will
flash.
2.4.3 Press the SET button (12) again and the word AUTO will
stop flashing.
2.4.4 The room temperature display is now flashing and ready to
be set.
2.5 To set the room temperature
2.5.1 Following on from section 2.4, once the room temperature
is flashing on the display, it can be set.
2.5.2 Press either the ( ) button (10) or the ( ) button (13) to
either increase or decrease the temperature.
2.5.3 Press the SET button (12) once you have set the
temperature as desired.
If the SET button (12) is not pushed the temperature display
will stop flashing and remain unchanged.
2.6 To change from Automatic to Manual
mode.
2.6.1 The hand set display will show AUTO (8).
2.6.2 Press the SET button (12) once and the word MANUAL will
flash.
2.6.3 Press the SET button (12) again and the word
MANUAL will stop flashing.
You are now in Manual mode.
2.7 Low battery display (Hand Set)
The low battery symbol (6) will appear on the hand set
when the batteries require replacement.
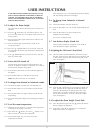
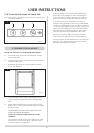
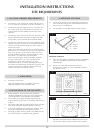
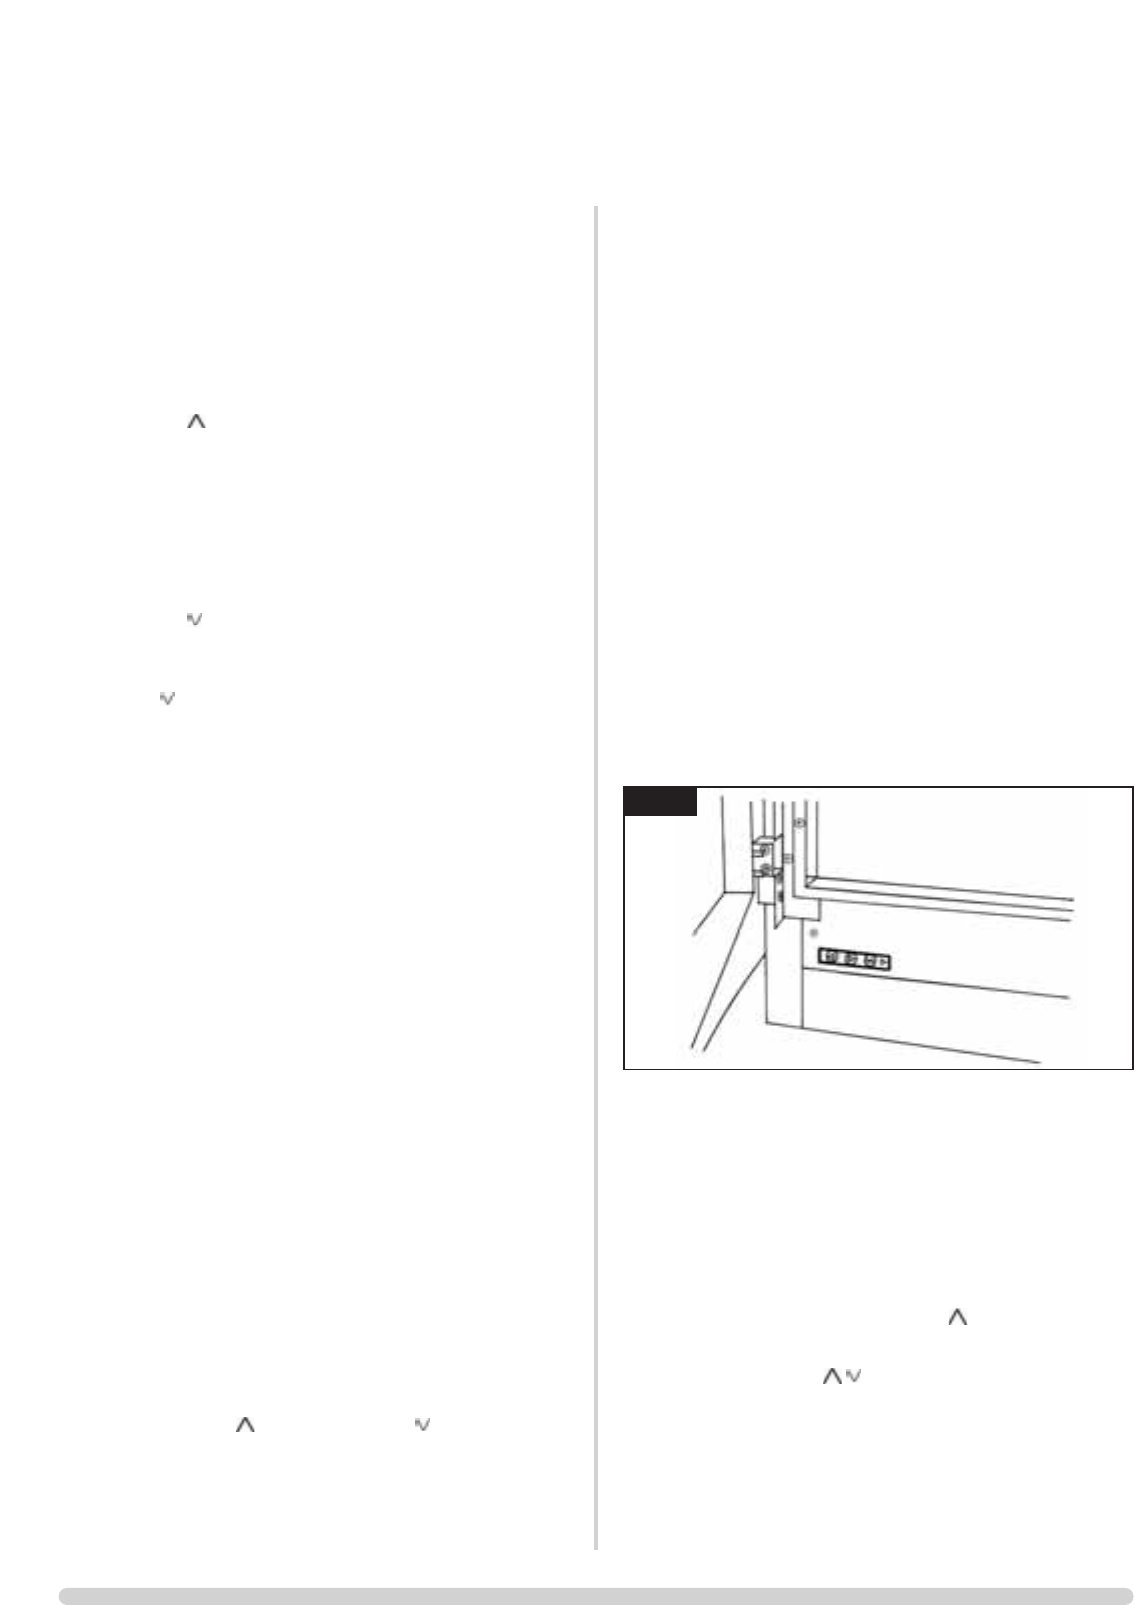
2.8 Lighting the F40 Avanti (Touch Pad)
2.8.1
The touch pad is located behind the main door. To open
the door, press the lower right hand corner of the door until
a click is heard, open the door and the touch pad can be
seen. See diagram 3.
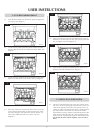
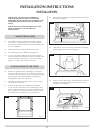
2.8.2
Press the ON / OFF button (A) once and the red LED will
flash. The pilot will now light. This should take about 10
seconds. If the pilot does not light press the ON / OFF
button again to reset the control unit and repeat step 1
above. Before the burner can be lit wait for the audible
click. See diagram 4.
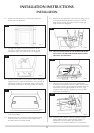
2.9 To adjust the flame height (Touch Pad)
2.9.1
Once the pilot has lit press the Up ( ) button (B) and the
burner will light. See diagram 4.
2.9.2
Press either of the ( ) buttons (B / C) to adjust the
height of the flames. See diagram 4.
5
USER INSTRUCTIONS
3
AR1466