


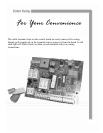

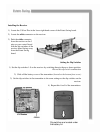
Mounting the Control Board and Box
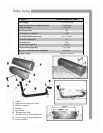
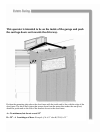
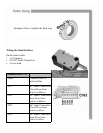
1. Position your control box on the post of the door or a near
by fence. Use the Knockouts labeled “A” in the picture to
the right to mount your control box to the post or fence. For
a dual operator set-up, the control box will be on the same
side of the driveway as the master control arm.
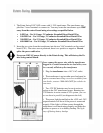
2. Use a 5/8” drill bit to drill a hole for the provided wire con-
nector (1 for each arm) “B”. The hole can be drilled any-
where in the control box , just keep in mind spacing if back-
up batteries are going to be placed in the control box.
Other wires being run to the control board should
also be run through water-tight connectors. Connec-
tors are available from most home stores or your Estate Swing dealer.
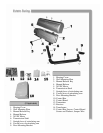
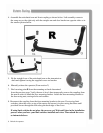
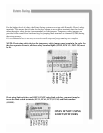
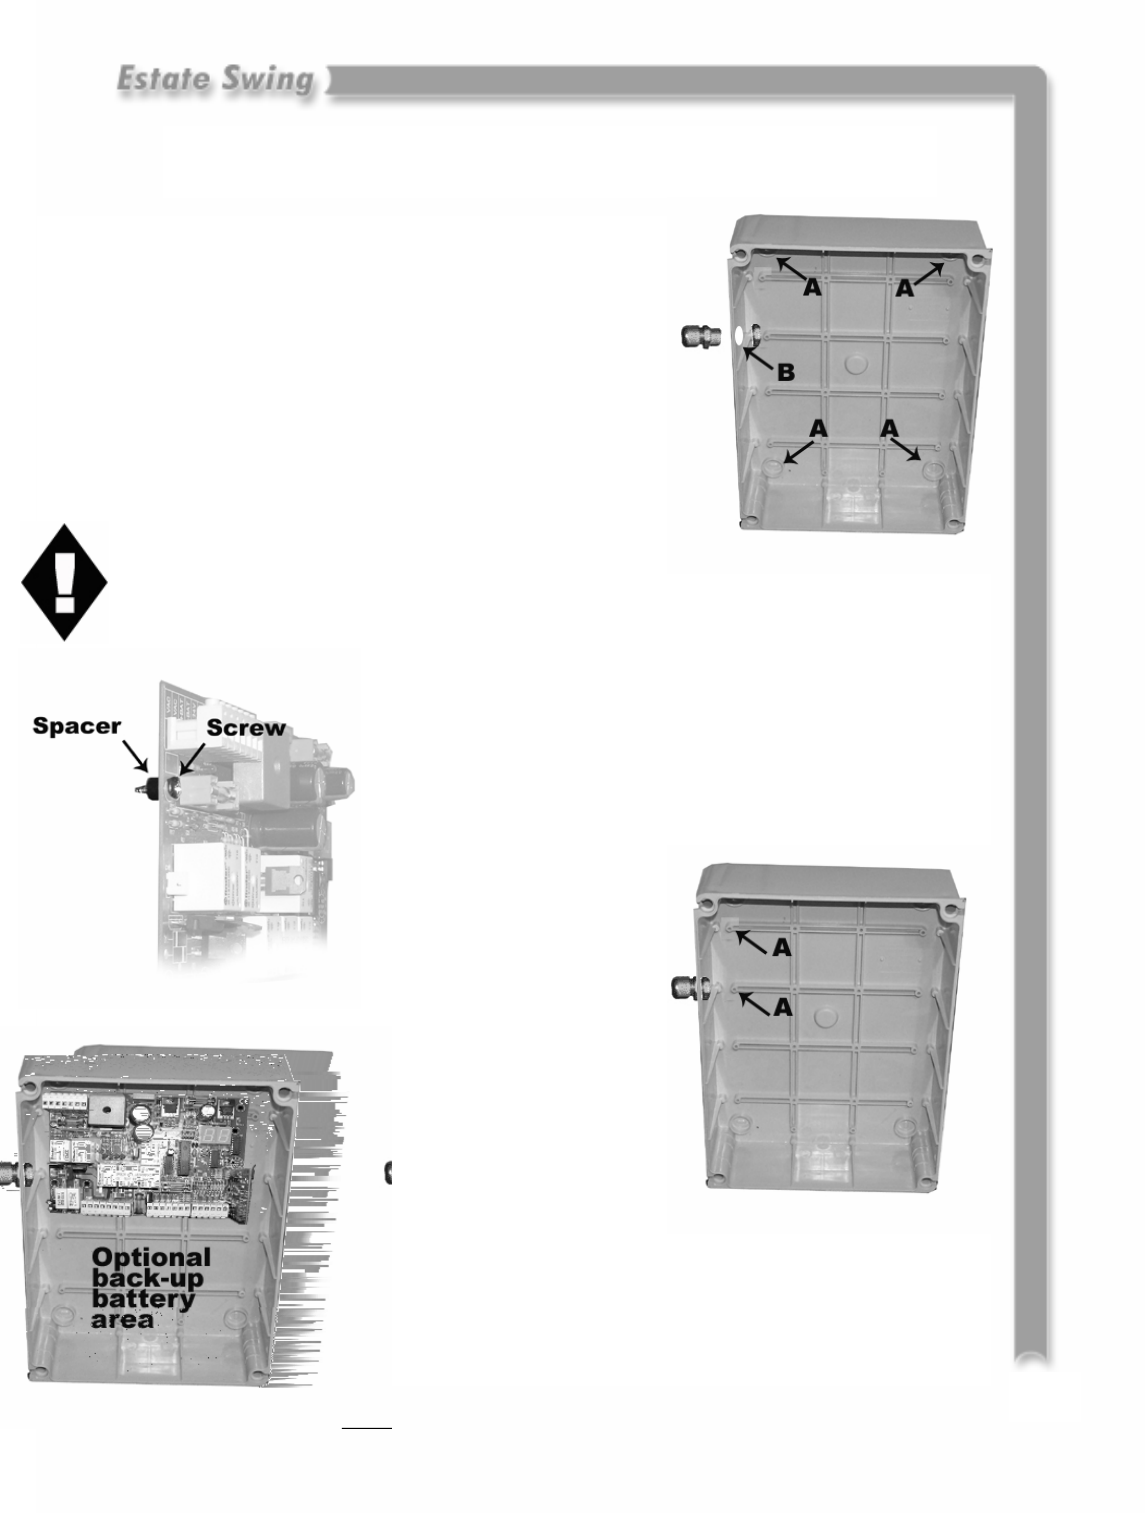
3. To mount the control board, locate the four outside edge
pre-drilled holes on the control board. Insert the 1/2” provided
screws.
4. Attach the threaded end of the screws that come out the
rear of the board to the provided black spacers. The spacer
should be against the back of the board and the head of the
screw against the front of the
board with screw threading
still protruding from the rear
of the spacer; as shown in the
picture to the left.
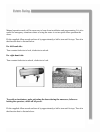
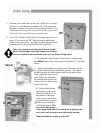
5. Position the left top
and bottom screws over
the holes marked “A” in
the picture to the right.
Gently screw the remain-
ing thread that is exposed
from the rear of the pro-
vided black spacer. The
two screws and spacers
on the right hand side of the board act as spacing sup-
ports only and do not get screwed into the housing.
Final positioning example is to the left.
4.1