


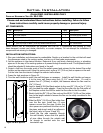
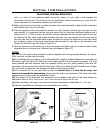
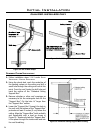
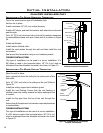
plumber’s tape
connected to
wall strap
Wall strap
45° elbows (x2)
Nails
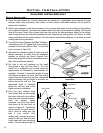
Ceiling firestop
Ceiling
Second floor
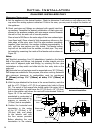
Use clearances to as
defined by appliance and
vent pipe manufacturers.
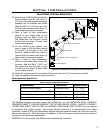
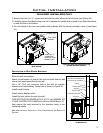
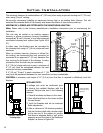
catheDRaL ceiLing instaLLation:
Figure 33: Use of Wall Straps.
Figure 34: Multi-Story Vent Pipe Installation.
Initial Installation
QUALIFIED INSTALLERS ONLY
24
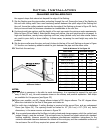
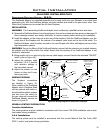
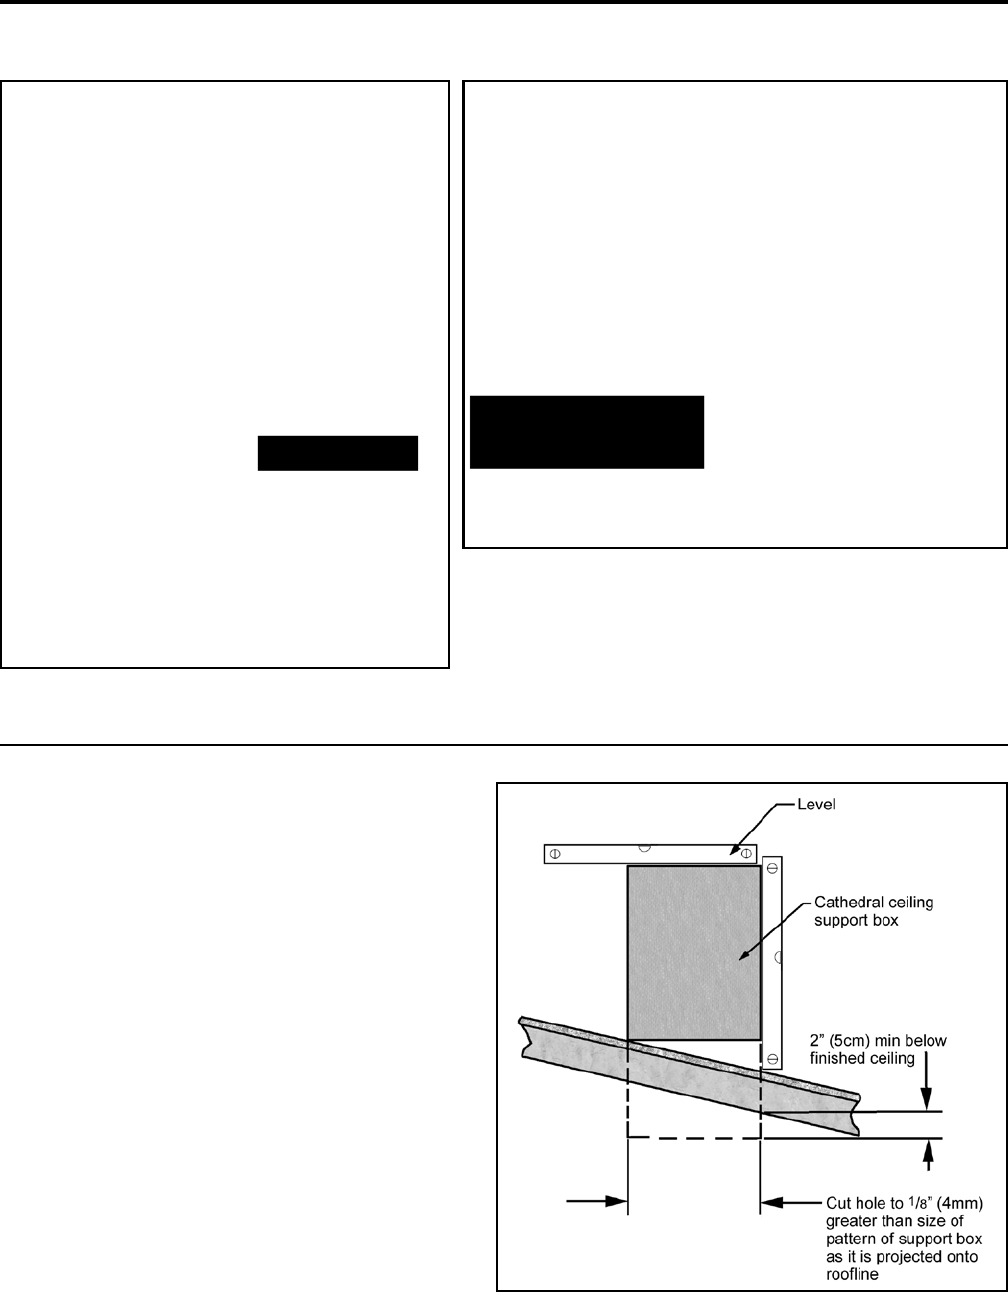
Figure 35: Cathedral Ceiling Support Box Leveling.
1. Follow installation steps 1 & 2 under initial
inStallation - vertical inStallation.
2. Using the plumb bob, mark the centerline of
the venting system on the ceiling and drill a
small hole through the ceiling and roof at this
point. From the roof, locate the drill hole and
mark the outline of the “Cathedral Ceiling
Support Box”.
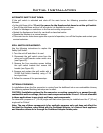
3. Remove shingles or other roof coverings as
necessary to cut the rectangular hole for the
“Support Box”. Cut the hole ⅛” larger than
the “Support Box” outline.
4. Lower the “Support Box” through the hole in
the roof until the bottom of the “Support Box”
protrudes at least 2 inches (5 cm) below the
ceiling. Align the “Support Box” both vertically
and horizontally with a level as shown in
Figure 35. Temporarily tack the “Support Box”
in the place through the inside walls and into
the roof sheathing.