


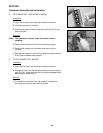
22
SECTION I
Connector Assembly and Installation
1. CONNECTOR ASSEMBLY
Once the SC connector has been mounted and polished, the
housing can be installed onto the body.
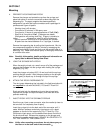
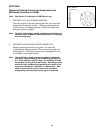
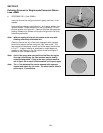
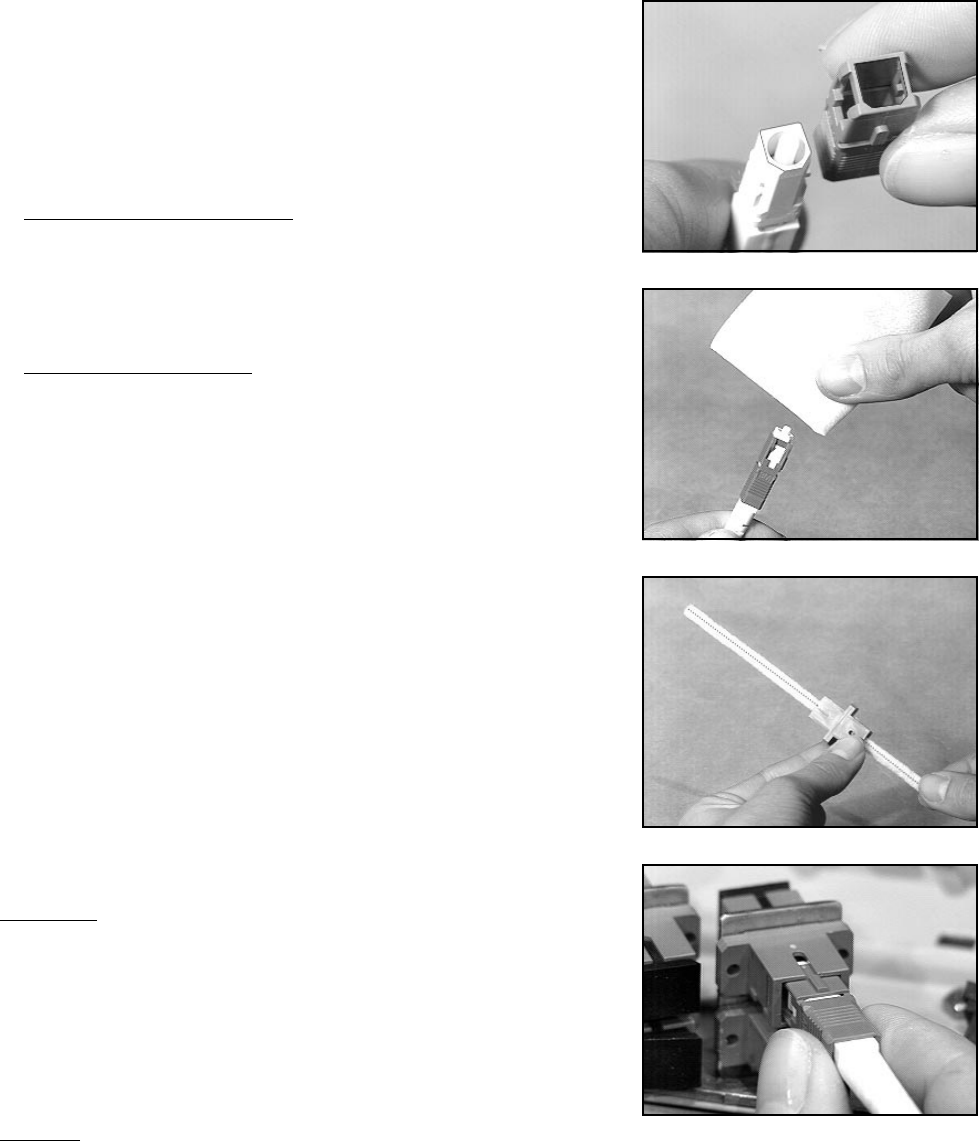
A. Standard Density Applications
While holding the connector firmly by the boot, align the
chamfers on both the connector and housing and snap into
place (Fig. I1). A positive click will be heard when the housing
is fully engaged.
B. High Density Applications
This application does not require the housing to be placed onto
the connector body. The high density coupling is used without
the sliding housing.
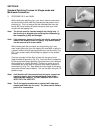
2. CONNECTOR COUPLING CLEANING
Only one connection should be made at a time and the dust caps
should not be removed until immediately prior to mating.
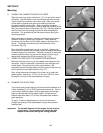
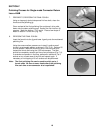
A. Clean the ceramic ferrule of the connector with an isopropyl
alcohol dampened lint-free cloth (Fig. I2) and immediately blow
with compressed air.
Note: Carefully follow safety, health and disposal information on
container label or Material Safety Data Sheet for isopropyl
alcohol being used.
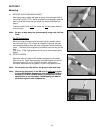
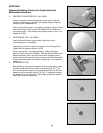
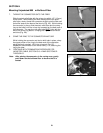
B. Insert an isopropyl alcohol dampened pipe cleaner into the
coupling to remove any foreign particles (Fig. I3). Blow with
compressed air.
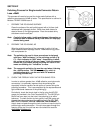
3. SC CONNECTOR - STANDARD DENSITY MATING
Installation
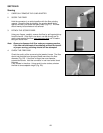
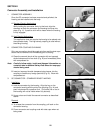
A. Hold the connector by the housing. Align the key on the
connector housing with the slot of the coupling (Fig. I4) and
push into place with a positive click. (The white line or slot in
the housing will not be visible when fully latched).
B. Uncap, clean and install the second connector as described
above.
Removal
A. To release the connector from the coupling, pull back on the
connector housing.
B. Cover connector and coupling ends with dust caps when not
being used.
Fig. I1
Fig. I2
Fig. I3
Fig. I4