


11
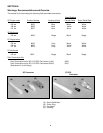
Fig. C12
Fig. C13
SECTION C
Mounting
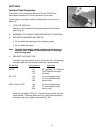
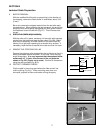
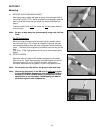
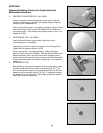
11. SECURE THE STRAIN RELIEF BOOT
Use the syringe to apply two dabs of epoxy onto the larger half of
the crimp ring (Fig. C12). While holding the load adapter, slide the
boot up over the crimp ring and rotate it to evenly distribute the
epoxy.
The boot should cover only the crimp ring, not the plastic body of
the connector.
Note: Be sure to wipe away any excess epoxy using a dry lint-free
cloth.
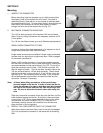
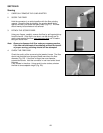
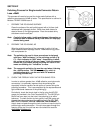
For SC Connectors
Be sure to align the key on the boot with the flat, smooth side of
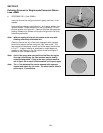
the connector (Fig. C13). Attach an alignment clip over the boot
and connector body to hold the boot in alignment while the epoxy
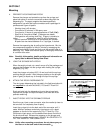
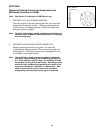
cures . The back of the alignment clip should cover the key on the
boot
(Fig. C14). (If the clips spread with use, pinch them closed while
warm.)
Fig. C14
Fig. C15
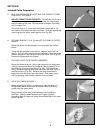
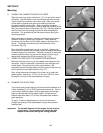
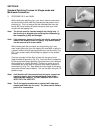
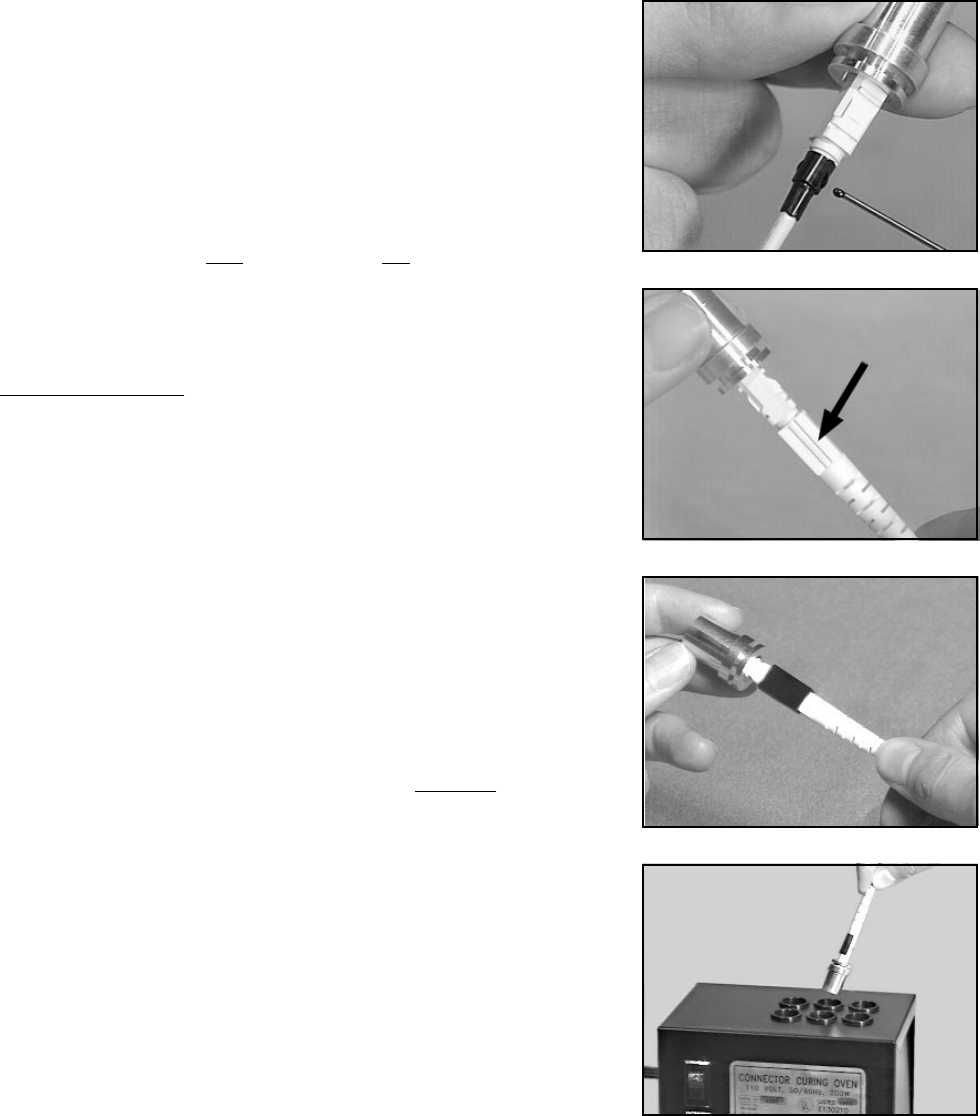
12. EPOXY CURING
When the oven is heated to the proper temperature, the heater
light will go off. Place the connector and load adapter into one of
the oven's ports (Fig. C15). After 20 minutes, remove the
connector from the oven and place it in the curing stand to cool.
Note: Do not score the fiber before the epoxy is cool and hard.
Note: Heat curing this epoxy in the 3M oven is required in order
to meet the Bellcore temperature requirement of +85
ϖ
C as
outlined in TR-NWT-000326 Issue 3. If compliance to this
specification is not necessary, the 3M epoxy can also be
cured overnight at room temperature.