


20
SECTION G
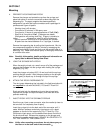
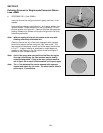
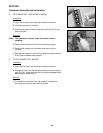
Final Cleaning
1. BLOW THE DUST CAP WITH COMPRESSED AIR
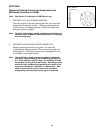
2. WIPE THE CERAMIC FERRULE WITH AN ISOPROPYL
ALCOHOL DAMPENED LINT-FREE CLOTH (Fig. G1)
Be sure to wipe the entire length of the ferrule and the ferrule tip.
Note: Carefully follow safety, health and disposal information on
container label or Material Safety Data Sheet for isopropyl
alcohol being used.
3. BLOW THE FERRULE WITH THE COMPRESSED AIR
4. IMMEDIATELY COVER THE FERRULE WITH THE DUST CAP
Fig. G1
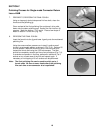
SECTION H
Mounting Unjacketed/900
m Buffered Fiber
Note: General instructions for preparation for mounting may be
found in Section B steps 1 - 4.
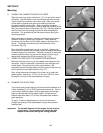
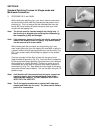
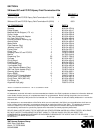
1. SLIP THE STRAIN RELIEF BOOT ONTO THE BUFFERED
FIBER, SMALL END FIRST (Fig. H1)
Fig. H1
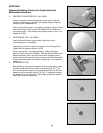
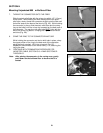
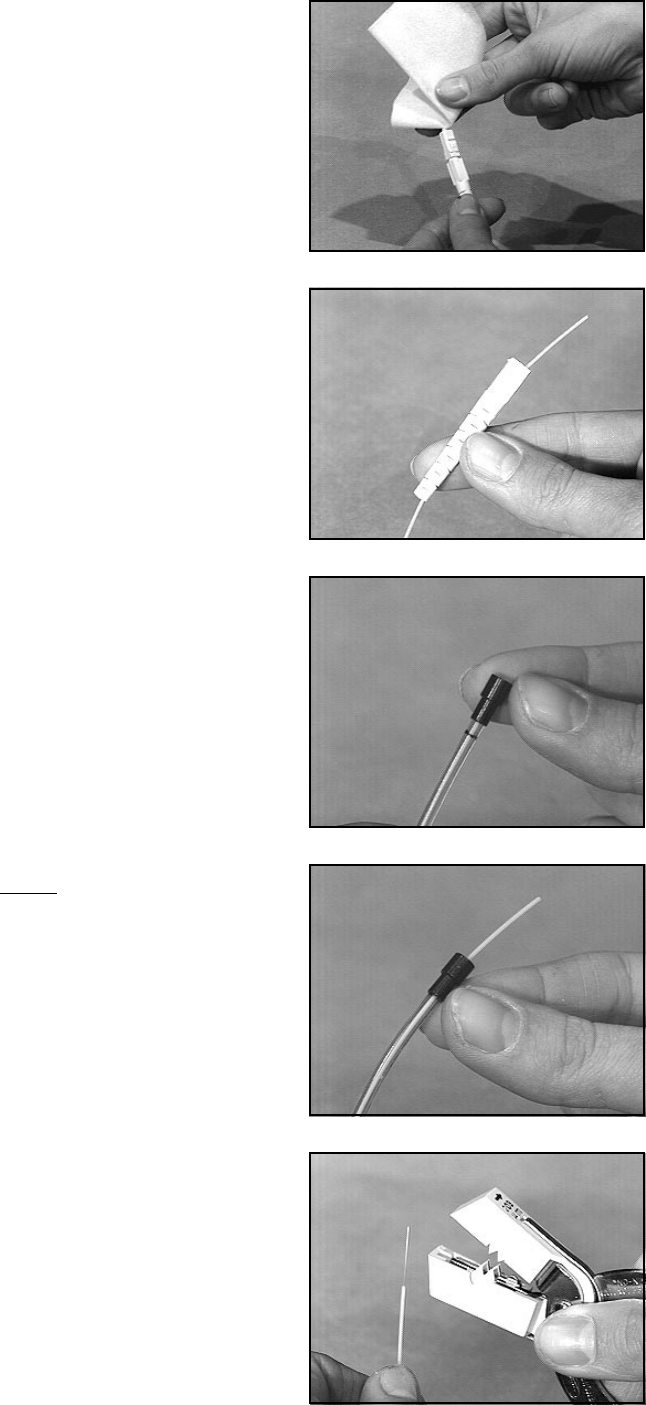
Fig. H2
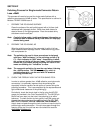
Fig. H3
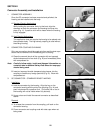
Fig. H4
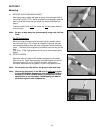
2. PLACE THE CRIMP RING ONTO THE STRAIN RELIEF TUBE
Measure and mark the clear strain relief tube 3/16" (5 mm) from
its end. Slide the smaller diameter of the black 3.0 mm crimp ring
onto the tube until the end of the ring aligns with the mark on the
tube (Fig. H2).
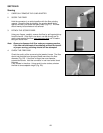
3. PLACE THE CLEAR TUBE WITH THE CRIMP RING ONTO THE
BUFFERED FIBER (Fig. H3)
The larger diameter of the crimp ring MUST be towards the end of
the fiber.
4. REMOVE 3/4" (19 mm) OF BUFFER USING THE NO-NIK TOOL
(Fig. H4)
(Refer to Section B, step 9).
5. CLEAN THE FIBER WITH ISOPROPYL ALCOHOL
(See Section B, step 10).
Note: Carefully follow safety, health and disposal information on
container label or Material Safety Data Sheet for isopropyl
alcohol being used.
6. CONTINUE WITH STEPS C1 - C7