


21
SECTION H
Mounting Unjacketed/900
m Buffered Fiber
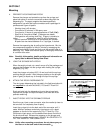
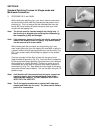
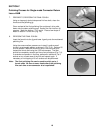
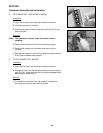
7. THREAD THE CONNECTOR ONTO THE FIBER
Slide the strain relief tube with the crimp ring within 1/2" (13 mm)
of the buffer. While holding the fiber directly behind the strain
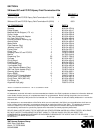
relief tube, slowly thread the connector straight onto the fiber until
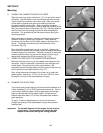
the buffer seats at the base of the ferrule (Fig. H5). While holding
the connector in place, slide the strain relief tube and the crimp
ring up the buffer until the crimp ring is seated on the back end of
the connector. The mark on the clear tube MUST align with the
end of the crimp ring before crimping the ring to the connector
and tube (Fig. H6).
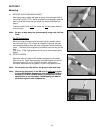
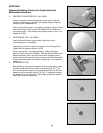
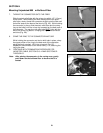
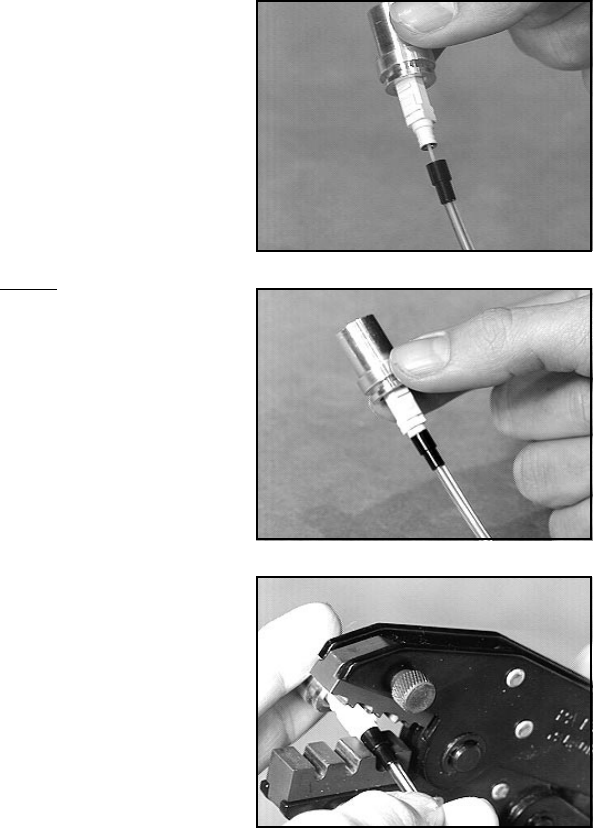
8. CRIMP THE RING TO THE CONNECTOR AND TUBE
While holding the connector and strain relief tube in place, crimp
the upper portion of the ring to the back end of the connector
using the cavity marked .190 in the crimp tool (Fig. H7).
Reposition the connector to the center cavity .137, securing the
ring to the tube.
Fig. H7
Fig. H6
Fig. H5
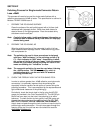
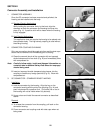
9. CONTINUE WITH TERMINATION PROCEDURE FOR
JACKETED CABLE, SECTION C10-12 AND SECTIONS D
THROUGH G
Note: After placing the connector in the curing oven, gently
push down on the buffered fiber to be sure that it is
seated.