


14 15
1. INSTALL
ZONE 13 OUT
CLEAR ZONE
1. YES 2. NO
1. INSTALL
ZONE
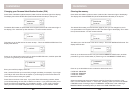
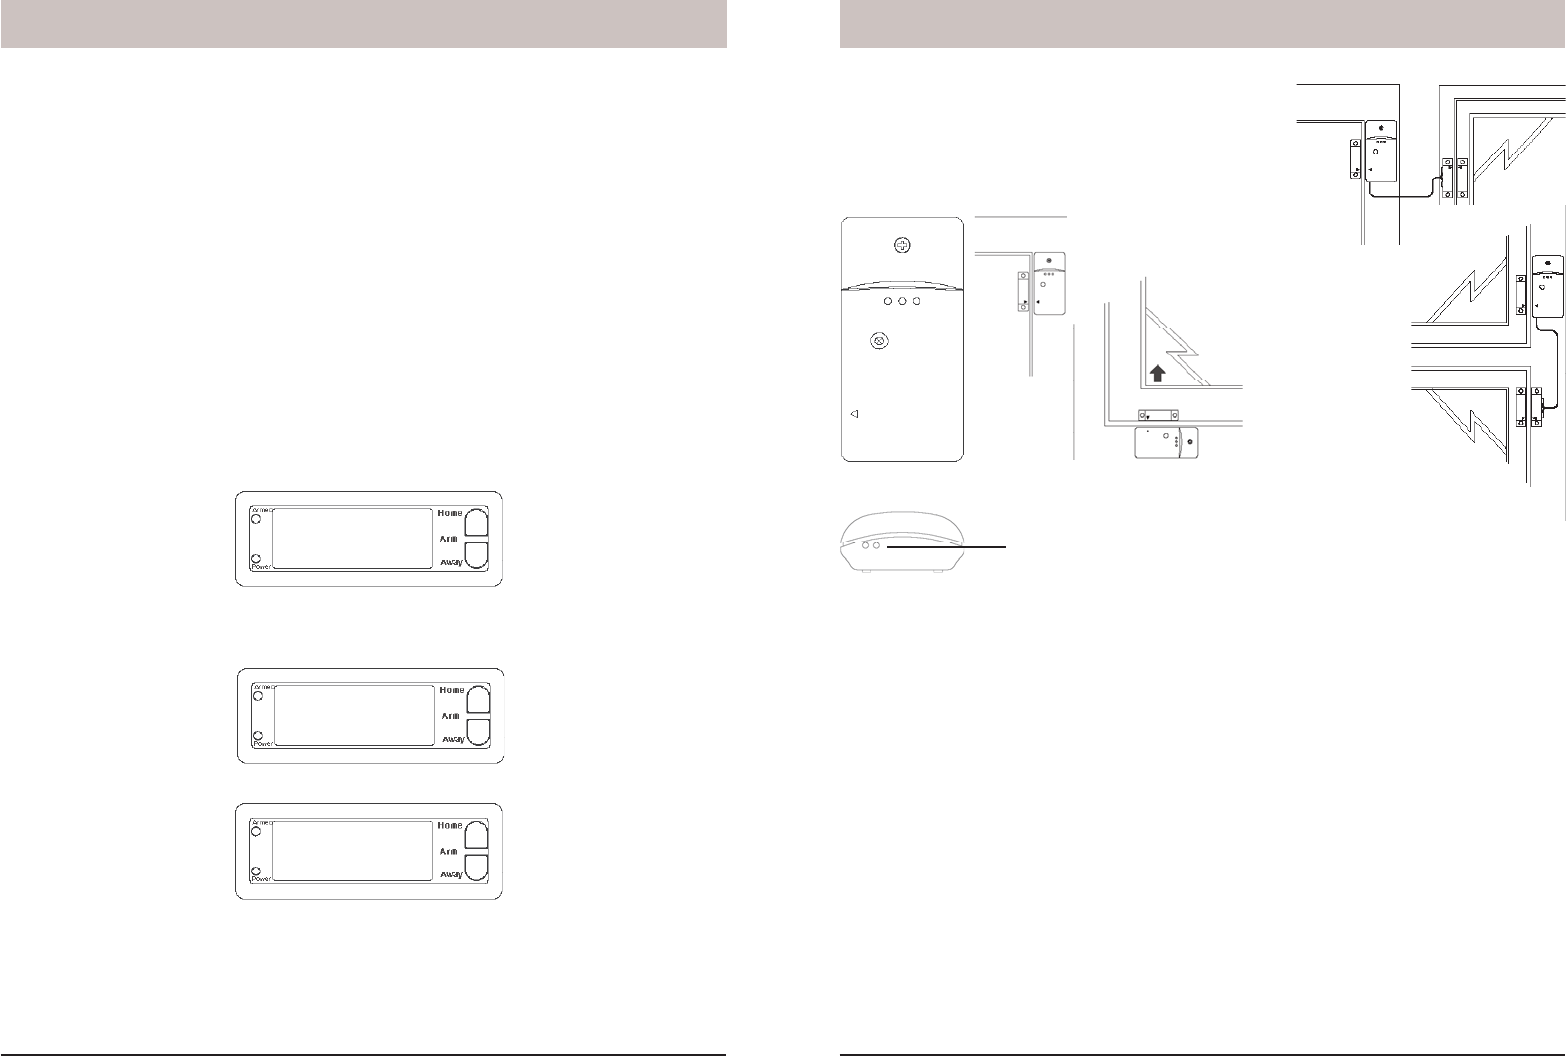
Installation
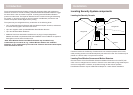
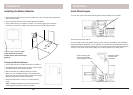
Installing the Door/Window Sensors
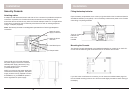
Two doors or windows
(requires accessory
magnetic switch pair)
Ideal location
Sliding window
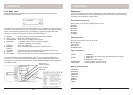
• Attach the Door/Window Sensor to the wall using the mounting screws provided.
• Fit the Door/Window Sensor as high as possible at the top of the door/window.
• Make sure the arrows on the magnetic and the Door/Window Sensor are facing each
other and that they separate cleanly when the door or window is opened.
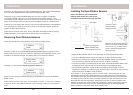
• To protect two doors or windows close to each other, use the Door/Window Sensor with
an additional set of magnetic switch contacts as shown in the diagrams above.
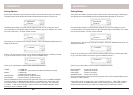
• Set the DELAY slide switch (inside the Sensor) to MIN to always trigger the alarm
instantly (for windows), or to MAX to trigger the alarm after a preset entry delay when the
system is armed in the AWAY mode (for doors).
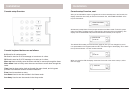
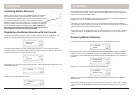
The numbers 1 – 32 in the display refer to up to 32 “zones.” These represent up to 30
Door/Window Sensors and/or Motion Detectors you install, plus the 2 hard wired zones.
The numbers show open zones, problem zones and bypassed zones by being displayed
as steady on (door or window open), slow fl ash (there’s a problem with that zone) or fast
fl ash (that zone has been bypassed). Attempting to arm with an open or problem zone
makes the Console beep continuously and it will display in words on the display what the
cause is, but only for one zone at a time. Bypassing that zone (by pressing the Clear
button) moves on to the next problem zone, if there is one.
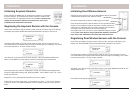
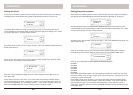
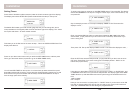
Now move the magnet away from the Door/Window Sensor. The Console acknowledges
that it has been registered with a chime and by displaying ZONE 1 SET.
Repeat this for any other Door/Window Sensors you want to register. The display
increments to ZONE 2 SET, etc., as you install more Door Window Sensors. If you
connected a second magnetic switch to the contacts on the sensor (as shown on the next
page) move its magnet away to install the second magnetic switch as a separate zone.
If desired, you can specify what zone you want the Door Window Sensor to be registered
into. Just press the number of the zone you want on the Console’s keypad, before you
register the Door Window Sensor.
Press Clear to back out of the menu. After a short delay the display reverts to showing
HOME CONTROL on the top line and the time of day on the bottom line.
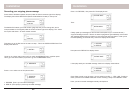
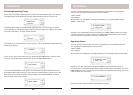
Removing Door/ Window Sensors
Follow the steps above to install a sensor. Then when the display shows:
Installation
Press the number of the zone you desire (just as if you were going to register the Door/
Window Sensor into that zone) but instead of registering the Door/Window Sensor, press
CLEAR on the Console’s keypad. The display asks you to confi rm the deletion:
Pressing 1 on the Console’s keypad changes the display to:
Remove shorting link
before installing hard
wired magnetic contacts.
*
*
*
Where 13 is the zone you selected. Pressing 2 instead takes you back to the INSTALL
ZONE screen.
Press Clear to back out of the menu. You are asked to confi rm, 1. YES, 2 NO. Pressing
1 takes you back to the HOME CONTROL screen. Pressing 2 takes you up one level of
menu.
Note when you add a magnetic switch to a
sensor you can register it with the console
as its own zone, e.g., the sensor itself can
be zone 1 and the extra magnet zone 2.
See previous page.
Note, if the Sensors you purchased are
different from shown here, refer to the
installation instructions that came with them.