


20 21
3. PHONE NUMS
1. INSTALL
****
12:00 am
ENTER PIN
12:00 am
2. SET CLOCK
4:00 pm
1. INSTALL
****
12:00 am
ENTER PIN
12:00 am
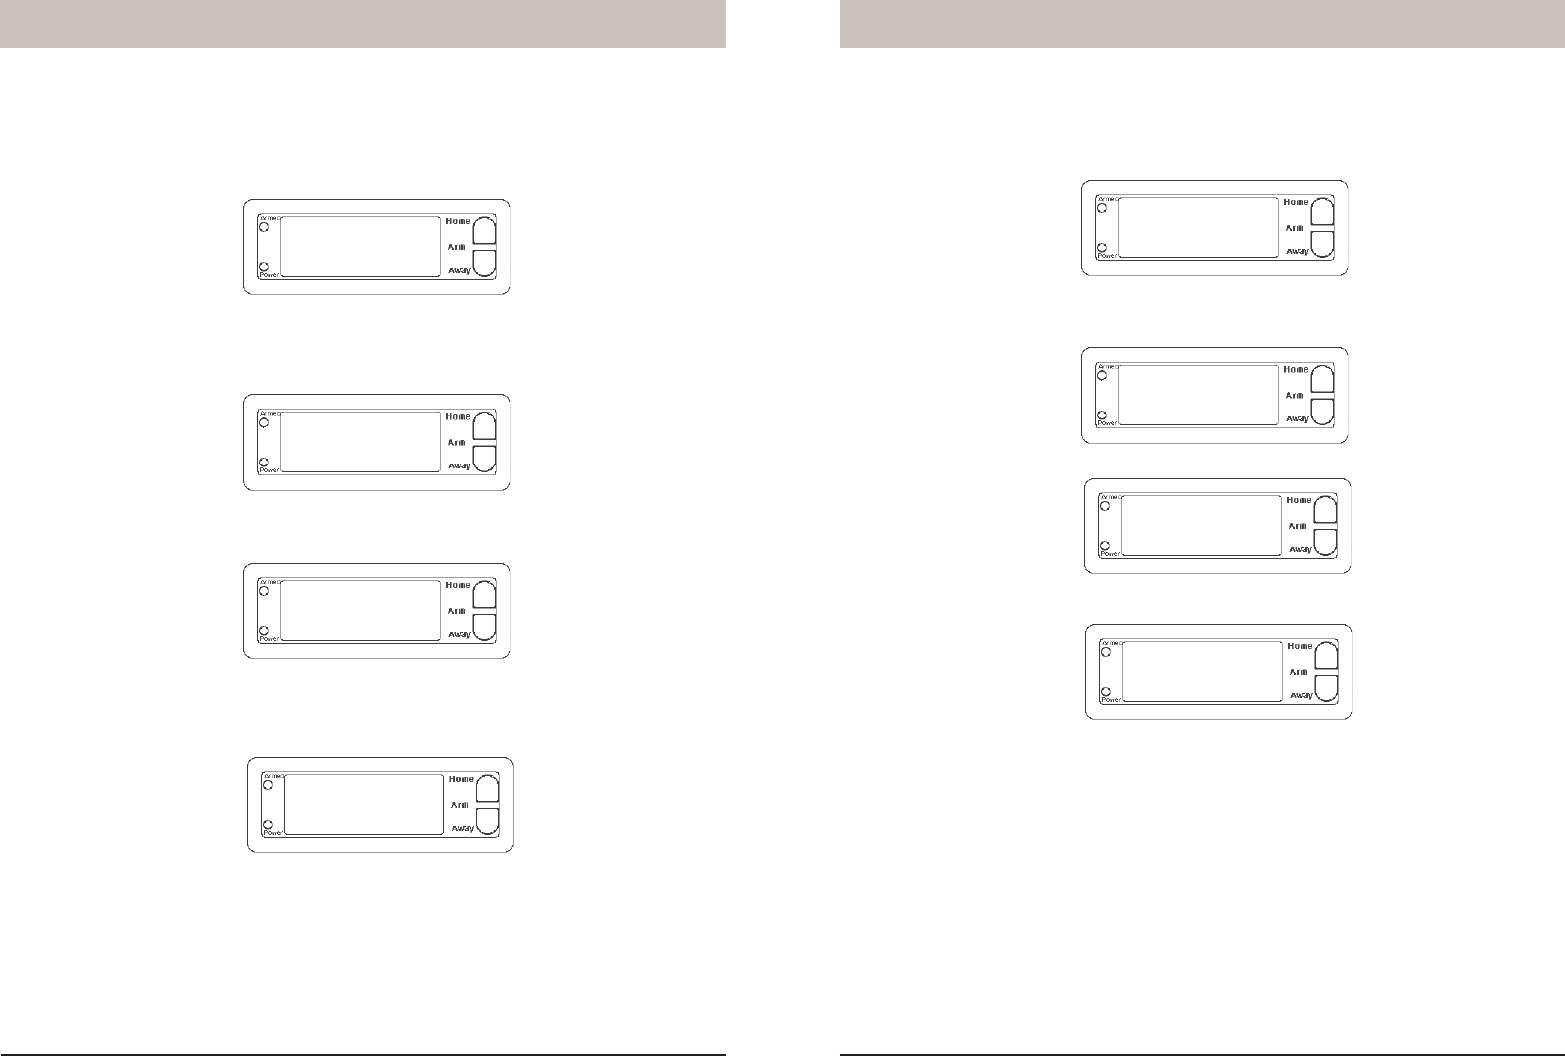
Installation
Setting the phone numbers
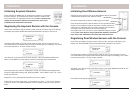
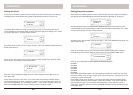
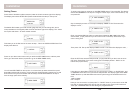
Press either of the Menu up/down buttons (under the lid to the bottom right of the display).
The display then shows ENTER PIN (Personal Identifi cation Number) in the top line.
The default PIN is 0000, you’ll fi nd out later (page 24) how you can change this, but for
now press 0000 on the keypad (under the lid to the bottom right of the display). This clears
the top line and shows * for each number entered.
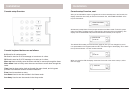
This takes you to the fi rst level of the menu at step 1. This is the INSTALLATION level. The
display looks like this:
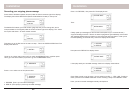
Press an up or down menu button until you reach the PHONE NUMS menu, and then
press OK to go to the screen below (or press 3 to go into the PHONE NUMS menu ):
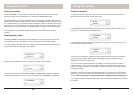
Press an up or down Menu button to select the desired sub-menu:
PHONE 1
PHONE 2
PHONE 3
PHONE 4
PHONE 5
PHONE 6
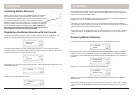
Press OK at the desired number (1-6). The display shows SET PH1, SET PH2, etc. Enter
the phone number, up to 16 digits. off/pm gives a pause. Press OK. This takes you to the
next phone number to be stored.
Press Clear to back out of the menu. If you press Clear while entering numbers, before
you’ve fi nished setting the phone number, it clears the numbers. If you press Clear after
you fi nished entering the phone number and pressed OK, you are asked to confi rm, 1.
YES, 2 NO. Pressing 1 takes you back to the HOME CONTROL screen. Pressing 2 stays
in INSTALL mode.
Installation
Setting the Clock
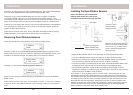
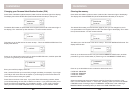
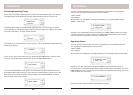
Press either of the Menu up/down buttons (under the lid to the bottom right of the display).
The display then shows ENTER PIN (Personal Identifi cation Number) in the top line.
The default PIN is 0000, you’ll fi nd out later (page 24) how you can change this, but for
now press 0000 on the keypad (under the lid to the bottom right of the display). This clears
the top line and shows * for each number entered.
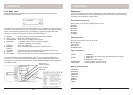
This takes you to the fi rst level of the menu at step 1. This is the INSTALLATION level. The
display looks like this:
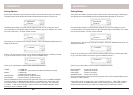
Press an up or down menu button until you reach the SET CLOCK menu, and then press
OK (or press 2 to go directly to the screen below):
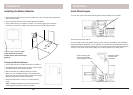
Enter the time by pressing the digits on the Console’s keyboard. Then press am or pm.
Then press OK.
Press Clear to back out of the menu. If you press Clear while entering numbers, before
you’re fi nished setting the clock, it clears the numbers. If you press Clear after you’ve set
the time and pressed OK, you are asked to confi rm, 1. YES, 2 NO. Pressing 1 takes you
back to the HOME CONTROL screen. Pressing 2 stays in INSTALL mode.