


6 7
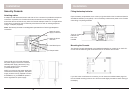
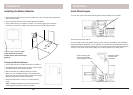
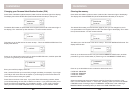
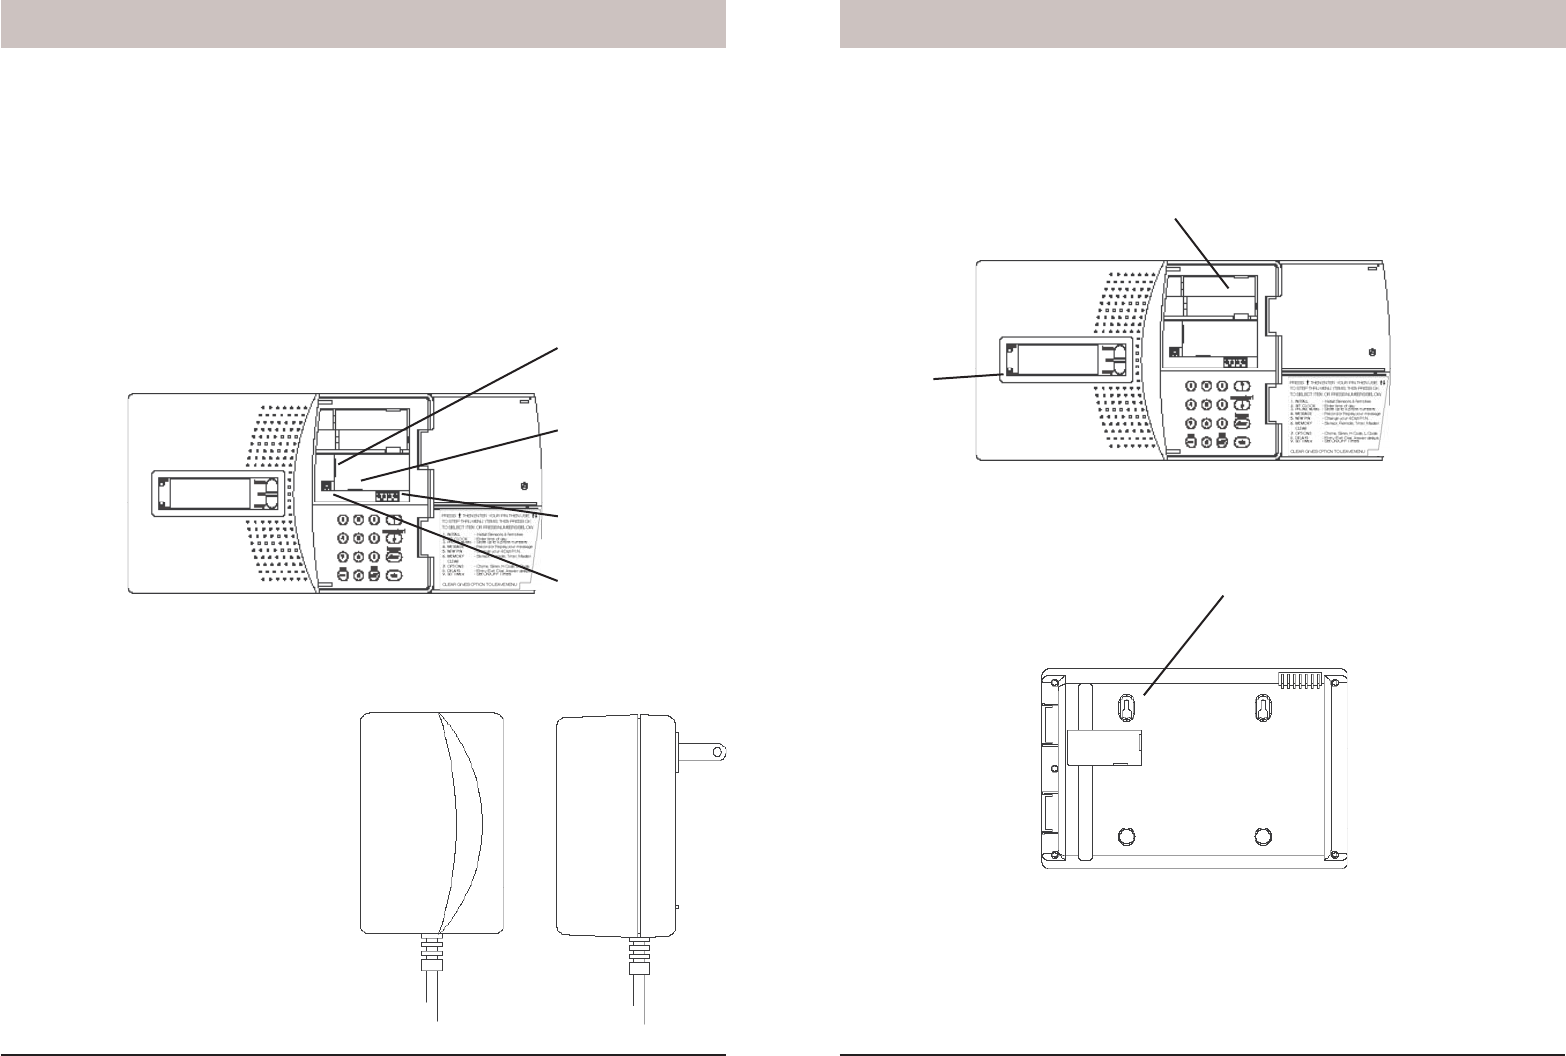
Attach the power
supply’s cord here.
Attach the phone
cord here.
Hard Wired Inputs.
Tamper Switch
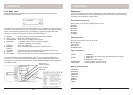
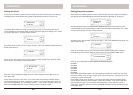
Fitting the backup batteries
Open the battery compartment cover at the top right hand side of the Console and install 4
AA alkaline batteries (not supplied). It is not necessary to disconnect power to the Console
when fi tting or replacing batteries.
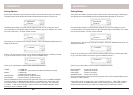
InstallationInstallation
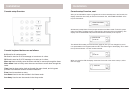
Open the lid on the Console and attach
the power supply’s cord to the connector
labeled power supply (see above). Plug
the power supply into any convenient
(unswitched) AC outlet.
NOTE: you must use the power supply that
came with the Security System. The power
supply contains circuitry required to control
X10 Modules, so you CANNOT replace it
with a regular 8V DC power supply.
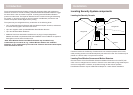
Security Console
Attaching cables
A telephone cord terminated at each end with an RJ11 connector is provided for telephone
connection. If possible, the Console should be connected to its own telephone line to
ensure that the line cannot be busy when the Console attempts to dial out. For applications
where this is not practical, the Console may also share a line with an existing telephone
using a ‘T’ adapter (supplied).
Note: The Security Console is not designed to operate with an RJ31X type telephone
connection.
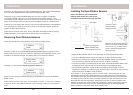
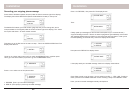
Mounting the Console
The Security Console is designed to be installed freestanding on a table top or shelf. Or it
can be wall mounted using the two slotted holes on the back of the Console.
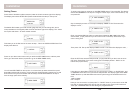
Turns on if
batteries are
low or not
installed.
If you don’t want to wall mount the console, you can insert the included rubber plugs into
the two slotted mounting holes so as to tilt the console slightly forward for better viewing of
the display.