


30 31
Installation
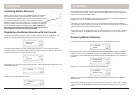
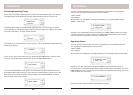
9. NEW TIMER
9. SET TIMER
1. INSTALL
****
12:00 am
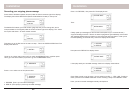
ENTER PIN
12:00 am
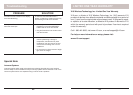
Reviewing/Canceling Timers
Press either of the Menu up/down buttons (under the lid to the bottom right of the display).
The display then shows ENTER PIN (Personal Identifi cation Number) in the top line.
The default PIN is 0000, you’ll fi nd out later (page 24) how you can change this, but for
now press 0000 on the keypad (under the lid to the bottom right of the display). This clears
the top line and shows * for each number entered.
This takes you to the fi rst level of the menu at step 1. This is the INSTALLATION level. The
display looks like this:
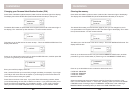
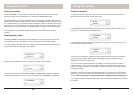
Press an up or down menu button until you reach the SET TIMER menu, and then press
OK to go to the screen below (or press 9 to go into the SET TIMER menu ):
You will see NEW TIMER on the top line. If no timers have yet been entered the up and
down Menu buttons will do nothing. If there are other timers already in memory the up and
down buttons will cycle around them and will always include NEW TIMER in the loop if
there is empty space in the memory.
Installation
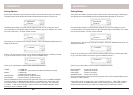
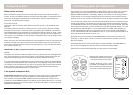
You can cycle through (Review) your stored timers by pressing the up or down Menu
buttons. This will show the stored timers in the form below
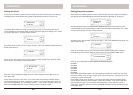
12ON 12:34am
OFF 12:45pm
While a timer is on the display, pressing Clear deletes it. You are fi rst asked: CLEAR
TIMER 1. YES 2. NO .
9. CLEAR TIMER
1. YES 2. NO
Pressing 1 (for YES) deletes the timer and takes you to NEW TIMER to allow you to start
entering a new timer. Pressing 2 takes you to NEW TIMER without deleting the one that
was on the screen. Press Clear to back out of the Menus.
Replacing Timers
You can cycle through (Review) your timers by pressing the up or down Menu buttons.
This will show the stored timers in the form below
12ON 12:34am
OFF 12:45pm
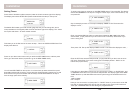
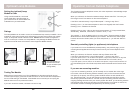
While a timer is on the display, pressing OK takes you to the Replace Timer screen below.
9. REPLACE TIMR
1. YES 2. NO
Selecting 1 for YES, takes you to the UNIT NUMBER screen below where you can
continue to enter a new timer as described on page 29. Selecting 2 for NO takes you to the
NEW TIMER screen so you can enter a new timer without replacing the existing one. Press
Clear the back out of the menus.
9. UNIT NUMBER
Note you can also clear ALL timers as described on page 25.