66 SCXG-SVX01B-EN
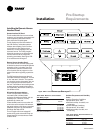
to the program menu. See Figure I-P-2.
Before toggling to the program menu,
use the mode button to select the type
setpoints to review or program (heat,
cool or auto). For example, if you select
cool mode before toggling to the program
menu, then only the cool setpoints are
reviewed or programmed. If you select
heat mode, then only the heat setpoints
are reviewed or programmed. In auto
mode, both heat and cool setpoints are
reviewed and programmed.
• While in program menu, each time you
press and release the program button,
the ZSM toggles through the four
periods that divide each day. Those four
periods are: Morn(ing), Day, Eve(ning),
and Night.
• To exit the program menu, depress the
program button for two seconds.
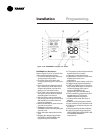
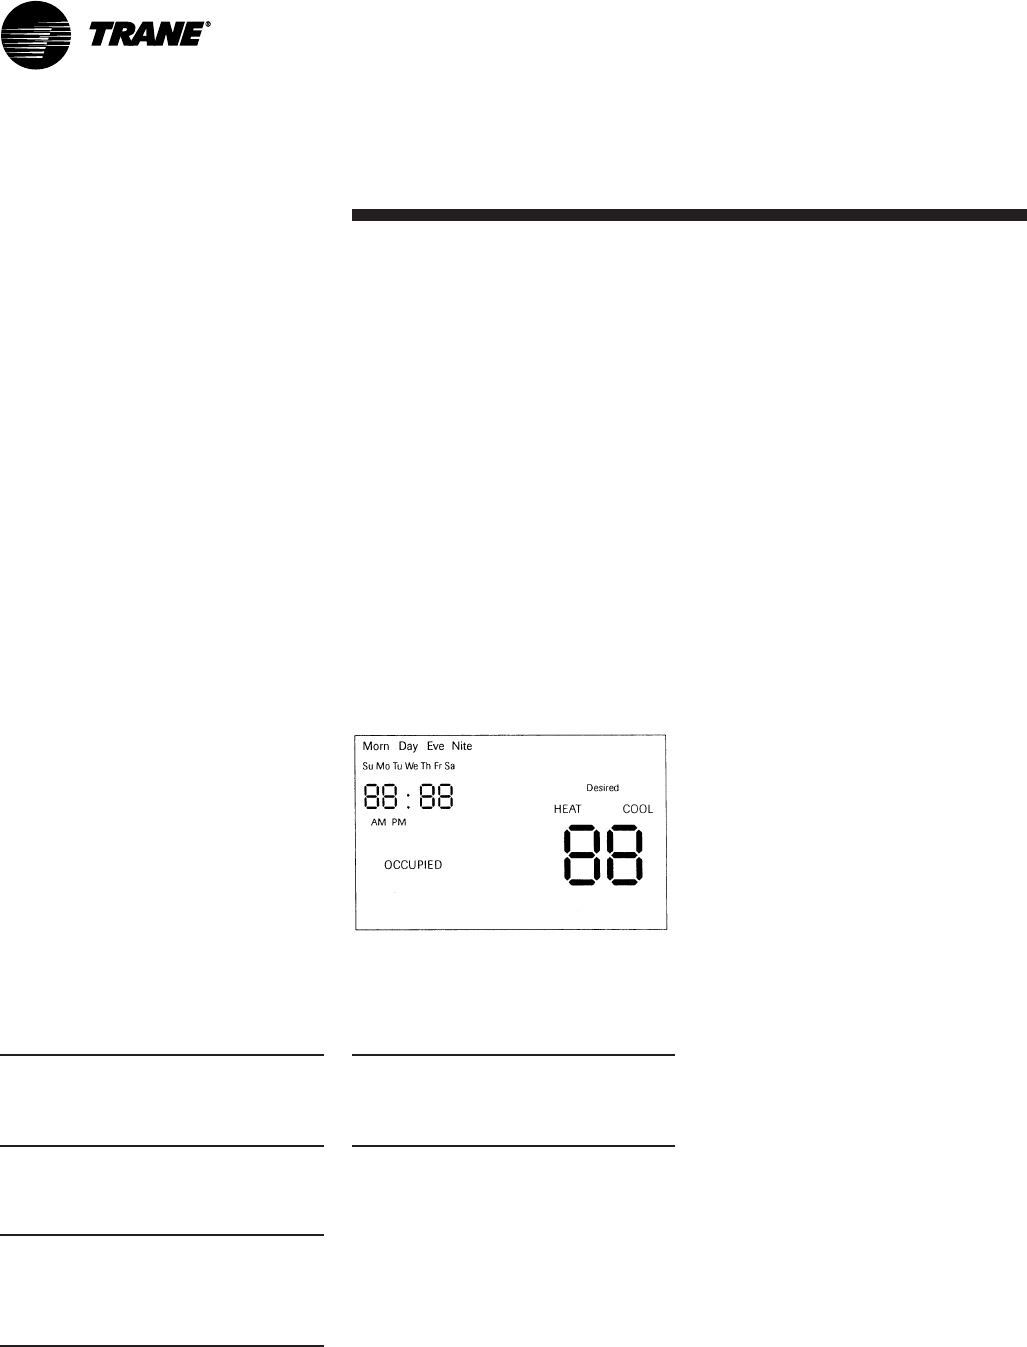
Program Menu
BAYSENS020 Only
Note: After toggling to the program
screen, the week is divided into seven
days with each day divided into four
periods.
Setpoint programming depends on the
setting status, occupied or unoccupied,
and whether or not the heat installed,
modulated heat, morning warmup, or
daytime warmup options are enabled.
In the occupied period, the cool supply air
temperature is always set. If heat
installed and modulated heat options are
on, the supply air heat is also set during
occupied periods. The warmup tempera-
ture is also set in occupied periods, if heat
installed and warmup options are
enabled.
ProgrammingInstallation
Initial Power-Up
Before applying power to your ZSM, and
before performing setup and operation
procedures, verify that all wiring is
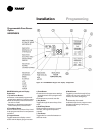
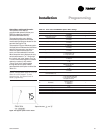
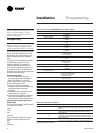
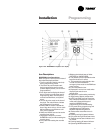
correct. See Figures I-P-9 on page 71 and
I-P-10 on page 72 for a complete zone
sensor icon display description.
For BAYSENS020 only: at initial power-
up, the ZSM controls to default tempera-
tures of 68 F (19 C) for warmup, and 55 F
(13 C) supply air, until the ZSM is pro-
grammed or the arrow keys are pressed.
If the arrow keys and mode are moved,
the ZSM starts controlling to these new
settings.
Time and Day Settings
On power-up your ZSM will be in normal
run mode and will begin operating using
setpoints. The display will show the
wrong day and time and will need to be
set.
To set the time, there is a single rubber
button on the keypad “minus” and
“plus” mark time.
Depressing the positive side will advance
the time. Depressing the negative side
will decrease the time.
Each time you depress the positive or
negative side “minus” and “plus”, the
time will either advance or decrease
respectively by one minute. If you press
and hold either side of the time button,
the time change will accelerate rapidly.
When you reach the correct time, release
the time button and the time will be set
into permanent memory.
Note: To ensure the time changes are
made, the ZSM will initiate a 30 second
user-stabilization time before making
changes to the ZSM operation mode.
Keypad Operation
Note: After toggling to the program
screen, the week is divided into seven
days with each day divided into four
periods. Therefore, 28 program settings
are possible.
Program Button
Depressing the program button will
toggle the display from normal run mode
During unoccupied periods, only the
desired room temperature setpoints are
entered. Each unoccupied period has a
heat and cool setpoint, and both setpoints
are offered during programming.
Blank temperature settings may also be
entered. When a setpoint is blank, the
program will default to the last setpoint of
its type. If there is no setpoint of its type,
the default setpoint is used. If all setpoints
in the time period are blank, is erased
after exiting from the program menu.
The ZSM has independent, seven day
programming:
• Each day can be programmed with
different times, temperatures, and
occupied status.
• Each day can be programmed with up
to four periods. Although four periods
are available each day, you can
program just one of the four.
• Each period can be programmed for
occupied or unoccupied.
To begin programming, follow these
steps:
• Determine which periods during the day
will be occupied and unoccupied.
• Write your daily schedule on the sheet
enclosed with the zone sensor.
• Enter your program by following the
steps below.
To program time periods and setpoints
for a day:
• Press the program button to enter
program mode.
• Press the day button to select first day to
be programmed.
• To set the “begin” time for the first
period of the day, press the minus or
plus keys.
• To set the temperature setpoint for that
period, use or ¯.
• Press the program button to move to
the next period for that day.
• To program time periods and setpoints
for the next day, press the day button.
• When finished, press and hold the
program button for two seconds to
return to the normal run mode.
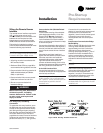
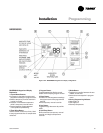
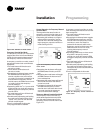
Figure I-P-3. Display Program Menu Screen.


